
I just turned a cheeseburger into Cheeseburger Stuffed Peppers and now I’m secretly plotting to make them every week because they somehow taste like the grill without leaving the kitchen.
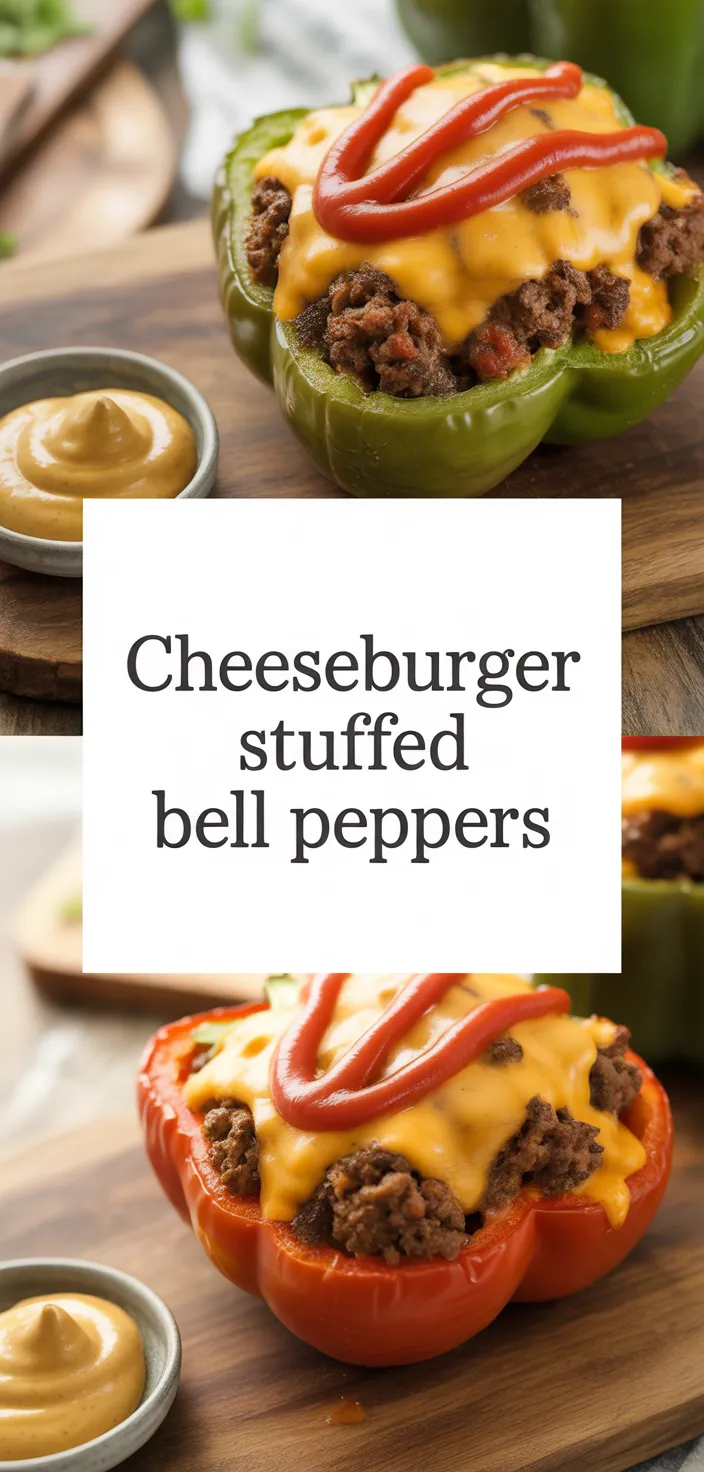
I’m obsessed with these Cheeseburger Stuffed Peppers because they scream comfort without being fussy. I love sinking a fork into pepper stuffed with juicy ground beef and melty shredded sharp cheddar cheese.
It hits that greasy, salty, tangy spot I crave after a long day. And they feel like Blackstone Griddle Recipes Meal Prep gone indoors, all the grill vibes, none of the smoke.
No weird extras, just real burger flavor wrapped in bright bell pepper. I eat them straight from the pan, with extra ketchup on the side.
Simple, messy, and totally worth it. Every single bite hits hard.
Ingredients
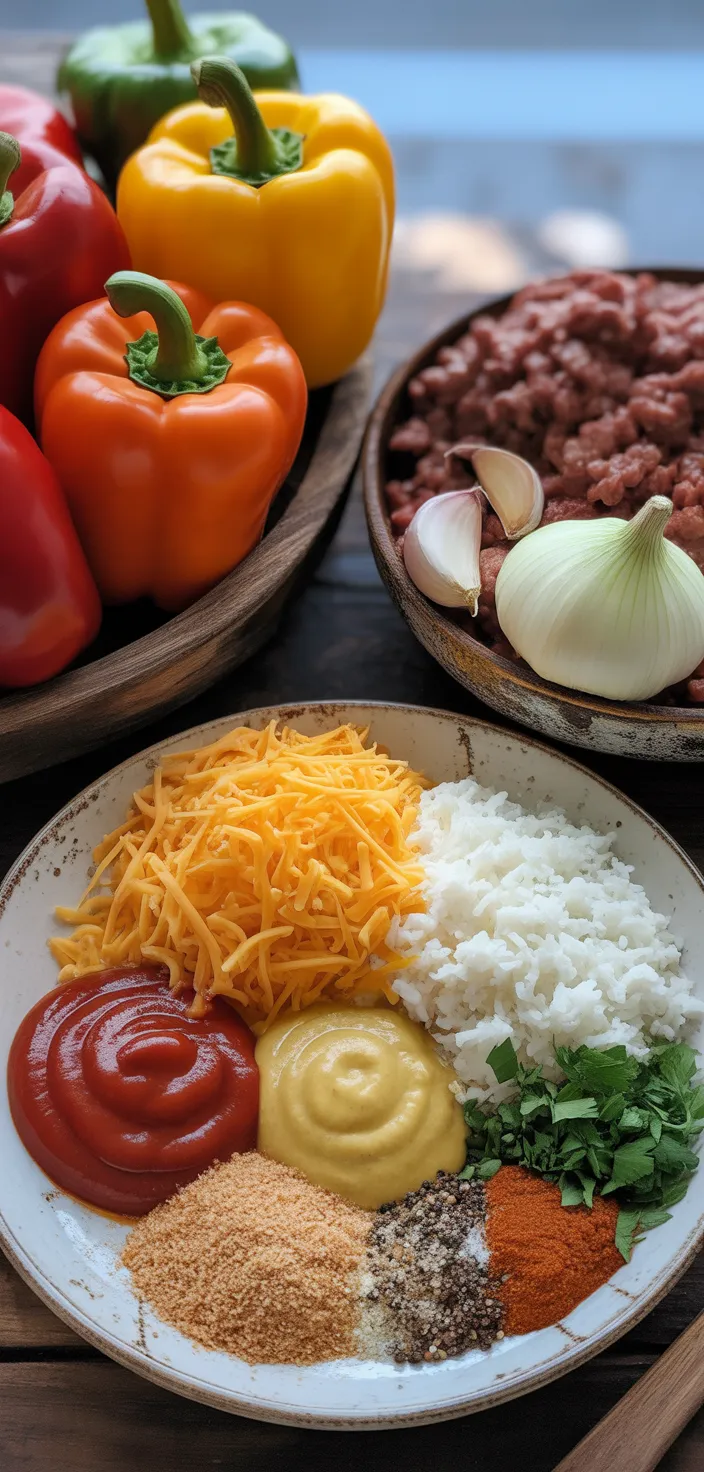
- Bell peppers: bright cups that hold everything and add sweet crunch, it’s summer in a bite.
- Ground beef: hearty protein, juicy and meaty — the cheeseburger core you’ll crave.
- Yellow onion: caramelizes fast, gives sweetness and depth, it’s the background singer.
- Garlic: punchy aroma, small but mighty, wakes up the whole filling.
- Sharp cheddar: melty, tangy cheese pull you’ll drool over.
Basically cheeseburger comfort.
- Cooked white rice (optional): bulks it up, so it’s more filling and a bit softer.
- Breadcrumbs: binder that keeps stuff together, adds slight texture you won’t notice much.
- Ketchup: familiar sweetness and tomato tang, makes it taste like a burger.
- Yellow mustard: bright, vinegary kick that cuts through the richness nicely.
- Worcestershire sauce: deep umami boost, kind of savory magic in small amounts.
- Olive oil: helps everything brown and keeps the filling from drying out.
- Kosher salt: brings out flavors, simple but absolutely necessary, don’t skip it.
- Black pepper: subtle heat and bite, sprinkles personality into each forkful.
- Smoked paprika (optional): smoky warmth, adds a cozy, grill-like note without cooking outdoors.
- Fresh parsley (optional): herbaceous brightness on top, makes it look and taste fresher.
Ingredient Quantities
- 4 large bell peppers
- 1 lb (450 g) ground beef
- 1 small yellow onion
- 2 garlic cloves
- 1 cup (about 120 g) shredded sharp cheddar cheese
- 1/2 cup cooked white rice (optional)
- 1/4 cup breadcrumbs
- 2 tbsp ketchup
- 1 tsp yellow mustard
- 1 tbsp Worcestershire sauce
- 1 tbsp olive oil
- 1 tsp kosher salt
- 1/2 tsp black pepper
- 1/2 tsp smoked paprika (optional)
- 2 tbsp chopped fresh parsley (optional)
How to Make this
1. Preheat the oven to 400°F (200°C). While it warms up, slice the tops off the 4 bell peppers, remove seeds and membranes, and set the peppers upright in a baking dish; if they wobble, trim a tiny bit from the bottoms so they sit flat.
2. Heat 1 tbsp olive oil in a skillet over medium-high heat. Add 1 small chopped yellow onion and sauté until soft and starting to brown, about 4 minutes.
3. Add 2 minced garlic cloves and 1 lb (450 g) ground beef to the skillet. Break the beef up with a spoon and cook until no longer pink, about 6 to 7 minutes.
4. Stir in 2 tbsp ketchup, 1 tsp yellow mustard, 1 tbsp Worcestershire sauce, 1 tsp kosher salt, 1/2 tsp black pepper, and 1/2 tsp smoked paprika if using. Mix well and taste, adjust seasonings if needed.
5. Remove the skillet from heat and stir in 1/4 cup breadcrumbs, 1/2 cup cooked white rice if using, and 2 tbsp chopped fresh parsley if you want a bright herb note. Let the mixture cool a minute so the cheese melts better.
6. Fold in 1 cup (about 120 g) shredded sharp cheddar cheese into the beef mixture, reserving a small handful to sprinkle on top of the peppers later.
7. Spoon the cheeseburger filling into the prepared bell peppers, packing it lightly and mounding a little above the rim if there’s room. Sprinkle the reserved cheddar over each stuffed pepper.
8. Cover the baking dish tightly with foil and bake for 20 minutes. Remove foil and bake an additional 8 to 10 minutes, until peppers are tender and cheese is bubbly and golden at the edges.
9. Let peppers rest for 5 minutes before serving. Serve with extra ketchup and mustard for dipping, and enjoy.
Equipment Needed
1. Oven (preheated to 400°F / 200°C)
2. Large baking dish or casserole pan
3. Sharp chef’s knife and cutting board
4. Skillet or frying pan (medium to large)
5. Wooden spoon or heatproof spatula
6. Measuring cups and spoons
7. Mixing bowl (for combining filling)
8. Cheese grater (for shredding cheddar)
9. Aluminum foil and oven mitts for safe handling
FAQ
Cheeseburger Stuffed Bell Peppers Recipe Substitutions and Variations
- Ground beef: swap for ground turkey or chicken for a leaner version, or use plant based ground crumbles (like Beyond Meat) if you want vegetarian vibes. Each cooks the same way but add a bit more seasoning for the turkey/chicken.
- Shredded sharp cheddar cheese: try mozzarella for melty stretch, pepper jack if you want a little spice, or a dairy free shredded cheese to keep it vegan friendly.
- Cooked white rice: replace with cooked quinoa for more protein and texture, or use cauliflower rice to cut carbs and calories.
- Breadcrumbs: use panko for extra crunch, crushed saltine crackers for a subtle buttery taste, or quick oats as a gluten free binder substitute.
Pro Tips
1) Roast the peppers a little before stuffing — about 10 minutes at 400F until they just start to soften. It makes them tender faster in the oven and prevents the filling from getting overcooked while you wait for the pepper to get soft. Don’t overdo it though, they should still hold their shape.
2) Brown and drain the beef well. If there’s lots of grease, blot it with a paper towel or drain in a sieve. Too much fat makes the filling soggy and it dilutes the flavor you worked for.
3) Cool the filling a minute before adding most of the cheese and stuffing the peppers. If it’s piping hot the cheese melts away and the mixture gets runny. Reserve some cheese to sprinkle on top so you get a nice golden crust.
4) Make ahead and reheat tips: you can assemble and keep covered in the fridge for up to 24 hours, or freeze unbaked stuffed peppers for up to 3 months. Thaw in the fridge overnight before baking and add 5 to 10 extra minutes to the bake time if they start cold.
Cheeseburger Stuffed Bell Peppers Recipe
I just turned a cheeseburger into Cheeseburger Stuffed Peppers and now I'm secretly plotting to make them every week because they somehow taste like the grill without leaving the kitchen.
4
servings
541
kcal
Equipment: 1. Oven (preheated to 400°F / 200°C)
2. Large baking dish or casserole pan
3. Sharp chef’s knife and cutting board
4. Skillet or frying pan (medium to large)
5. Wooden spoon or heatproof spatula
6. Measuring cups and spoons
7. Mixing bowl (for combining filling)
8. Cheese grater (for shredding cheddar)
9. Aluminum foil and oven mitts for safe handling
Ingredients
-
4 large bell peppers
-
1 lb (450 g) ground beef
-
1 small yellow onion
-
2 garlic cloves
-
1 cup (about 120 g) shredded sharp cheddar cheese
-
1/2 cup cooked white rice (optional)
-
1/4 cup breadcrumbs
-
2 tbsp ketchup
-
1 tsp yellow mustard
-
1 tbsp Worcestershire sauce
-
1 tbsp olive oil
-
1 tsp kosher salt
-
1/2 tsp black pepper
-
1/2 tsp smoked paprika (optional)
-
2 tbsp chopped fresh parsley (optional)
Directions
- Preheat the oven to 400°F (200°C). While it warms up, slice the tops off the 4 bell peppers, remove seeds and membranes, and set the peppers upright in a baking dish; if they wobble, trim a tiny bit from the bottoms so they sit flat.
- Heat 1 tbsp olive oil in a skillet over medium-high heat. Add 1 small chopped yellow onion and sauté until soft and starting to brown, about 4 minutes.
- Add 2 minced garlic cloves and 1 lb (450 g) ground beef to the skillet. Break the beef up with a spoon and cook until no longer pink, about 6 to 7 minutes.
- Stir in 2 tbsp ketchup, 1 tsp yellow mustard, 1 tbsp Worcestershire sauce, 1 tsp kosher salt, 1/2 tsp black pepper, and 1/2 tsp smoked paprika if using. Mix well and taste, adjust seasonings if needed.
- Remove the skillet from heat and stir in 1/4 cup breadcrumbs, 1/2 cup cooked white rice if using, and 2 tbsp chopped fresh parsley if you want a bright herb note. Let the mixture cool a minute so the cheese melts better.
- Fold in 1 cup (about 120 g) shredded sharp cheddar cheese into the beef mixture, reserving a small handful to sprinkle on top of the peppers later.
- Spoon the cheeseburger filling into the prepared bell peppers, packing it lightly and mounding a little above the rim if there's room. Sprinkle the reserved cheddar over each stuffed pepper.
- Cover the baking dish tightly with foil and bake for 20 minutes. Remove foil and bake an additional 8 to 10 minutes, until peppers are tender and cheese is bubbly and golden at the edges.
- Let peppers rest for 5 minutes before serving. Serve with extra ketchup and mustard for dipping, and enjoy.
Notes
- Below you’ll find my best estimate of this recipe’s nutrition facts. Treat the numbers as a guide rather than a rule—great food should nourish both body and spirit. Figures are approximate, and the website owner assumes no liability for any inaccuracies in this recipe.
Nutrition Facts
- Serving Size: 362g
- Total number of serves: 4
- Calories: 541kcal
- Fat: 36.3g
- Saturated Fat: 14g
- Trans Fat: 0.4g
- Polyunsaturated: 3g
- Monounsaturated: 15g
- Cholesterol: 109mg
- Sodium: 1010mg
- Potassium: 749mg
- Carbohydrates: 24.8g
- Fiber: 3.7g
- Sugar: 8.6g
- Protein: 40g
- Vitamin A: 1630IU
- Vitamin C: 121mg
- Calcium: 213.5mg
- Iron: 3.7mg