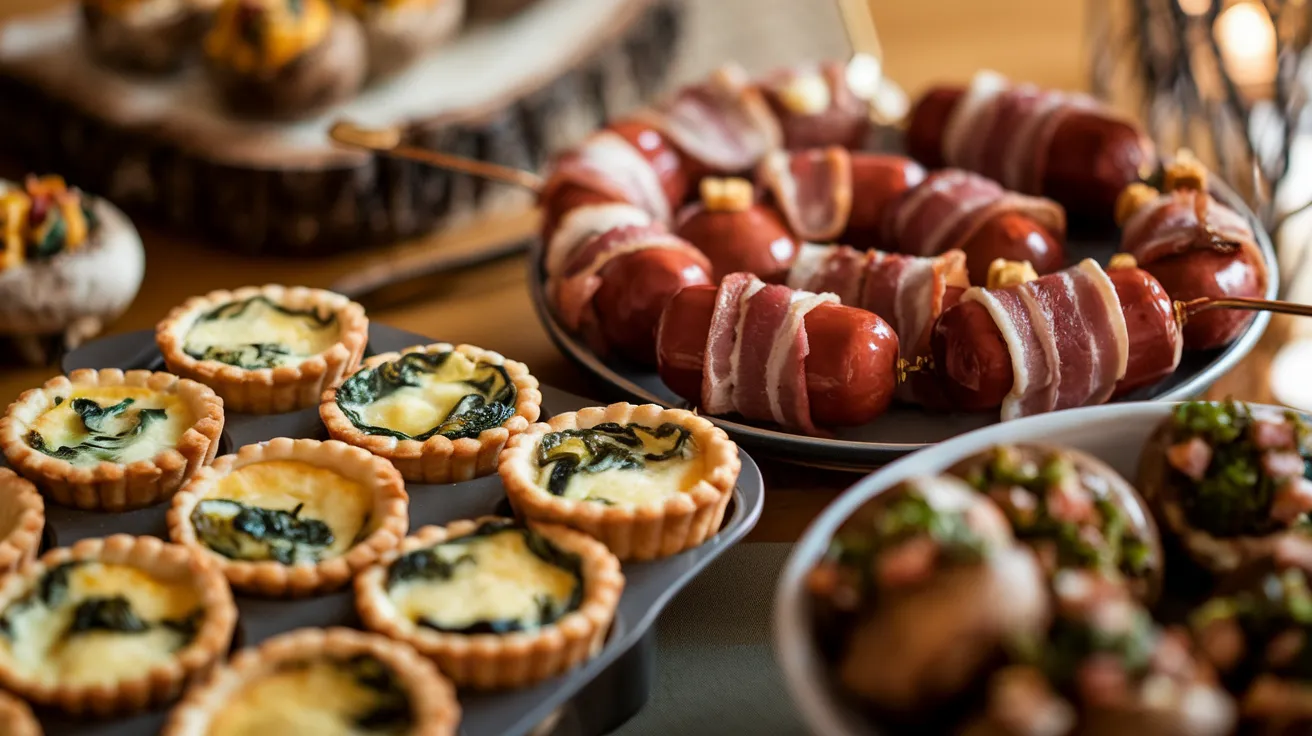
I adore New Year’s Eve parties, and when it comes to the pre-midnight hour, I like my appetizers to reign supreme. At those gatherings, I don’t serve many full-sized dishes—if any at all—but I always make sure to have a few small bites, plenty to share and with so many simple-to-make (or make ahead) options that the variety itself becomes an enticing part of the celebration.
Some of what I serve is creamy, some is meaty, and some is just packed full of fresh herbs and greens. They all have one thing in common, they are very Moorish!
To me, that’s the best way to enjoy a pre-midnight snack. And it’s the best way to enjoy a small bite as part of an inviting, colorful spread.
The 13 Best new years eve appetizers
1. Classic Shrimp Cocktail
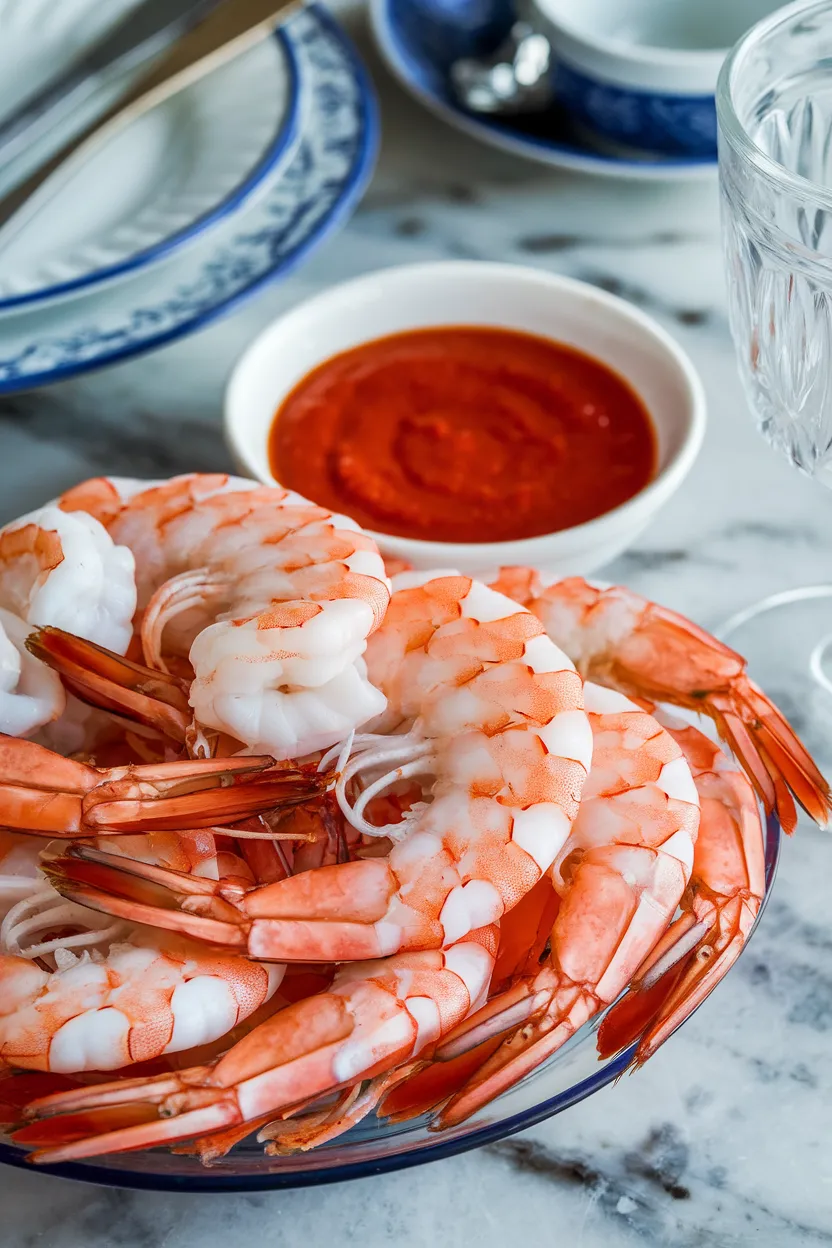
The reason I hold shrimp cocktail so dear is its sheer simplicity and elegance. Large shrimp are rapidly boiled in a mixture of salt and lemon before they’re chilled to absolute perfection.
They’re served cold with the sort of classic cocktail sauce.. This is a flavor combination that never gets old.

Ingredients
1 pound large shrimp, peeled and deveined
4 cups water
1 lemon, sliced
1 teaspoon salt
1 teaspoon Old Bay seasoning (optional)
Ice for chilling
1 cup cocktail sauce
Instructions
1. In a sizable pot, combine 4 cups of water, salt, and lemon slices, and bring to a boil. If you are using it, you can also add Old Bay seasoning at this time.
2. Place the shrimp in the rapidly boiling water and allow them to cook for approximately 2-3 minutes, until they are fully pink and opaque.
3. Take the shrimp from the pot and quickly move them to a bowl filled with ice water to halt the cooking process.
4. After cooling the shrimp, you should drain them and dry them with paper towels.
5. Present the shrimp that have been kept on ice with a dish of cocktail sauce.
2. Mini Beef Wellingtons
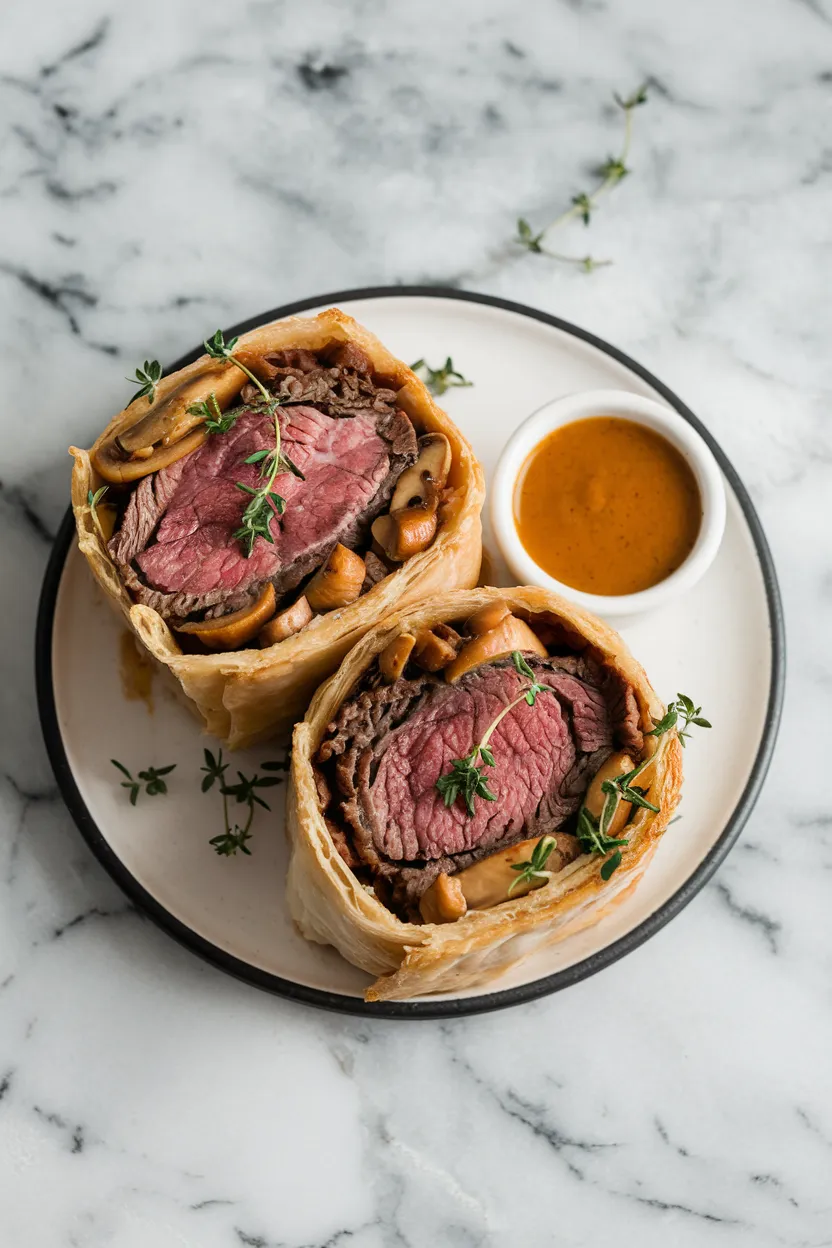
Creating Mini Beef Wellingtons brings me great joy. The dish’s main components are tender beef tenderloin cubes that, following my directions, are seared to perfection.
The mustard, Dijon in this case, is brushed onto the meat so that it flavors the beef without overwhelming the essential tastes of the dish. The stuffing, if you can call it that since it’s more of a flavor enhancer, is made from mushrooms and fresh thyme.
Together, these components, when enclosed in puff pastry and baked until golden, bursting with flavor and crunch, create a dish to die for.
 Ingredients
1 pound beef tenderloin, cut into 1-inch cubes
Salt and pepper, to taste
1 tablespoon olive oil
2 tablespoons Dijon mustard
1 tablespoon unsalted butter
1 small shallot, finely chopped
8 ounces mushrooms, finely chopped
1 teaspoon fresh thyme leaves
2 tablespoons dry white wine or sherry
1 package frozen puff pastry sheets, thawed
1 egg, beaten
1 tablespoon water
Instructions
1. Cube the beef, then season it with salt and pepper. In a medium to large skillet, heat the olive oil over medium-high heat. Add the beef cubes to the pan, and sear them on all sides until brown, about 2 to 3 minutes. Remove the beef from heat, and brush each cube with Dijon mustard. Allow the beef to cool before proceeding.
2. In the skillet, melt the butter over medium heat. Add the shallot and cook until nearly clear, about 2 minutes. Add the mushrooms and thyme and cook until almost no moisture remains, about 5-7 minutes. Pour in the white wine and cook until absorbed. Allow to cool.
3. The oven should be set to 400°F (200°C) to prepare it for cooking. Take the puff pastry and roll it out while it is still cold and on a floured surface. Cut the pastry into 3-inch (7.5 cm) squares.
4. In the center of every square, position a chunk of beef and a heaping spoonful of the mushroom mélange. Bring the corners of the pastry up over the filling to make a neat package. Use the egg wash to seal the edges tightly so that no filling can escape during baking.
5. Place the Wellingtons seam side down on a parchment paper-lined baking sheet. Brush the exposed surfaces of the Wellingtons with the egg wash.
6. Put in the preheated oven and bake until the pastry turns a nice golden brown and the beef is prepared to your taste, around 12 to 15 minutes. Slightly cool before cutting the beef wellington and serving it.
3. Stuffed Mushrooms
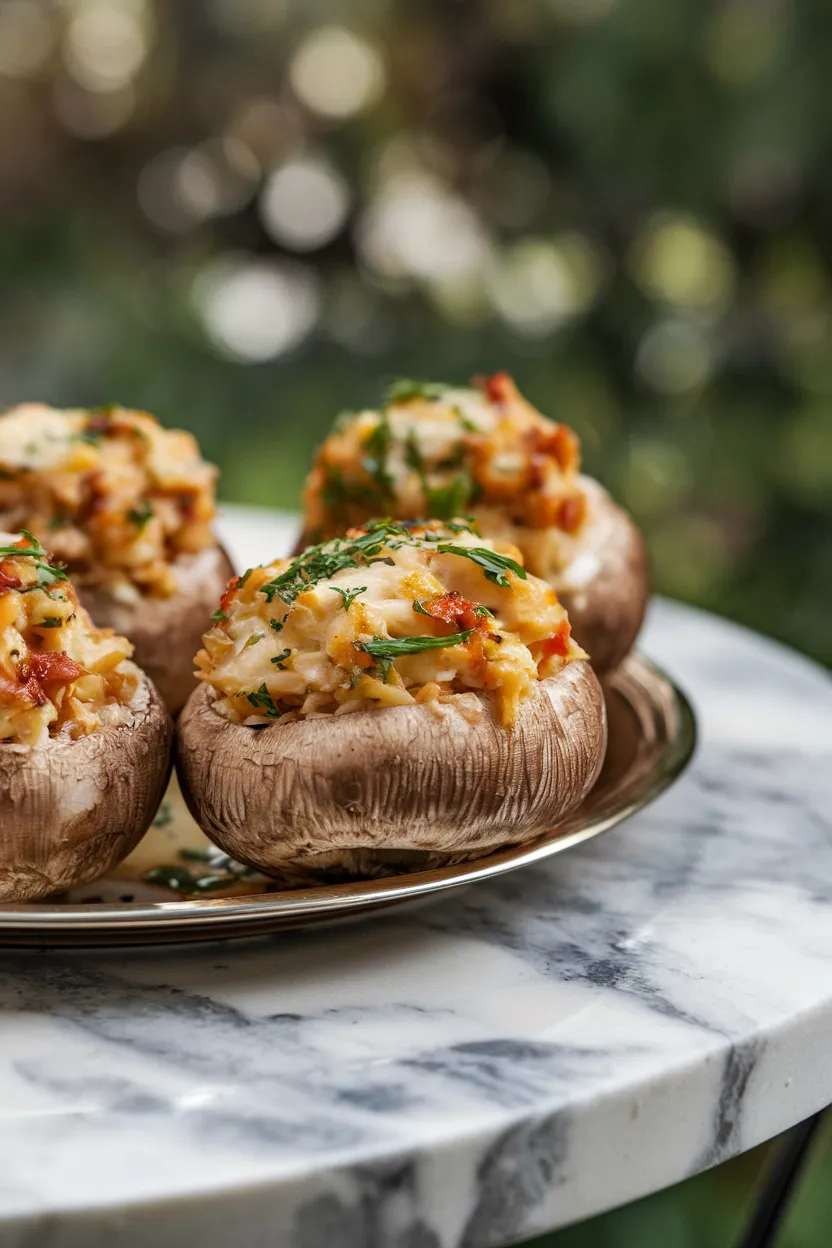
I love making stuffed mushrooms when we have special get-togethers. Using substantial white or cremini mushrooms, I make a stuffing with olive oil, garlic, and a few other ingredients to deliver some serious flavor.
A certain touch of Parm makes them rich, while the fresh parsley I use gives these mushroom caps a pop that makes them look finished in a way that also makes them taste “more.”
 Ingredients
12 large white or cremini mushrooms
2 tablespoons olive oil
1 small onion, finely chopped
2 cloves garlic, minced
1/4 cup bread crumbs
1/4 cup grated Parmesan cheese
2 tablespoons chopped fresh parsley
Salt and pepper to taste
Optional: 1/4 cup cream cheese for added creaminess
Instructions
1. The oven should be set to 375 degrees Fahrenheit (190 degrees Celsius). The mushrooms should be clean, and the stems removed with care. The caps should be set aside, and the stems should be chopped very finely.
2. Begin by warming olive oil in a skillet over medium heat. Add the chopped onion and garlic, and sauté until the onion is translucent.
3. Add the chopped mushroom stems and cook for another 2 to 3 minutes. Stir in bread crumbs, Parmesan, parsley, and salt and pepper to taste. For a creamier filling, mix in a little cream cheese to the stuffing before spooning it into the mushroom caps.
4. Generously fill each mushroom cap with the mixture. Set the filled mushrooms onto a baking sheet.
5. Put into the oven that has been heated to the proper temperature for about 20 minutes or until the fungus shows signs of softening and the crowns have developed a nice brown crust.
6. Let your stuffed mushrooms cool for several minutes before serving. Have a delicious time eating them on New Year’s Eve!
4. Bacon-Wrapped Dates
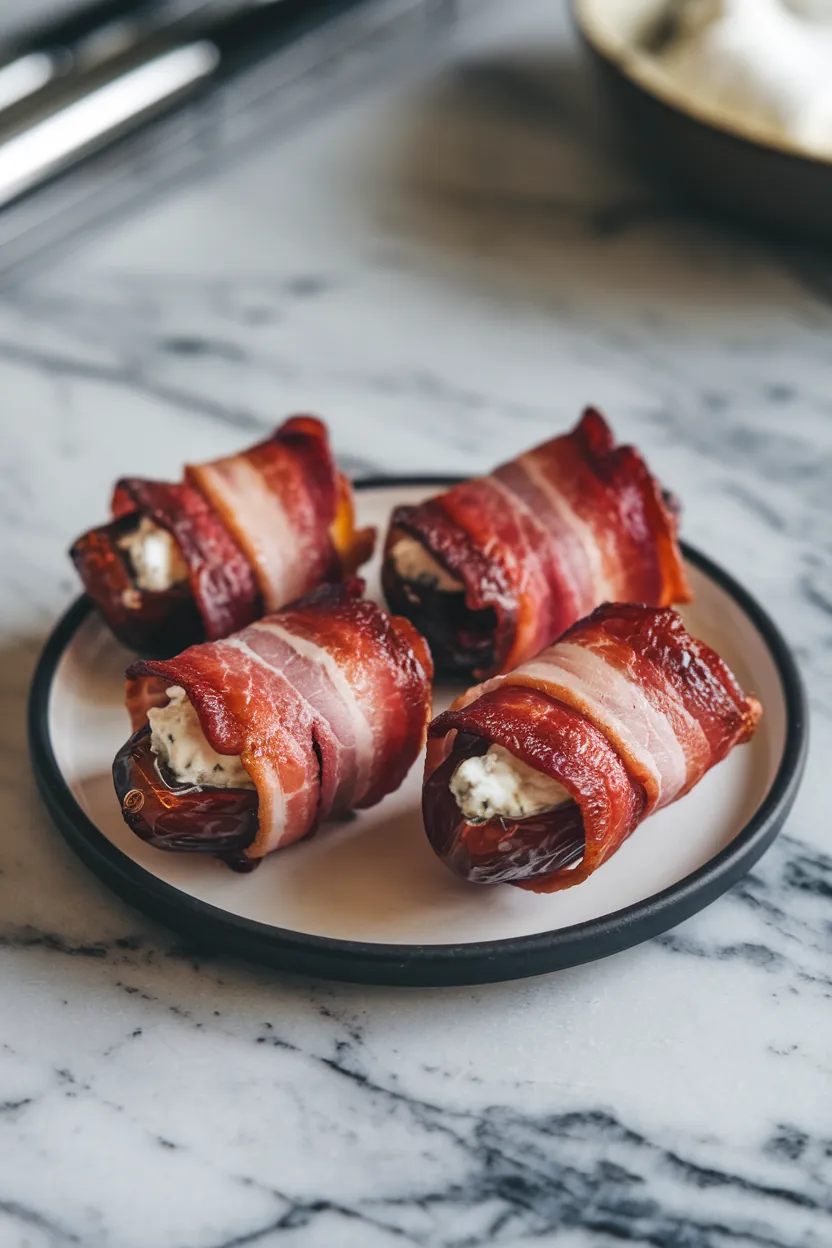
I love the neatness and finesse of bacon-wrapped dates. They are a charming little starter, with the sweetness of a date perfectly complemented by the crunchy savoriness of bacon.
When you take that little bite, it’s just such an unusual combination—you might not even think they go together, but they really do. Altogether, these bites are a pretty perfect appetizer for a festive gathering.

Ingredients
Dates (approximately 12-16, pitted)
Bacon slices (12-16 slices, thin-cut)
Goat cheese or blue cheese (optional, for stuffing)
Toothpicks
Instructions
1. Set the oven to 375°F (190°C) to warm it up.
2. If you choose to stuff the dates, use a teaspoon to fill each pitted date with a small amount of cheese.
3. Take bacon and slice it in half. Wrap each date in a half slice of bacon, keeping it together with a toothpick.
4. Place the bacon-wrapped dates on a baking sheet that has been lined with parchment paper.
5. Place in an oven set to 350°F and bake for 15-20 minutes.
6. Let them cool a bit before you serve them. And enjoy your scrumptious New Year’s Eve appetizers!
5. Caprese Skewers
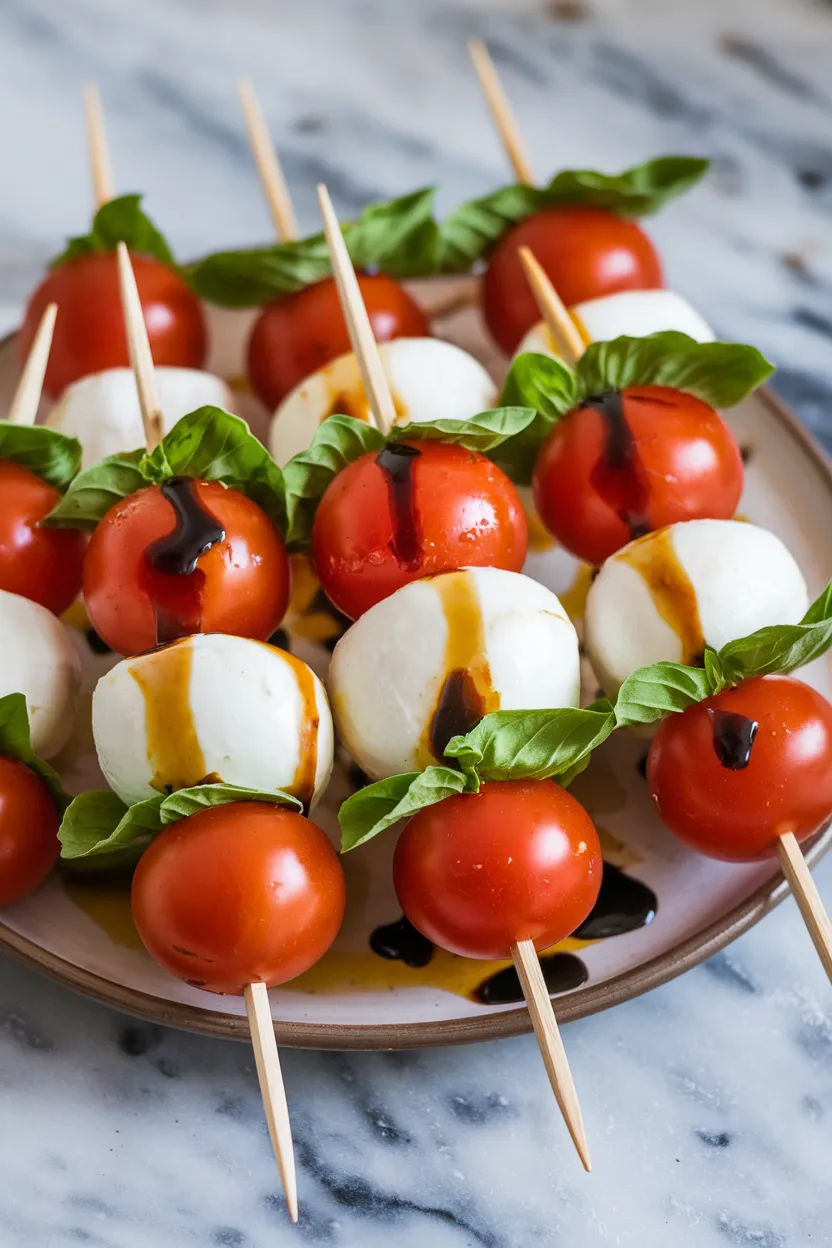
I relish the sheer simplicity and refreshing ingredients of Caprese skewers. These deceptively straightforward appetizers consist of cherry tomatoes, fresh mozzarella, and as always, my beloved basil.
They call for a drizzle of balsamic glaze and a flurry of extra virgin olive oil—then fasten them with a toothpick or skewer for easy eating..

Ingredients
Cherry tomatoes
Fresh mozzarella balls (bocconcini or ciliegine)
Fresh basil leaves
Balsamic glaze
Extra virgin olive oil
Salt
Freshly ground black pepper
Wooden skewers or toothpicks
Instructions
1. Clean the cherry tomatoes and basil leaves thoroughly, then dry them well.
2. First, take a skewer and begin to assemble the components of the caprese salad in the following order: a cherry tomato, a basil leaf (which may be folded), and a ball of fresh mozzarella.
3. Place the constructed skewers on a platter for serving.
4. For added flavor, drizzle the skewers with extra virgin olive oil and balsamic glaze.
5. Lightly sprinkle the skewers with salt and freshly ground black pepper to your liking.
6. Serve right away or chill until you are ready to serve. They taste best at room temperature, which is also the best way to serve them when you’re going for optimal flavor.
6. Deviled Eggs
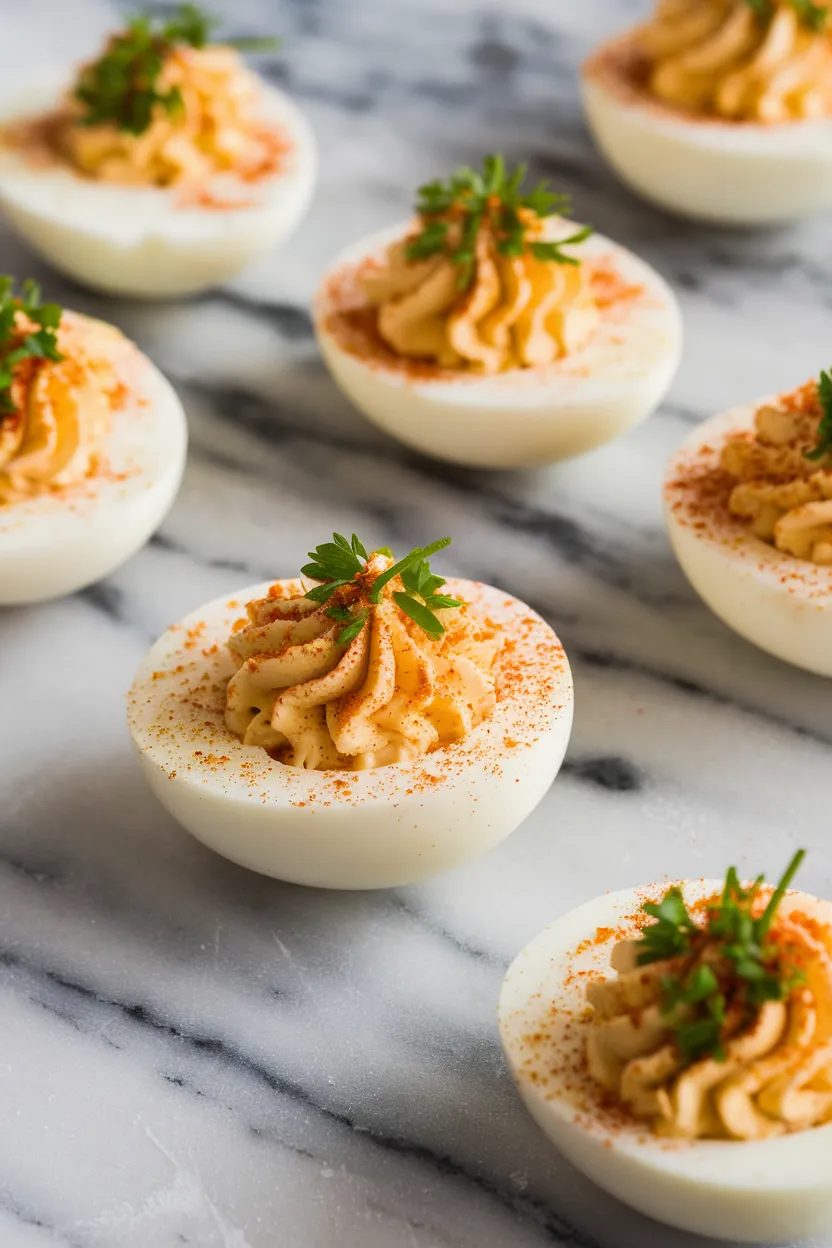
I love making creamy, dreamy deviled eggs for parties. Who doesn’t enjoy a perfectly boiled egg, halved, with its yolk blending beautifully with mayonnaise and Dijon mustard?
But wait—I’m not just making a better riff on egg salad here. And I’m not using any secret sous-vide techniques either.
Once you get the hang of boiling and peeling eggs, this classic, two-bite, tangy, and slightly spicy appetizer is aces.

Ingredients
6 large eggs
3 tablespoons mayonnaise
1 teaspoon Dijon mustard
1 teaspoon white vinegar
Salt, to taste
Black pepper, to taste
Paprika, for garnish
Fresh chives or parsley, for garnish (optional)
Instructions
1. In a single layer, place the eggs in a saucepan and cover them with water. Over medium-high heat, bring the water to a full rolling boil. When the water reaches a rolling boil, turn the heat off and cover the pan. Let the eggs sit in the hot water for 10 to 12 minutes.
2. Drain the hot water off the eggs and let them cool in ice water for at least 5 minutes before peeling.
3. Cut the boiled eggs in half lengthwise. Remove the yolks gently and place them in a mixing bowl. Set the egg white halves aside on a serving plate.
4. Using a fork, thoroughly combine the egg yolks and mayonnaise until smooth. Then, add the mustard, vinegar, salt, and pepper, and mix well. Adjust the amount of seasoning to your taste.
5. Return the yolk mixture to the egg white halves using a spoon or piping bag. Be sure to distribute the mixture evenly among the halves.
6. For garnish, the filled eggs can be set atop a light dusting of paprika. If you want to take the presentation up a notch, you can finish the dish with finely chopped chives or parsley. Either way, these egg halves are best served chilled.
7. Mini Crab Cakes
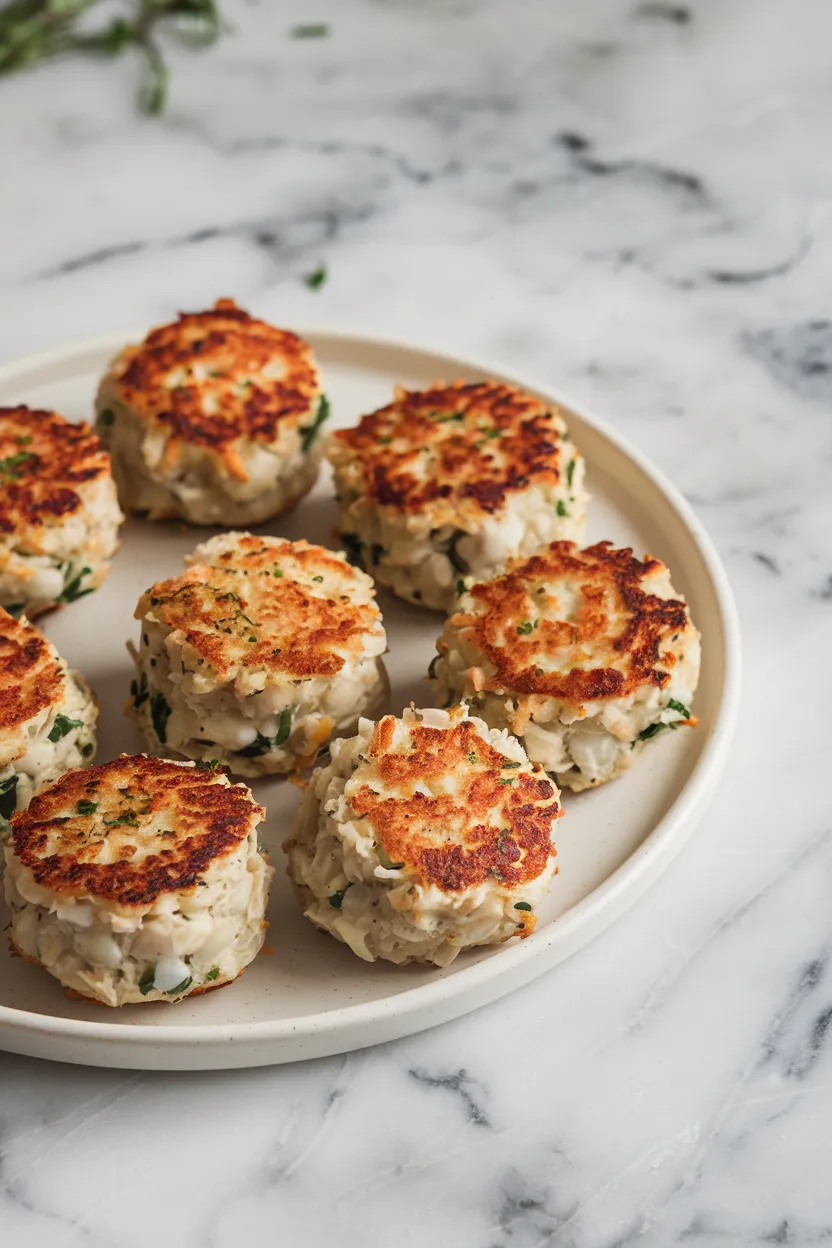
I enjoy preparing mouthwatering small crab cakes with the best lump crab meat. I pair that premium protein with a sauce made of mayo, Dijon mustard, and Worcestershire sauce that I like to think of as my rich, delicious sauce for crab cakes.
It gets even better with vibrant red bell pepper and fresh green onions. These patties crisp up beautifully in a skillet.
They are a delightful seafood treat that’s both satisfying and elegant.

Ingredients
- 8 ounces lump crab meat, drained and picked over for shells
- 1/4 cup mayonnaise
- 1 large egg, lightly beaten
- 1 tablespoon Dijon mustard
- 1 teaspoon Worcestershire sauce
- 1 teaspoon Old Bay seasoning
- 1/4 cup finely chopped red bell pepper
- 1/4 cup finely chopped green onions (scallions)
- 1/2 cup panko breadcrumbs
- 2 tablespoons chopped fresh parsley
- Salt and pepper, to taste
- 2 tablespoons vegetable oil, for frying
- Lemon wedges, for serving
Instructions
1. In a big bowl, mix together the mayonnaise, egg, Dijon mustard, Worcestershire sauce, and Old Bay seasoning until smooth.
2. Carefully combine the crab meat, red bell pepper, green onions, panko breadcrumbs, and parley. Add salt and pepper to taste.
3. Shape the blended components into small cakes about 1.5 to 2 inches wide. Set them on a tray and chill them in the refrigerator for at least half an hour or until they have become firm enough to hold their shape.
4. A large, non-stick skillet should be used to medium-heat vegetable oil. The crab cakes can then be fried in batches for 3-4 minutes on each side, or until they are a perfect golden brown.
5. Move the crab cakes to a plate that has been lined with paper towels in order to soak up any extra oil. Serve the cakes warm with lemon wedges.
8. Cheese and Charcuterie Board
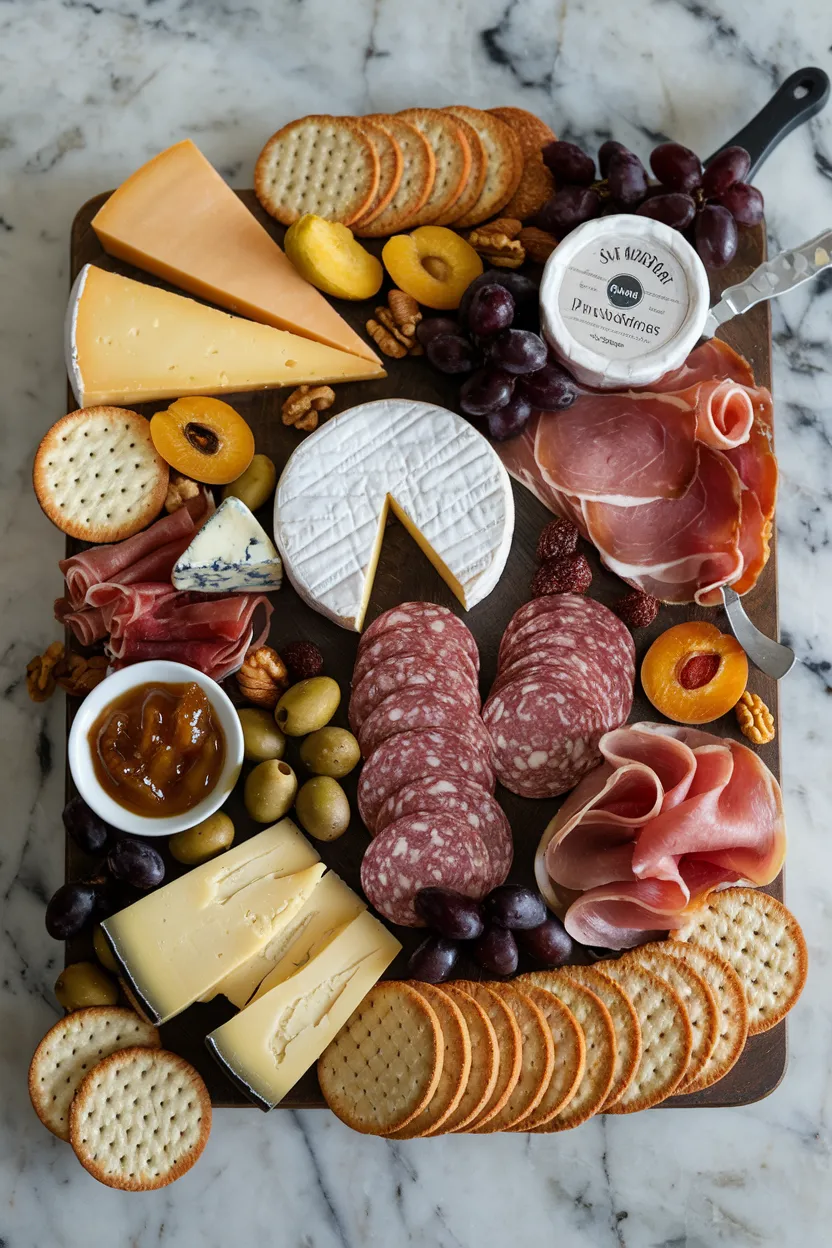
I take great pleasure in assembling a charcuterie board—a task that I find to be both simple and versatile, as far as culinary endeavors go. It does not take too long—in fact, this one had to be put together in a hurry; I had about thirty minutes.

Ingredients
Aged Cheddar Cheese
Brie Cheese
Blue Cheese
Goat Cheese
Cured Salami
Prosciutto
Spicy Chorizo
Soppressata
Crackers (assorted types)
Sliced Baguette
Olives
Cornichons
Dried Apricots
Fresh Grapes
Mixed Nuts (almonds and walnuts)
Honey or Fig Jam
Instructions
1. Choose a substantial wooden board or platter to use as the foundation for your charcuterie board.
2. Place the cheeses in various sections of the board, spacing them evenly throughout.
3. For convenient snacking, the cured meats should be folded and laid around the cheeses.
4. Fill the other gaps with an assortment of crackers and sliced baguette, placing them near each variety of cheese.
5. For an eye-catching and varied board, strewn about it are olives, cornichons, dried apricots, and fresh grapes.
6. Plug any gaps with mixed nuts and provide a small dish of honey or fig jam for additional sweetness.
9. Spinach and Artichoke Dip
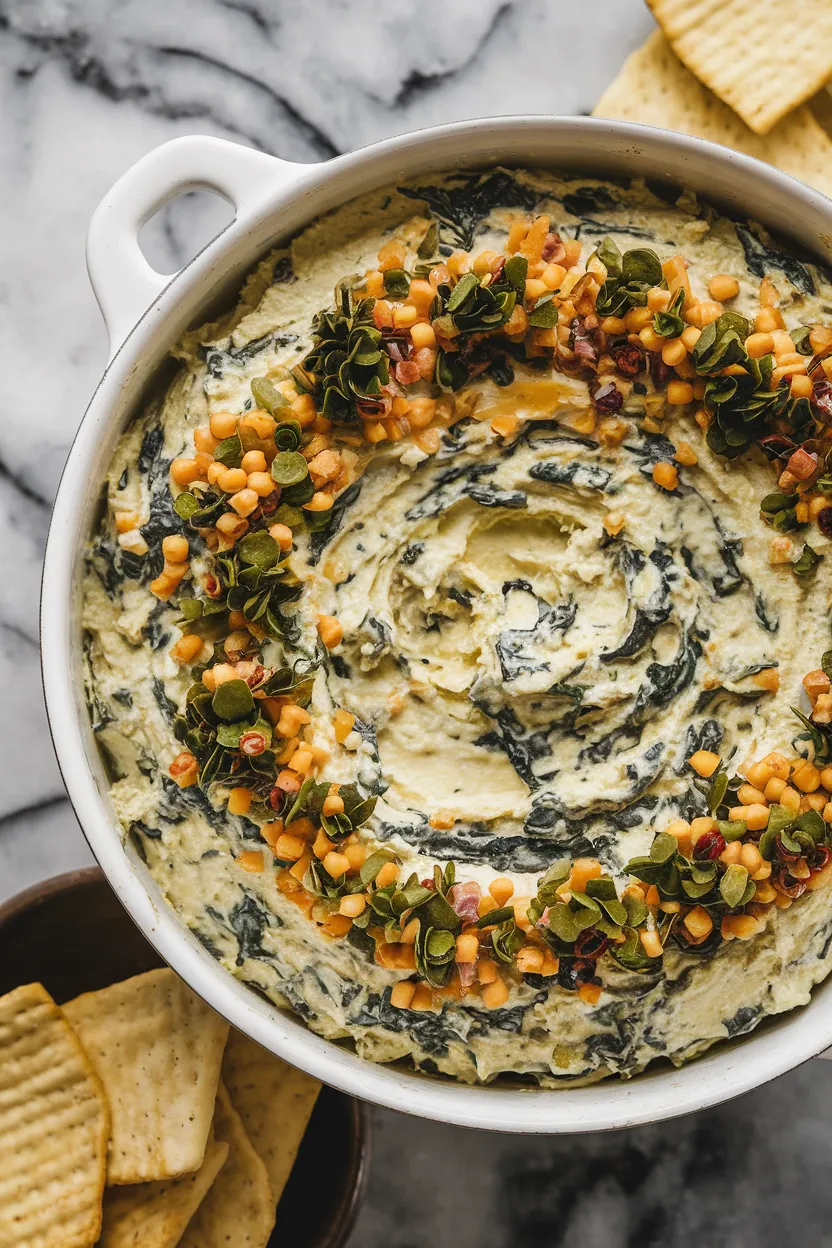
One of the most timeless and delightful appetizers is spinach and artichoke dip. It is essentially warm, creamy, and cheesy, making it perfect for eating alongside tortilla chips or sliced bread.
Its base is a mixture of cream cheese and sour cream, and it is beautifully studded with artichoke hearts and spinach. In other words, it is very similar to a cheese dip, but somehow it makes you feel better about indulging because it has some greens in it.

Ingredients
1 cup frozen chopped spinach, thawed and drained
1 can (14 oz) artichoke hearts, drained and chopped
1 cup cream cheese, softened
1 cup sour cream
1/2 cup mayonnaise
1 cup grated Parmesan cheese
1 teaspoon minced garlic
1 cup shredded mozzarella cheese
Salt and pepper to taste
Instructions
1. Set your oven to 350 degrees Fahrenheit (175 degrees Celsius) to heat up.
2. In a substantial mixing bowl, whisk together the cream cheese, sour cream, mayonnaise, and Parmesan cheese. Work until the mixture reaches an even smoothness.
3. Incorporate the spinach, artichoke hearts, minced garlic, salt, and pepper. Combine well.
4. Pour the mixture into a baking dish and smooth it out. Then, top with a generous helping of shredded mozzarella cheese.
5. Place in an oven that has been heated to the desired temperature for 20-25 minutes, or until the dish’s surface is golden brown and bubbling with excitement.
6. Present warm alongside tortilla chips, pita bread, or sliced baguette for an appetizer sure to please a crowd.
10. Prosciutto-Wrapped Asparagus
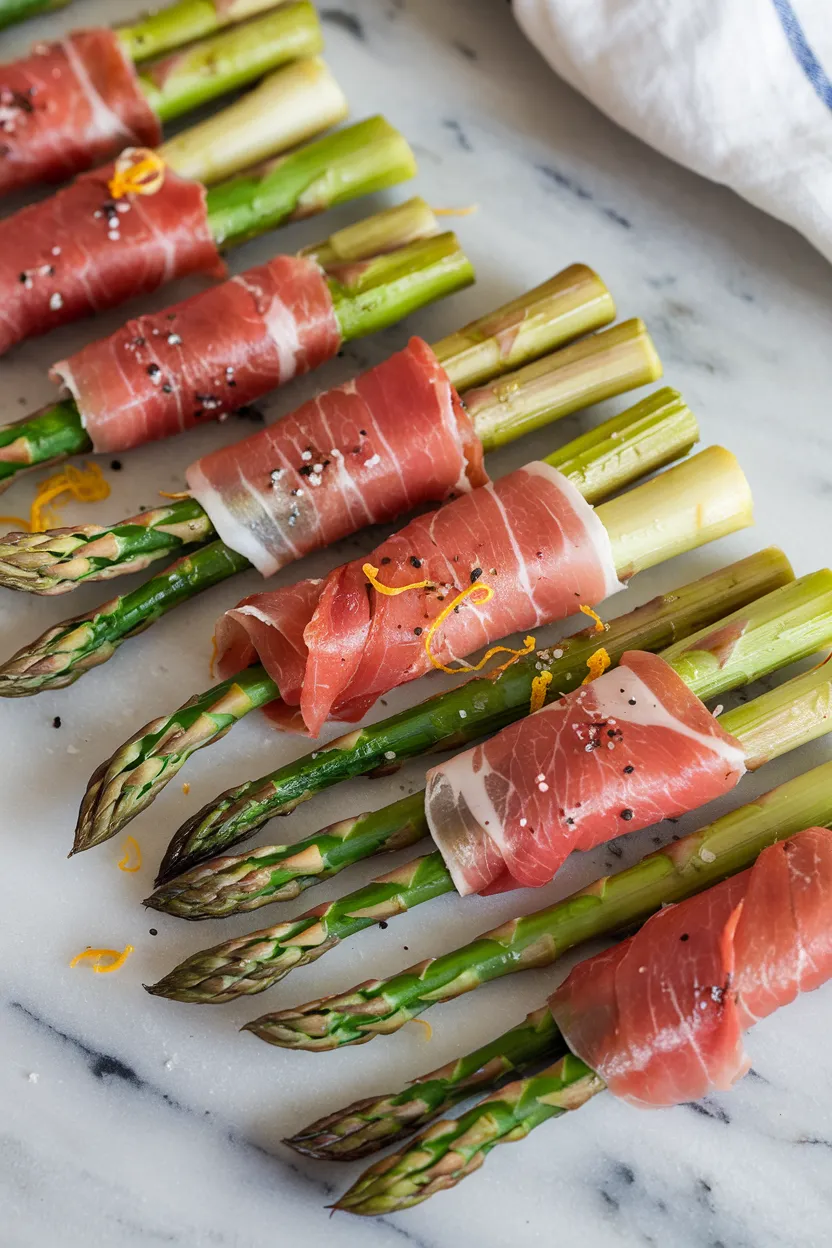
I enjoy the straightforward yet sophisticated dish that results from the union of fresh asparagus and prosciutto. The olive oil, lemon zest, salt, and pepper enhance the flavors of the crisp hazy green stalks, but it is the prosciutto that really vaults this dish into the realm of the tangy and luxurious.
And if you think this appetizer couldn’t get any better, try pairing it with a flinty white wine that would bring you back to the hills of Burgundy, where Chardonnay grapes are grown.

Ingredients
1 bunch of fresh asparagus (approximately 20 spears)
10 slices of prosciutto
2 tablespoons olive oil
1 teaspoon lemon zest
Salt and pepper to taste
Instructions
1. Set your oven to 400°F (200°C) to start heating up.
2. Cut off the tough ends of the asparagus spears.
3. Coat the asparagus with olive oil, and then season it with salt, pepper, and lemon zest. Combine well to ensure an even coating and distribution of seasonings.
4. Halve the prosciutto slices. Then take a slice and wrap it around the middle of an asparagus spear. Repeat with the remaining slices and asparagus until you’ve wrapped them all.”
5. Place the wrapped asparagus in a single layer on a parchment-lined baking sheet.
6. Place in an oven that has been heated to the right temperature. Allow a good 10-12 minutes for the whole assembly to achieve two important qualities: the asparagus should become tender, and the prosciutto should become crispy.
11. Smoked Salmon Blinis
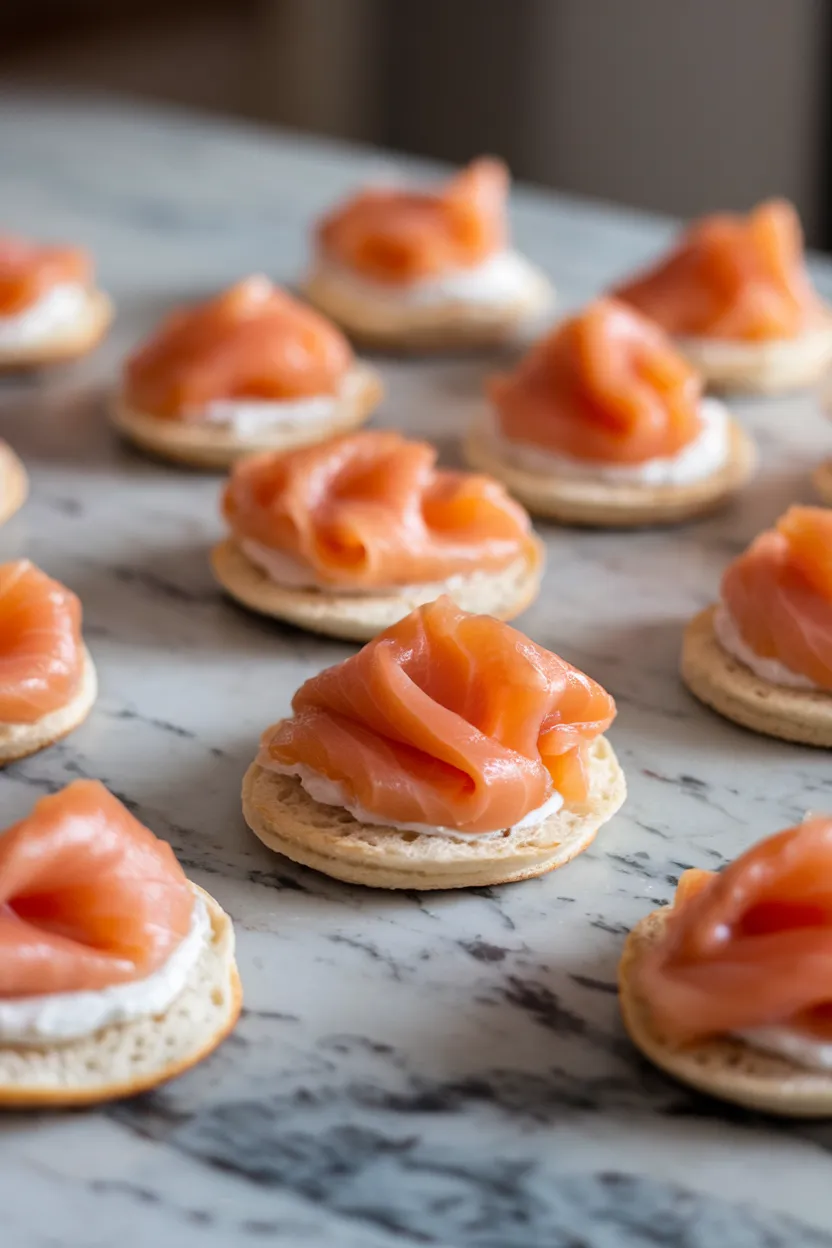
Blinis with smoked salmon are a superb starter that stands at the intersection of supremely simple and sophisticated. The blini itself is a delicate little pancake—neither overly sweet nor savory, it pretty much exists to set off the flavors above and below it.
And when you’re working with the flavors of smoked salmon and sour cream or crème fraîche, there is no better base.

Ingredients
1 cup all-purpose flour
1 teaspoon baking soda
1/4 teaspoon salt
1 large egg
1 cup buttermilk
2 tablespoons unsalted butter, melted
1 tablespoon chopped fresh dill
4 ounces smoked salmon, thinly sliced
1/4 cup sour cream or crème fraîche
1 tablespoon lemon juice
Fresh dill sprigs or chives for garnish
Optional: Black pepper to taste
Instructions
1. Whisk together the flour, baking soda, and salt in a mixing bowl.
2. In a separate bowl, mix the egg, buttermilk, and melted butter. Whisk until blended completely.
3. Add the wet ingredients to the dry ingredients and mix until just combined. Fold in the chopped dill.
4. Preheat a non-stick skillet over medium heat. Place spoonfuls of batter in the skillet, using about a tablespoon for each pancake. Cook pancakes until golden brown, about 1-2 minutes on each side. Remove from skillet and let cool—slightly, at least—before devouring.
5. Place a small dollop of sour cream or crème fraîche on top of each blini. Follow this with a piece of smoked salmon.
6. Squeeze fresh lemon juice onto the blinis topped with salmon, and garnish them with sprigs of dill or chives. If you like, you can give them a dusting of black pepper, and then serve them.
12. Bruschetta Trio
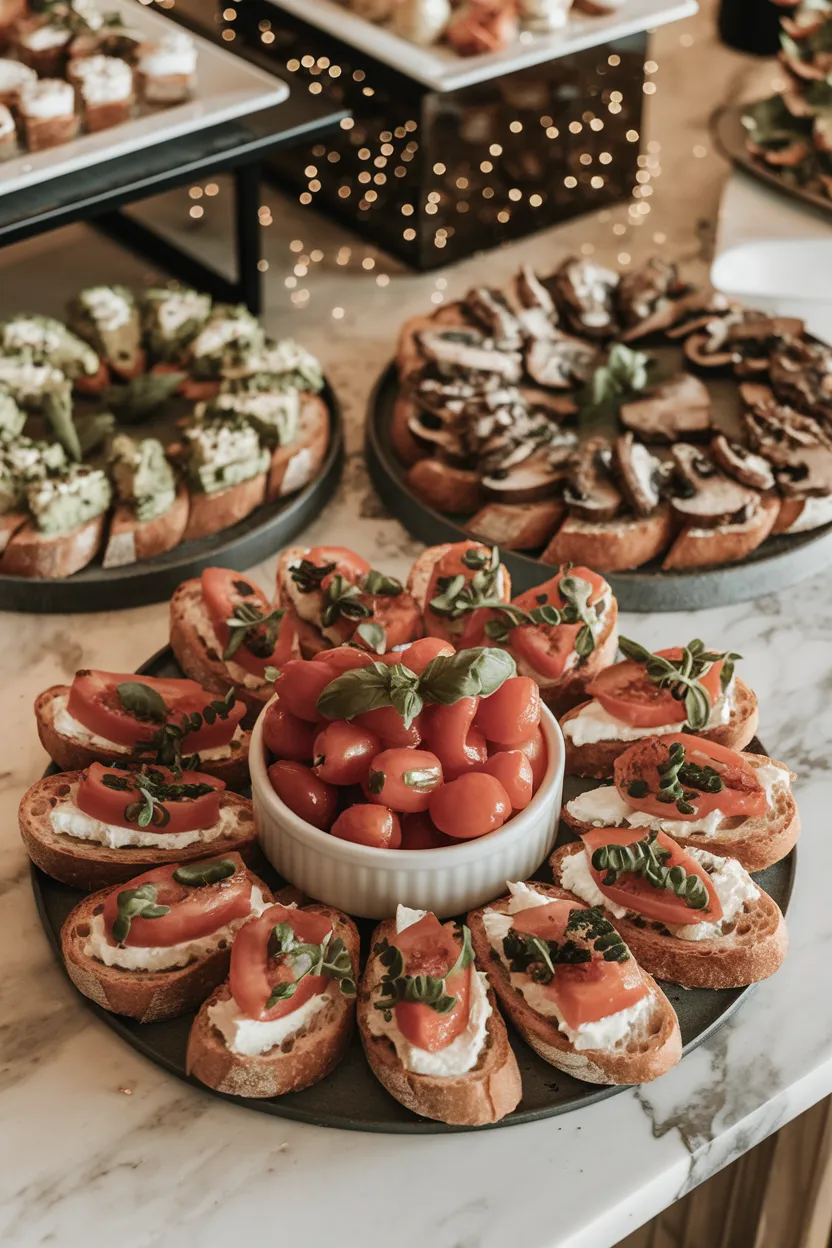
Bruschetta is one of my favorite Italian appetizers. It’s amazing how such simple ingredients can make such a delicious dish!
True, bruschetta can be many things—it can be a vehicle for delivering almost any topping one can imagine. But at its core, bruschetta is just toasted bread that’s been rubbed with garlic and drizzled with good olive oil.

Ingredients
French baguette or Italian bread (1 loaf)
Olive oil (for brushing)
Fresh garlic cloves (2, halved)*Topping 1: Classic Tomato Basil Bruschetta*
Ripe tomatoes (3-4, diced)
Fresh basil leaves (handful, chopped)
Olive oil (2 tablespoons)
Balsamic vinegar (1 tablespoon)
Salt and pepper to taste*Topping 2: Creamy Avocado and Feta*
Ripe avocados (2, peeled and diced)
Feta cheese (1/2 cup, crumbled)
Fresh lime juice (1 tablespoon)
Red onion (1/4, diced)
Salt and pepper to taste*Topping 3: Mushroom and Goat Cheese*
Cremini or button mushrooms (1 cup, sliced)
Goat cheese (1/2 cup, crumbled)
Fresh thyme (1 teaspoon, chopped)
Olive oil (1 tablespoon)
Salt and pepper to taste
Instructions
1. Your oven needs to be set to 400°F (200°C) to begin. Take the baguette and cut it into slices that are 1/2 inch thick. Place the slices onto a baking sheet. Use the olive oil to brush each slice of bread.
2. Place the bread slices in the oven and set a timer for 5-7 minutes. When they are done, they should be toasted and golden brown.
3. For the Toppings: Prepare each topping separately. For the Tomato Basil Bruschetta, put the tomatoes, basil, olive oil, balsamic vinegar, salt, and pepper in a bowl and mix well.
4. To prepare the Avocado and Feta topping, combine the avocados, feta cheese, lime juice, red onion, salt, and pepper in a bowl. Mix gently, being careful not to mash the avocados, so that the topping has some texture when served.
5. To prepare the Mushroom and Goat Cheese topping, you first need to heat some olive oil in a skillet over medium heat. Next, sauté the mushrooms until they’re tender and practically oozing moisture. This should take about 5 minutes. Stir in some fresh thyme and season the mixture with salt and pepper.
6. Put together the bruschetta by heaping one of the prepared toppings onto each of the toasted bread slices. Serve at once or allow to cool to room temperature. Either way, they are a charming garnish to a New Year’s Eve party.
13. Puff Pastry Sausage Rolls
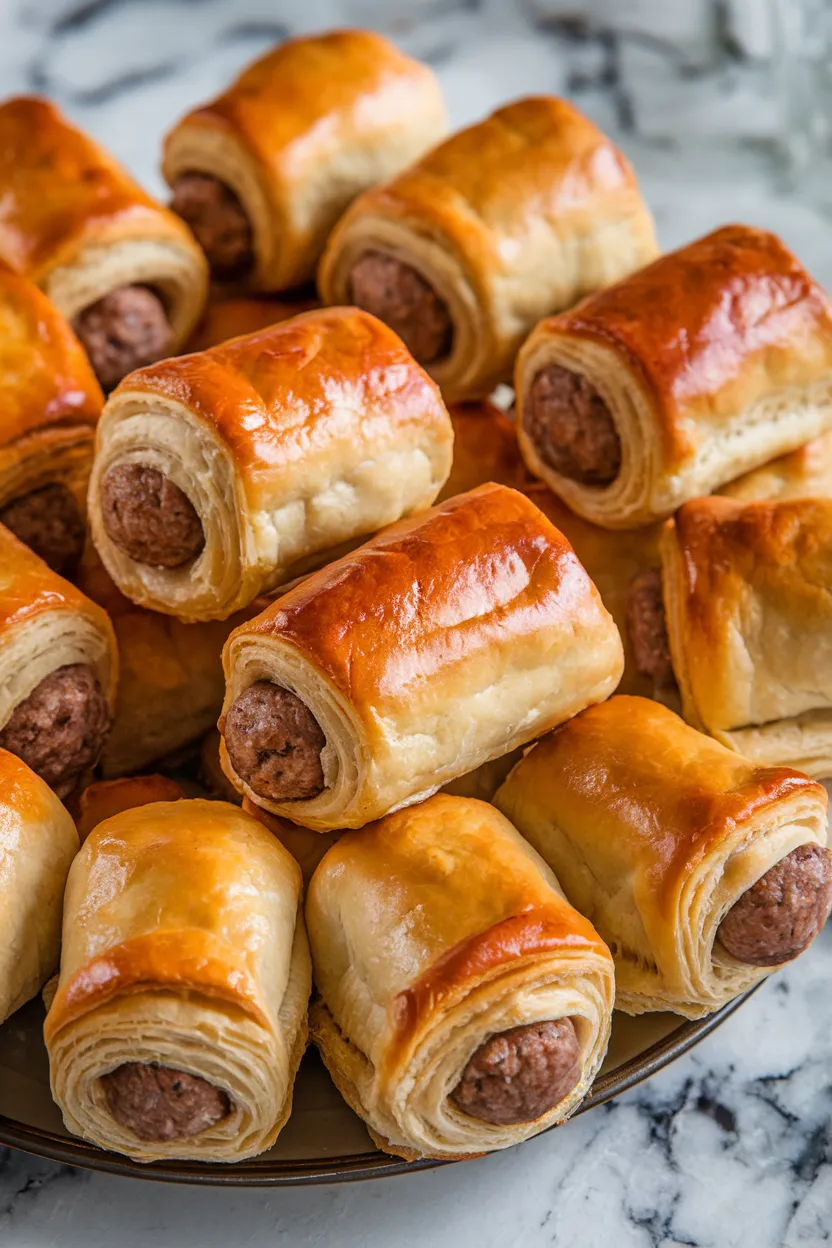
Puff pastry sausage rolls are one of my favorite foods to make.
The puff pastry is flaky and light, and when you bite into one of these rolls, you are met with a savory, almost rich filling of pork sausage. To make them, you combine the ground pork with some bread crumbs, a good amount of fresh parsley, and a few fragrant cloves of garlic.
Then you roll out the puff pastry and encase the filling before baking, at which point the whole house is filled with a scent that’s hard to beat.

Ingredients
1 package of puff pastry (2 sheets)
1 pound ground pork sausage
1/4 cup breadcrumbs
1 tablespoon fresh parsley, finely chopped
1 clove garlic, minced
1/2 teaspoon onion powder
1/2 teaspoon ground black pepper
1 egg, beaten (for egg wash)
Instructions
1. Set your oven to 400°F (200°C) and prepare a baking sheet with parchment paper.
2. In a bowl for mixing, combine the following items: pork sausage that has been ground, bread crumbs, parsley, garlic that has been minced, onion powder, and black pepper. Mix these ingredients well until they are completely integrated.
3. On a surface dusted with flour, unroll the sheets of puff pastry. Cut each sheet into three equal rectangles.
4. Split the sausage mixture into six parts. Each part should be shaped into a log and placed in the center of a pastry rectangle.
5. Use the beaten egg to paint the edges of the pastry. Encase the sausage in the pastry, folding it over and pressing the edges together to seal. Place the sealed pastry onto the baking sheet, making sure that the seam is down and the pastry is not folded over in the front like a flap.
6. Cut each roll into 3-4 smaller sections. Brush the tops of the sections with the remaining egg, which you’ve beaten before this step. Place the sections in an oven set to 375 degrees Fahrenheit, and allow to bake for 20-25 minutes. Remove from the oven when the sections are a golden brown color and the sausage seems to be fully cooked.

