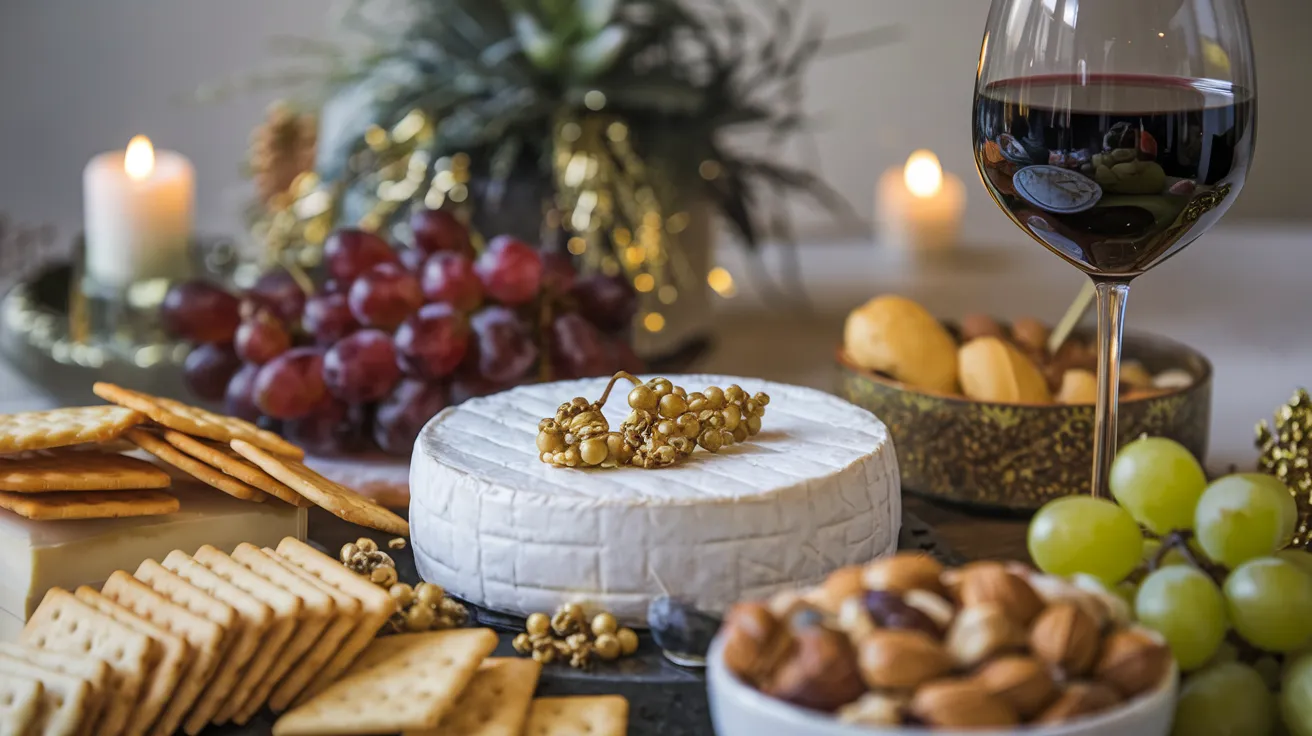
As New Year’s Eve approaches, I enjoy assembling a buffet of snacks that are as intense and wonderful as the night itself. I adore blending disparate flavors.
For instance, I take sriracha—a hot sauce from Thailand made from chili, garlic, sugar, and vinegar—and whip it into my creamy avocado dip, making a zesty combo of flavor and spice.
My canapés of smoked salmon, fresh dill, and crispy baguette slices earn their “vanishing” status because they are the very definition of tasty.
And my sweet offerings don’t scrimp either, with chocolate-dipped strawberries and bananas being the prime choices. Here are another 14 different options to enjoy!
The 14 Best New Years Snacks
1. Cheese Platter
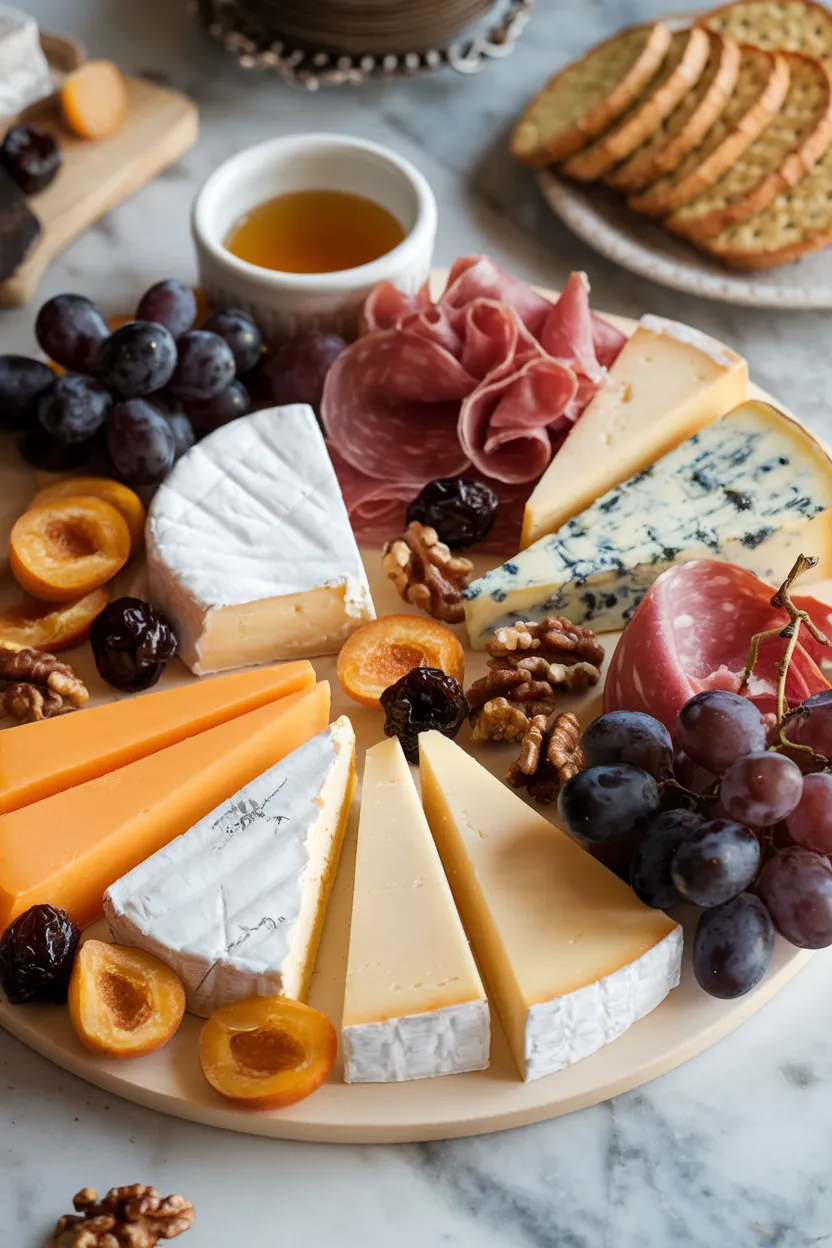
I love making a cheese platter. It is such a delightful combination of flavors and textures.
Aged cheddar, creamy brie, salami, prosciutto—these are fantastic centerpiece items for any gathering. I usually throw in some grapes and honey for that sweet touch.
This cheese platter? A harmonious presentation.

Ingredients
Aged cheddar cheese
Brie cheese
Blue cheese
Goat cheese
Prosciutto
Salami
Grapes
Dried apricots
Candied walnuts
Honey
Crackers or artisan bread
Instructions
1. Select a sizable wooden board or platter to serve as the foundation for your cheese platter presentation.
2. Cut the aged cheddar and brie into wedges, and crumble the blue cheese. Arrange each of the cheeses in distinct sections of the board.
3. The small bundles of prosciutto and salami should be rolled and placed around the cheeses.
4. Balance color and flavor by filling the gaps with bunches of grapes and some dried apricots.
5. Include a tiny bowl of candied walnuts and a dish of honey to serve with the cheeses.
6. Artisan bread or crackers should be placed around the edges of the platter for guests to use as a vehicle for cheese tasting.
2. Pigs in a Blanket
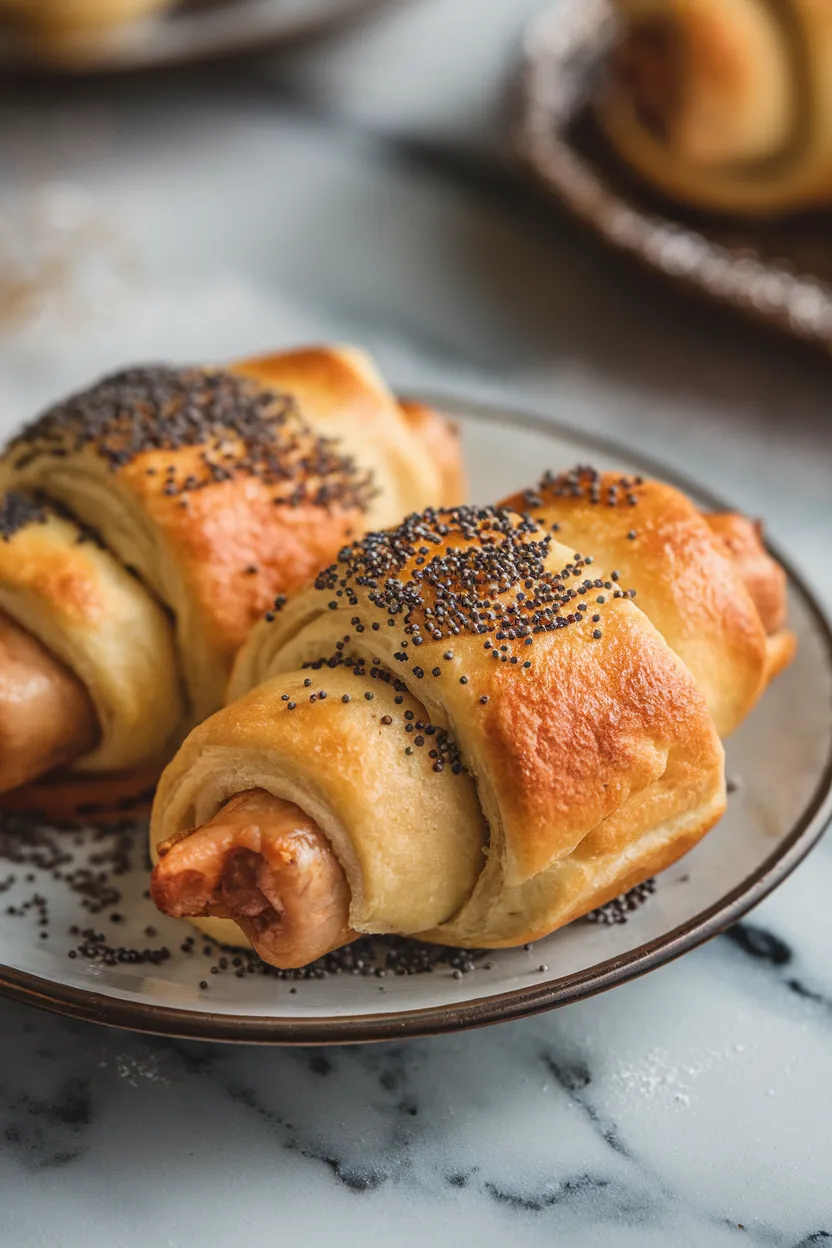
I adore the straightforwardness of crafting a timeless starter with only a handful of components: franks, crescent roll dough, and, if you like, garnishes such as poppy or sesame seeds. This smart and tasty little number could not be simpler yet somehow feels fancy, what with the crispy, flaky exterior that gives way to the juicy warm dog inside.
And who wouldn’t want a gathering that included this as one of its touchpoints?

Ingredients
8 hot dogs or cocktail sausages
1 package refrigerated crescent roll dough
1 egg (optional, for egg wash)
1 tablespoon water (optional, for egg wash)
1 tablespoon poppy or sesame seeds (optional, for garnish)
Instructions
1. Set your oven to 375°F (190°C) to heat ahead of time and prepare a baking sheet by lining it with parchment paper.
2. Open the package of crescent roll dough and separate it into individual triangles as shown.
3. If using full-size hot dogs, cut each one in half before proceeding. If using cocktail-sized sausages, proceed directly to the next step without cutting.
4. Put a piece of sausage at the wide end of each crescent dough triangle and roll it up toward the narrow end.
5. When using, beat the egg with water to create the egg wash. Brush the tops of the wrapped sausages with the egg wash, then garnish them with a sprinkling of poppy or sesame seeds.
6. Position the rolls on the baking sheet that has been prepared in advance, and place them in the oven. Let them bake for 12 to 15 minutes, or until they are golden brown and a toothpick inserted into the center comes out clean. Serve them warm.
3. Shrimp Cocktail
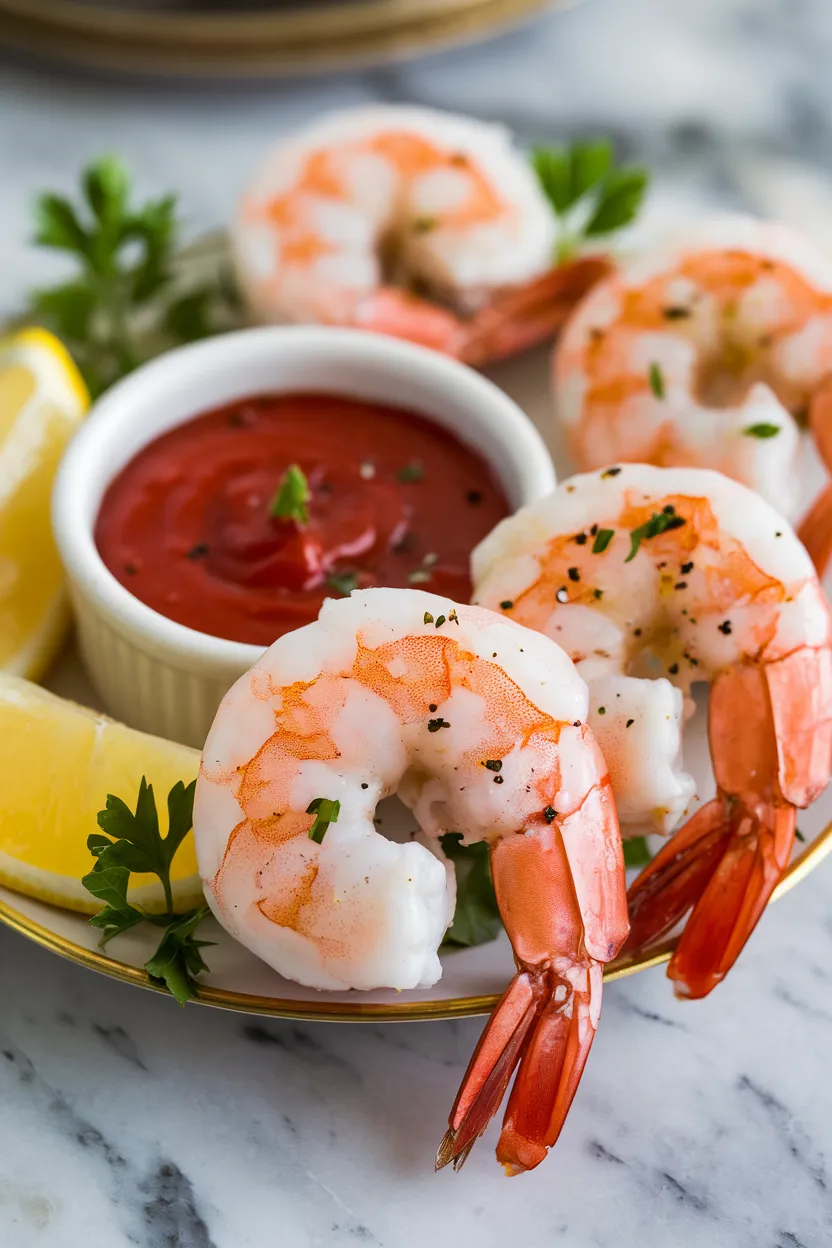
I have a real fondness for classic appetizers, and shrimp cocktails are one of those simple, yet ever-so-elegant starters. I give them a fresh spin by using roasted shrimp instead of poached shrimp (which is what you normally get in a shrimp cocktail).
For me, it’s all about combining those ocean flavors with a cocktail sauce that is as tangy as can be. Of course, a squeeze of lemon is a must.

Ingredients
1 pound large shrimp, peeled and deveined
1 tablespoon olive oil
Salt, to taste
Black pepper, to taste
1 cup ketchup
2 tablespoons horseradish
1 tablespoon lemon juice
1 teaspoon Worcestershire sauce
Lemon wedges, for garnish
Fresh parsley, for garnish
Instructions
1. Set your oven to 400°F (200°C) to heat while you prepare the following ingredients. The shrimp should be tossed with some good olive oil, salt, and pepper until fairly well coated; then they should be laid out in a single layer on a half-sheet pan (or other oven-safe pan that holds the shrimp snugly in a single layer).
2. In the preheated oven, roast the shrimp for 6-8 minutes, or until they appear pink and opaque, remembering to turn them halfway through the cooking time.
3. As the shrimp roast, prepare the cocktail sauce by combining ketchup, horseradish, lemon juice, and Worcestershire sauce in a small bowl. Season to taste.
4. When finished, take the shrimp out of the oven and allow them to cool a bit.
5. Cocktail sauce goes very well with the shrimp; you can serve it on the side. You can serve the shrimp either at room temperature or chilled, garnishing it with neat lemon wedges and very fresh parsley.
4. Stuffed Mushrooms
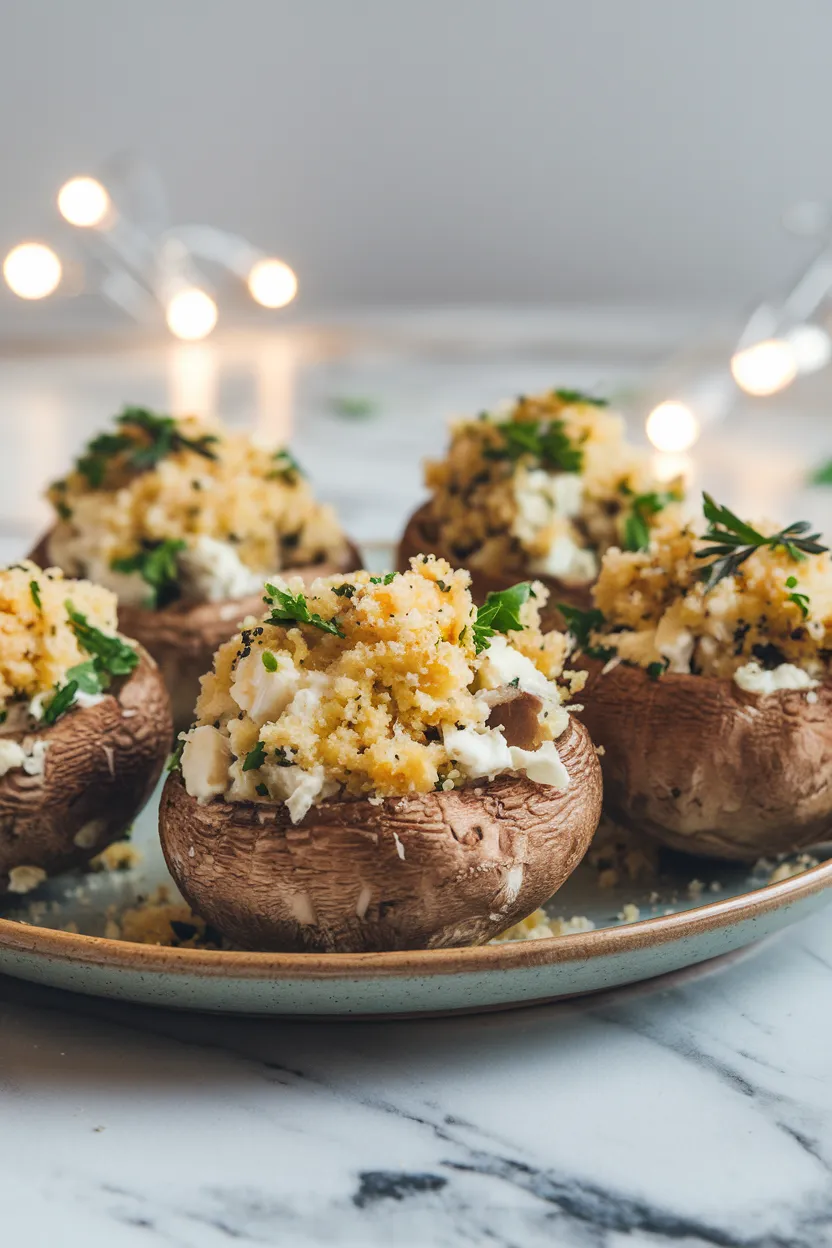
Transforming basic ingredients into something elegant and impressive is what cooking appetizers is all about, and stuffed mushrooms are the ultimate in that realm. The large mushroom caps serve as the perfect little containers, and inside, I stuff them with a mixture of sautéed garlic and onion, fresh breadcrumbs, and enough grated Parmesan to ensure that every mouthful is overflowing with umami.
These are stunning bites in any context, whether you serve them at a party or keep them all for yourself and treat them as lunch.

Ingredients
12 large mushrooms, stems removed and finely chopped
1 tablespoon olive oil
2 cloves garlic, minced
1/4 cup finely chopped onion
1/2 cup breadcrumbs
1/4 cup grated Parmesan cheese
2 tablespoons chopped fresh parsley
1/4 teaspoon dried thyme
Salt and pepper to taste
1/4 cup cream cheese, softened
Instructions
1. Set the oven to 375°F (190°C) to warm up. Meanwhile, take a baking sheet and line it with parchment paper.
2. In a frying pan, warm the olive oil over medium heat. Toss in the chopped mushroom stems, garlic, and onion. Sauté until softened, approximately 5 minutes.
3. Move the cooked blend to a basin and incorporate the breadcrumbs, Parmesan cheese, parsley, thyme, salt, and pepper into it. Make sure the mixture is homogeneous, then add the cream cheese and mix until the blend is even throughout.
4. Each mushroom cap should be filled with the stuffing mix, pressing gently to compact it.
5. Position the stuffed mushrooms on the baking sheet that you prepared and put them in the oven that you set to preheat. Let them be baked for a 20-25 minute span of time, and watch them closely toward the end to see that they don’t overcook and become too brown. Serve them as a warm appetizer, and enjoy their high-class mushroominess.
5. Deviled Eggs
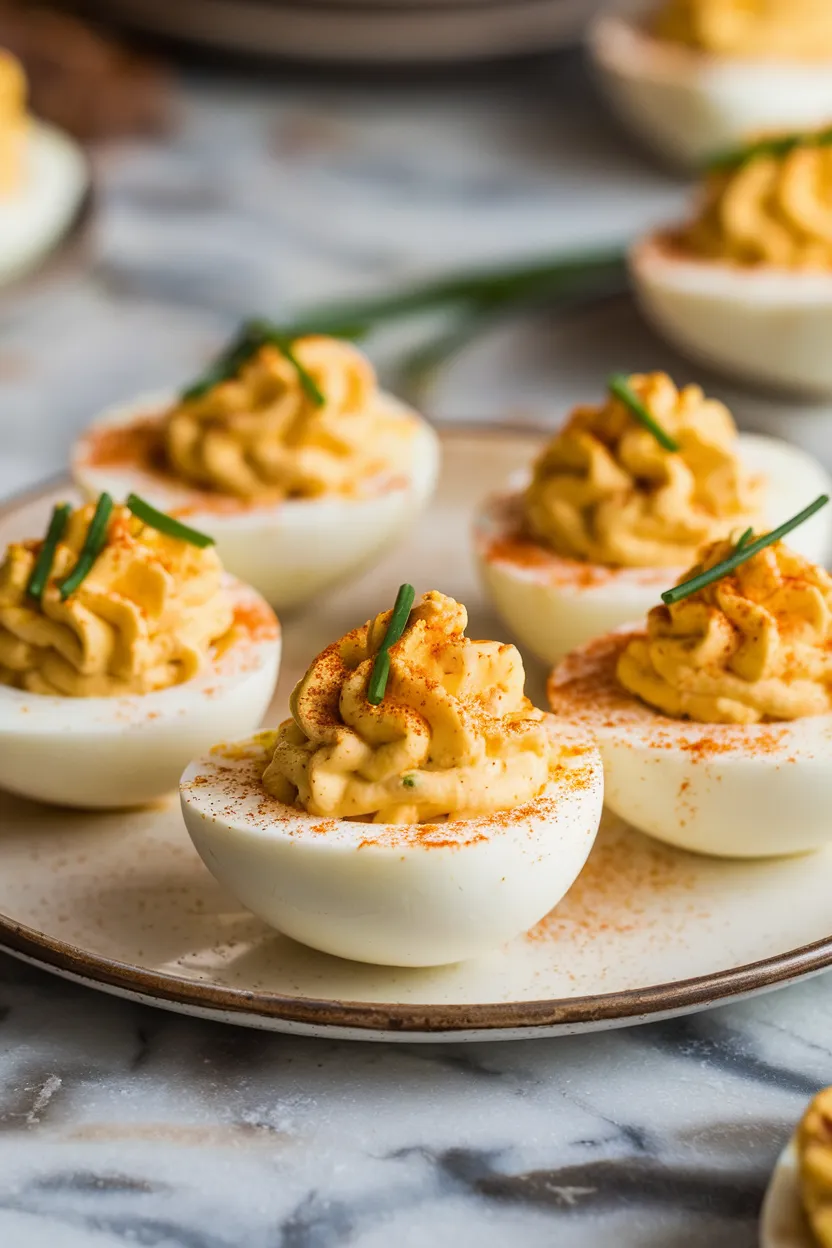
Deviled eggs are a classic starter for a reason; their filling is undeniably delicious. No matter how simple or complex the recipe, deviled eggs require three fundamental ingredients: hard-boiled egg yolks, mayonnaise, and mustard (preferably Dijon).
White vinegar shouldn’t be overlooked, either; it adds that coveted zing, necessary to balance the richness of the yolks. Paprika is the most common garnish, but for your next gathering, take things up a notch with a sprinkle of smoked paprika, and serve the eggs with fresh chives or parsley on top.

Ingredients
6 large eggs
3 tablespoons mayonnaise
1 teaspoon Dijon mustard
1 teaspoon white vinegar
Salt, to taste
Black pepper, to taste
Paprika, for garnish
Fresh chives or parsley, for garnish (optional)
Instructions
1. Arrange the eggs in a single layer in a saucepan and submerge them in water. Apply medium-high heat to bring the water to a rolling boil.
2. After the water has reached a full, rolling boil, take the saucepan off of the heat, put on the lid, and allow the eggs to stay in the hot water for 10-12 minutes.
3. Drain the hot water from the eggs and transfer the eggs to a bowl of ice water. Allow the eggs to cool in the ice water for at least 5 minutes.
4. Remove the shells from the cooled eggs and cut them in half from top to bottom. Dispose of the yolks into a small bowl, reserving the whites.
5. With a fork, mash the yolks and combine them with mayonnaise, Dijon mustard, and white vinegar. Season your mixture to taste with salt and pepper.
6. Using a spoon or piping bag, fill the egg whites with the yolk mixture. If you want to get all fancy, garnish with paprika and chopped chives or parsley. It’s all good. Serve up those “deviled” eggs cold.
6. Mini Beef Wellington
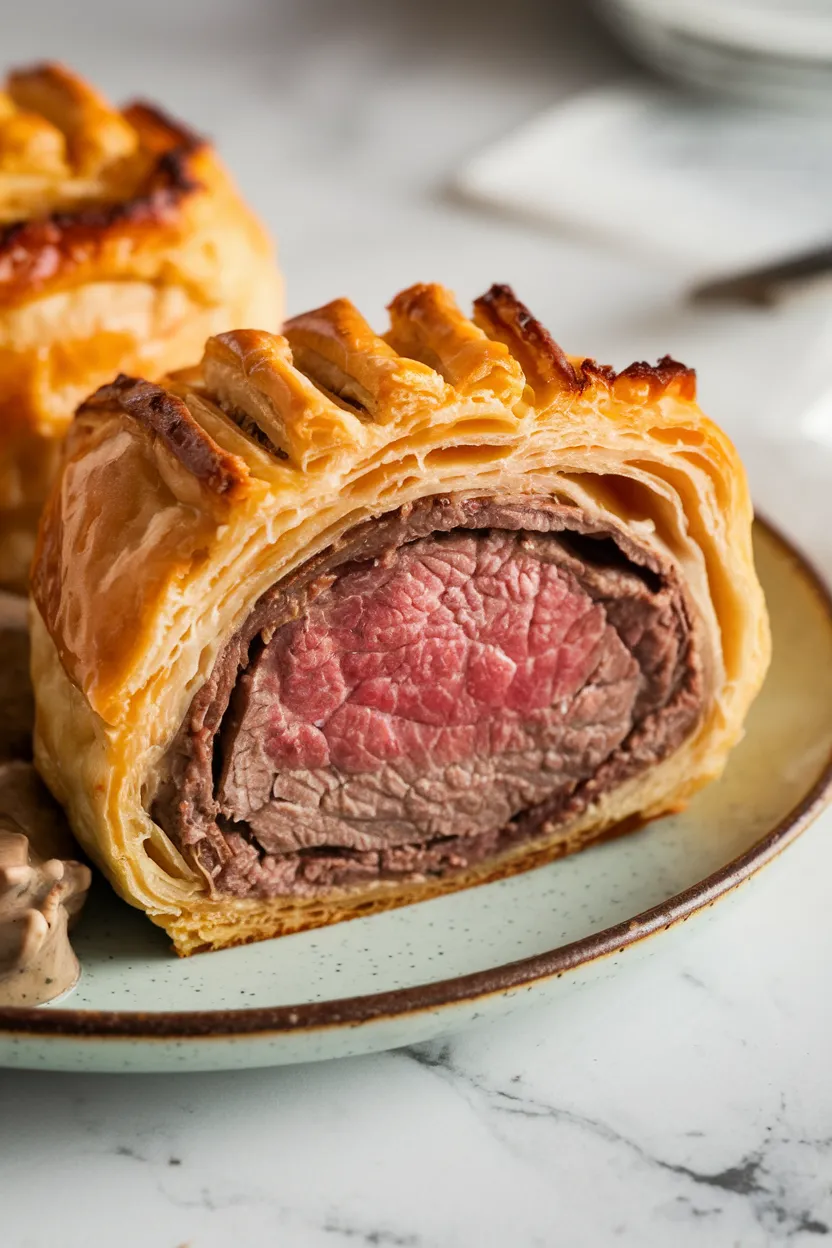
I love the beauty and convenience of crafting mini beef wellingtons. Each of the small beef tenderloins is wrapped in a crispy puff pastry, and every bite is an intricate assembly of flavors invoking mushrooms, mustard, and something I’ve dubbed “beef essence.” These are ideal for an intimate gathering at your home where you’d like to impress, and also pretty sweet served as an understated, refined meal.
 Ingredients
6 small beef tenderloin fillets (about 2 oz each)
Salt and black pepper to taste
2 tablespoons olive oil
2 tablespoons Dijon mustard
1 tablespoon butter
1 tablespoon olive oil
8 ounces mushrooms, finely chopped
2 shallots, finely chopped
2 cloves garlic, minced
1 tablespoon fresh thyme, chopped
1/4 cup dry white wine
1 sheet puff pastry, thawed
1 egg, beaten
Instructions
1. The beef fillets should be seasoned with salt and pepper. A high heat is required for the skillet, which should contain 2 tablespoons of olive oil. The olive oil must be hot before the filets are added, and they should be cooked just to the point of being browned on all sides—a little over a minute per side is about right. When the beef is ready, remove it from the skillet and brush on the mustard.
2. In the same skillet, put the butter together with 1 tablespoon of olive oil and set it over medium heat. The cooking fat should be hot but not sizzling. Add the mushrooms first; they have the longest cooking time. Stir the solids up and let them down in the pan, so everything gets a chance to touch the heat. Don’t spoon mix—the mixture is already too soupy for this to be effective. If necessary, lightly cover the pan until the mushrooms release some liquid, then cook uncovered until the liquid evaporates.
3. Prepare the oven by setting it to 400°F (200°C). On a floured surface, roll out the puff pastry and then cut it into 6 equal squares.
4. Put a little of the mixture of mushrooms in the middle of each square of pastry. Place in each square, right on top of the mixture of mushrooms, a tenderloin fillet. Fold the pastry over the beef, and seal the edges with a wash made of beaten egg.
5. Position the wellingtons with the seam facing down on a baking sheet that has been lined with parchment. Use a brush to apply egg wash to the tops of the wellingtons, and then take a sharp knife to make slits in the wellingtons for decoration.
6. Bake for 15-20 minutes, until the pastry is a deep golden brown and the beef is cooked to your liking. Serve immediately, or let sit for a few minutes if you plan to slice and serve it au jus.
7. Bruschetta
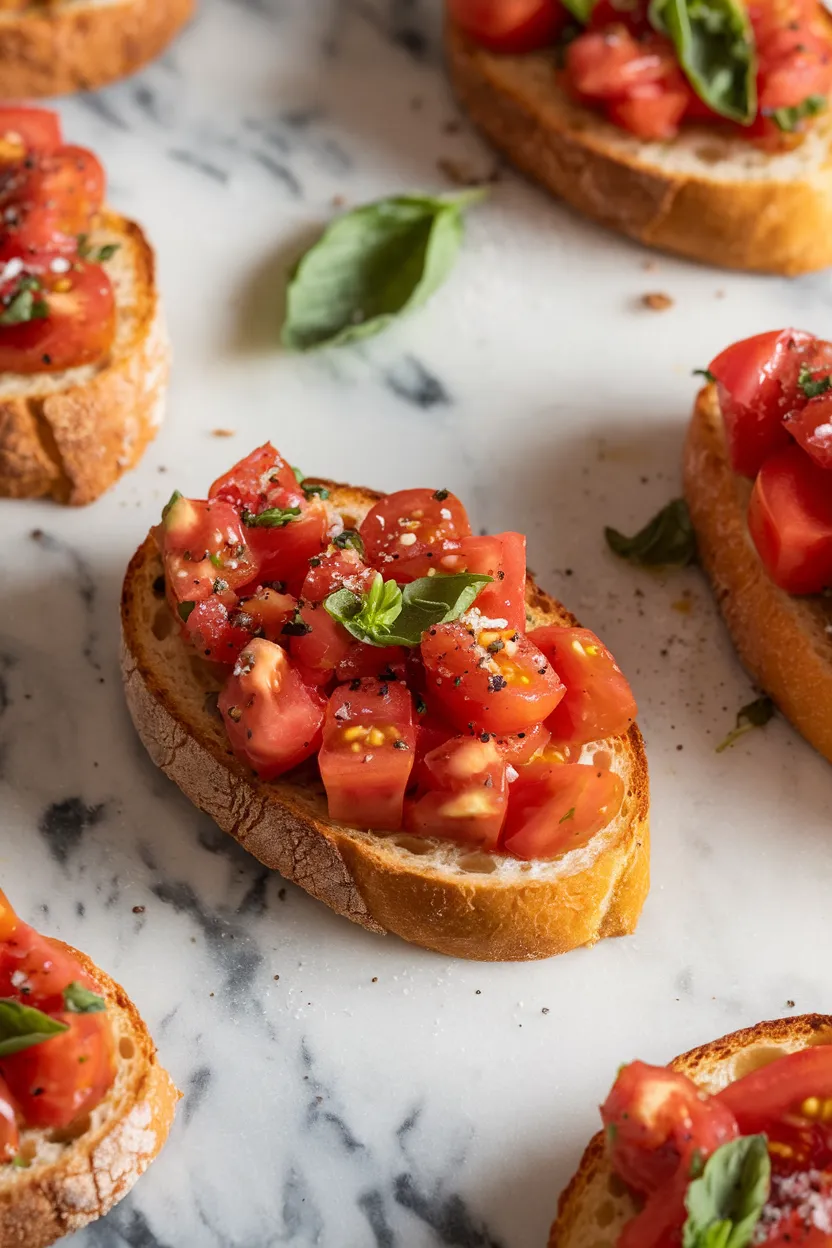
I value the straightforwardness of bruschetta. It’s a delightful first course that features toasted Italian bread slices rubbed with garlic and topped with a fresh mixture of tomatoes, basil, and olive oil.
I enjoy serving bruschetta with a drizzle of balsamic vinegar for added flavor.
 Ingredients
Fresh baguette or Italian bread
2 cloves garlic, peeled
4-5 ripe tomatoes, diced
Fresh basil leaves, chopped
Extra virgin olive oil
Salt to taste
Black pepper to taste
Balsamic vinegar (optional)
Instructions
1. Set your oven to 400°F (200°C) to warm up while you prepare the dish.
2. Cut the baguette or Italian bread into slices that are 1/2 inch thick.
3. Put the bread on a baking sheet and toast in an oven for 5-7 minutes, until they’re just golden.
4. To impart flavor, rub the toasted slices of bread with a clove of garlic that has been peeled.
5. In a bowl, mix together the diced tomatoes, chopped basil, a splash of olive oil, a pinch of salt, and a few grinds of black pepper. Gently toss to combine.
6. Place the tomato mixture on the top of each slice of bread, and then drizzle balsamic vinegar on each slice if you wish to. Serve right away.
8. Caprese Skewers
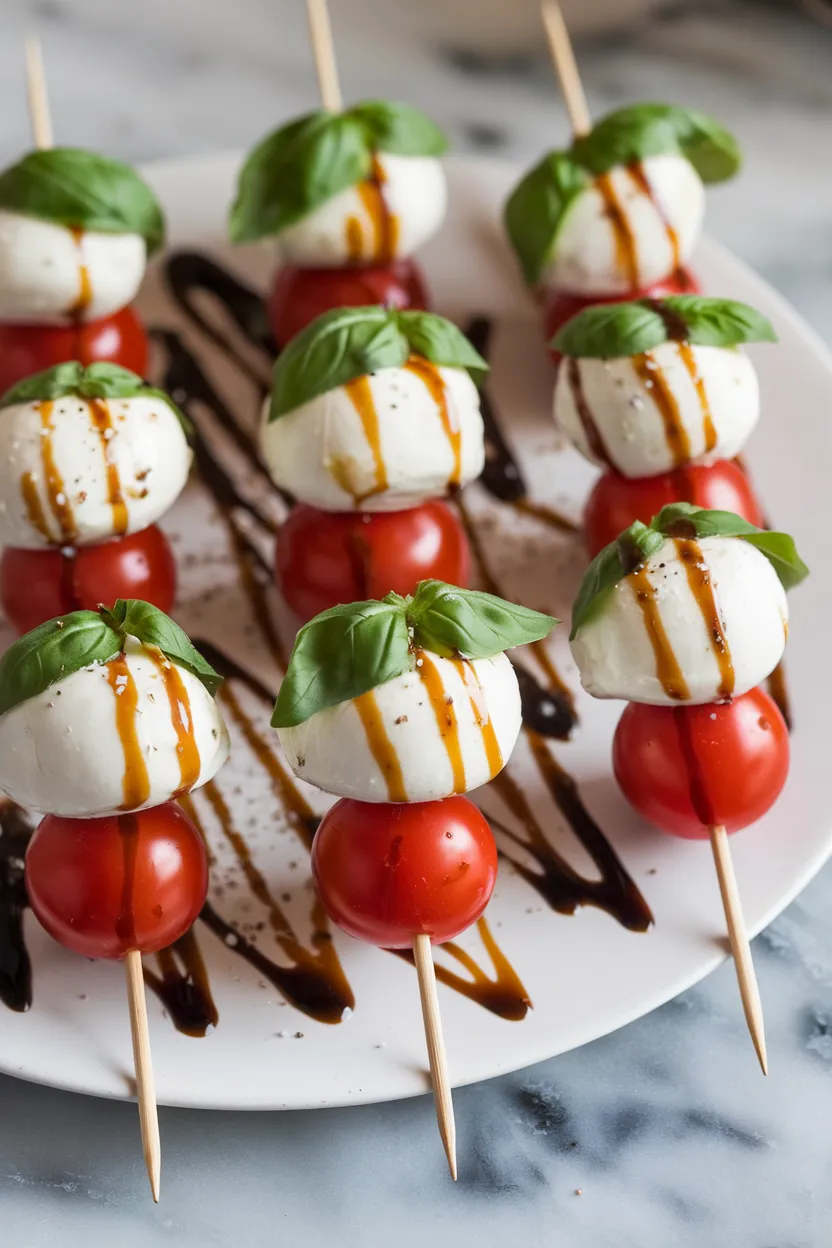
Caprese skewers take straightforward ingredients and make them into something delightful and appetizer-like. They consist of cherry tomatoes, fresh mozzarella, and basil leaves, artfully placed on a wooden skewer.
They remind me of the elegant, fresh food that I sometimes find at celebrations.

Ingredients
Cherry tomatoes
Fresh mozzarella balls (such as bocconcini or ciliegine)
Fresh basil leaves
Balsamic glaze
Extra virgin olive oil
Salt
Pepper
Wooden skewers
Instructions
1. Start with the ingredients: wash the cherry tomatoes and fresh basil leaves and dry them. Then, take the mozzarella balls out of their brine and drain them.
2. Build the skewers by threading a cherry tomato onto a wooden skewer. Then add a basil leaf and a mozzarella ball. Follow this assembly pattern for the rest of the ingredients, but don’t pack the skewers too tightly. Leave some space at the ends for easy handling.
3. Place the finished skewers on a tray for serving.
4. An extra virgin olive oil drizzle and a balsamic glaze drizzle over the skewers.
5. Lightly season the skewers with salt and freshly ground black pepper.
6. Present the caprese skewers right away as a cold first course or nibble for your New Year’s gathering.
9. Spinach Artichoke Dip
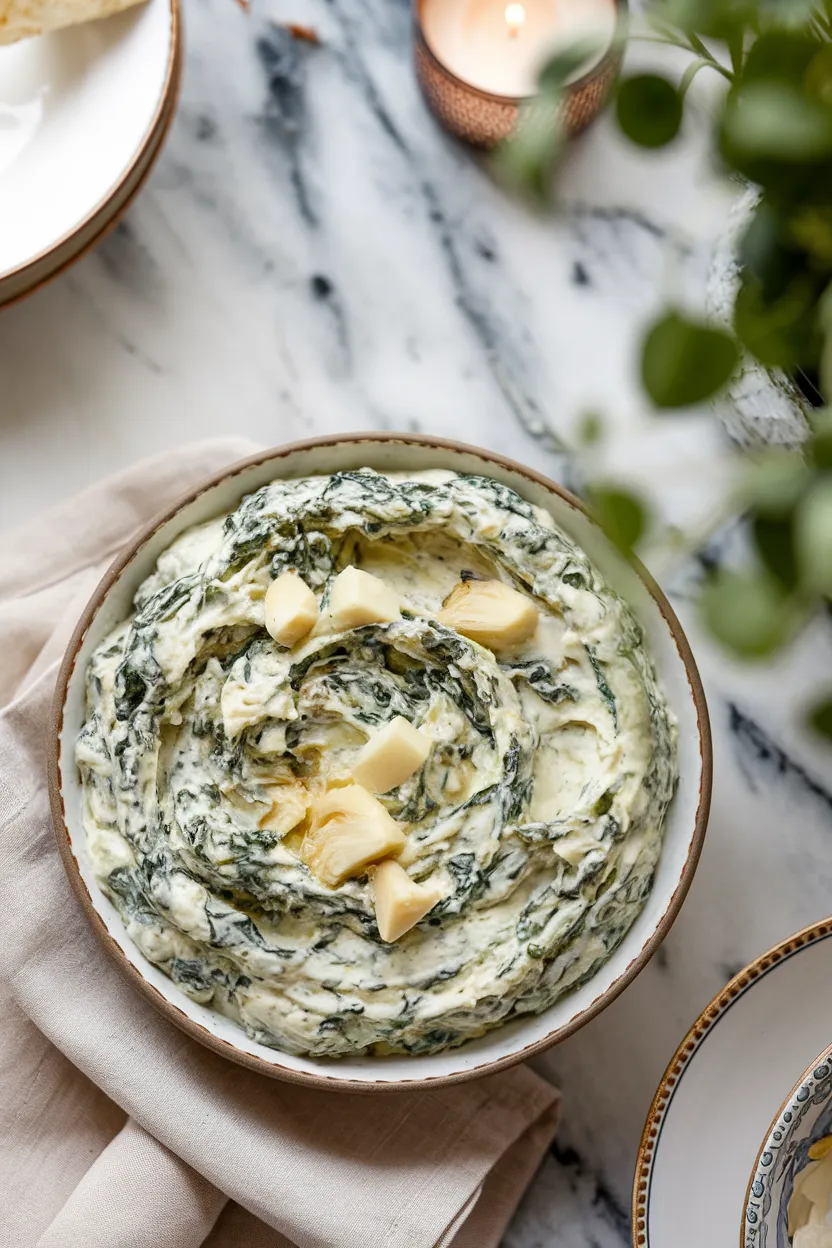
Spinach Artichoke Dip is a dish I adore because it melds the flavors of the spinach and artichoke hearts so wonderfully. I mean, if we want to be totally honest, it’s really all about the garlic, creamy elements, and cheese.
The dip features a heavenly blend of cream cheese and sour cream, Parmesan, and mozzarella. Who could ask for anything more?

Ingredients
1 cup thawed frozen spinach, drained and chopped
1 cup canned or jarred artichoke hearts, drained and chopped
1/2 cup mayonnaise
1/2 cup sour cream
1 cup cream cheese, softened
1 cup grated Parmesan cheese
1 cup shredded mozzarella cheese
2 cloves garlic, minced
Salt and pepper to taste
Instructions
1. Set your oven to 350°F (175°C) to warm up.
2. In a sizable mixing bowl, blend the spinach, artichoke hearts, mayonnaise, sour cream, cream cheese, Parmesan cheese, mozzarella cheese, and minced garlic. Stir together until the mixture is homogeneous.
3. Adjust the seasoning of the mixture with salt and pepper. Make sure to taste frequently so that you can achieve the perfect blend of saltiness and peppery goodness.
4. Place the mixture into a dish that can go in the oven and spread it out so that it’s even.
5. In the oven that has been preheated, bake for 25-30 minutes, or until the top is golden brown and bubbly.
6. Take from the oven and allow to rest for a few moments before serving. Relish your dip with whatever vessel you prefer—chips, bread, or veggies.
10. Smoked Salmon Bites
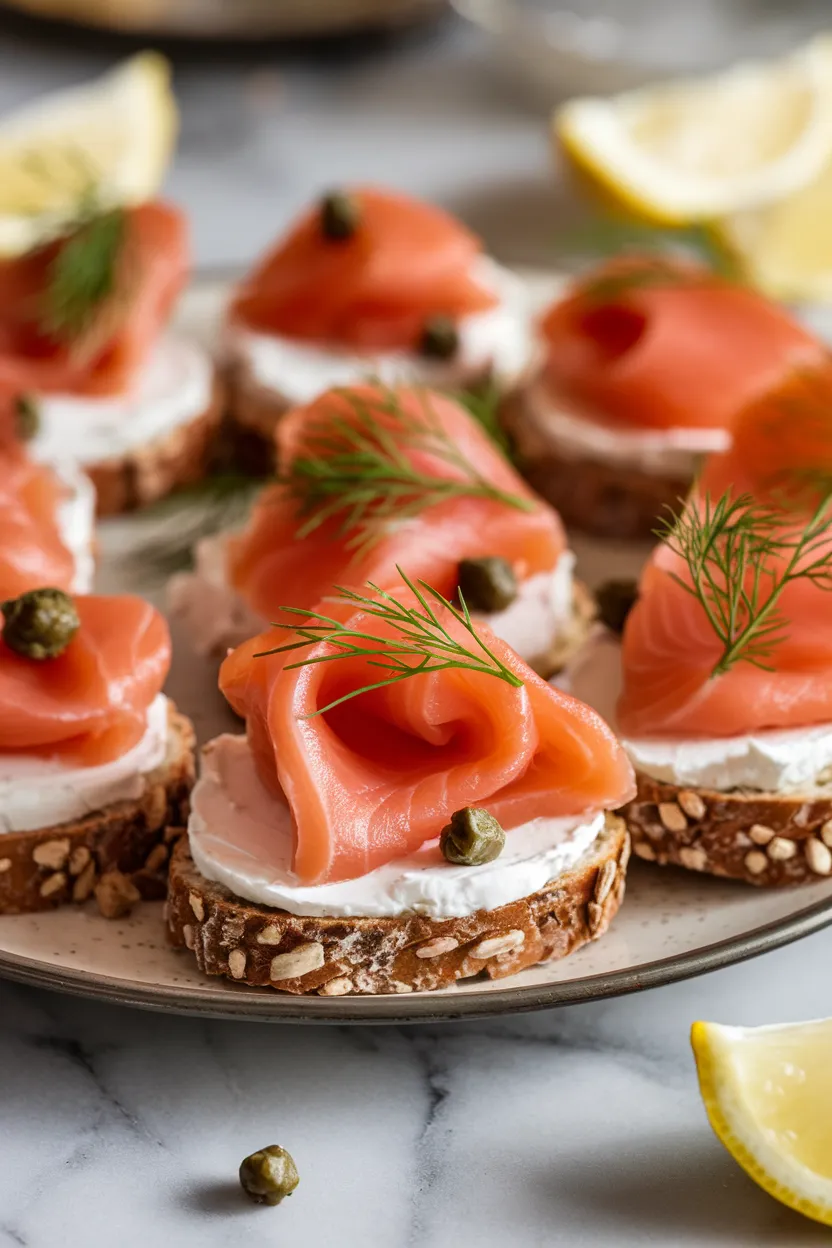
I enjoy making straightforward but style-conscious hors d’oeuvres. Smoked salmon bites are one of my go-tos.
They bring together the intense taste of the salmon with the clean cucumber and dill. Pumpernickel is the bread of choice, underpinning the sophisticated salmon.
Cream cheese adds a smooth element. And the capers: Oh my, do they ever pop!
Altogether, these appetizers convey a simplicity that feels both rustic and upscale.

Ingredients
Sliced smoked salmon
Cream cheese, softened
Fresh dill, chopped
Capers, drained
Cucumber, sliced into rounds
Pumpernickel bread, cut into bite-sized squares
Lemon, cut into wedges
Instructions
1. Each square of pumpernickel bread should have a thin layer of softened cream cheese spread over it.
2. Put a slice of cucumber on the cream cheese.
3. Place a slice of smoked salmon on top of the cucumber.
4. Each bite should be garnished with some capers and a dusting of fresh dill, chopped fine.
5. Present the smoked salmon bites with lemon wedges on the side for squeezing over each bite and making it that much more delicious.
11. Antipasto Skewers
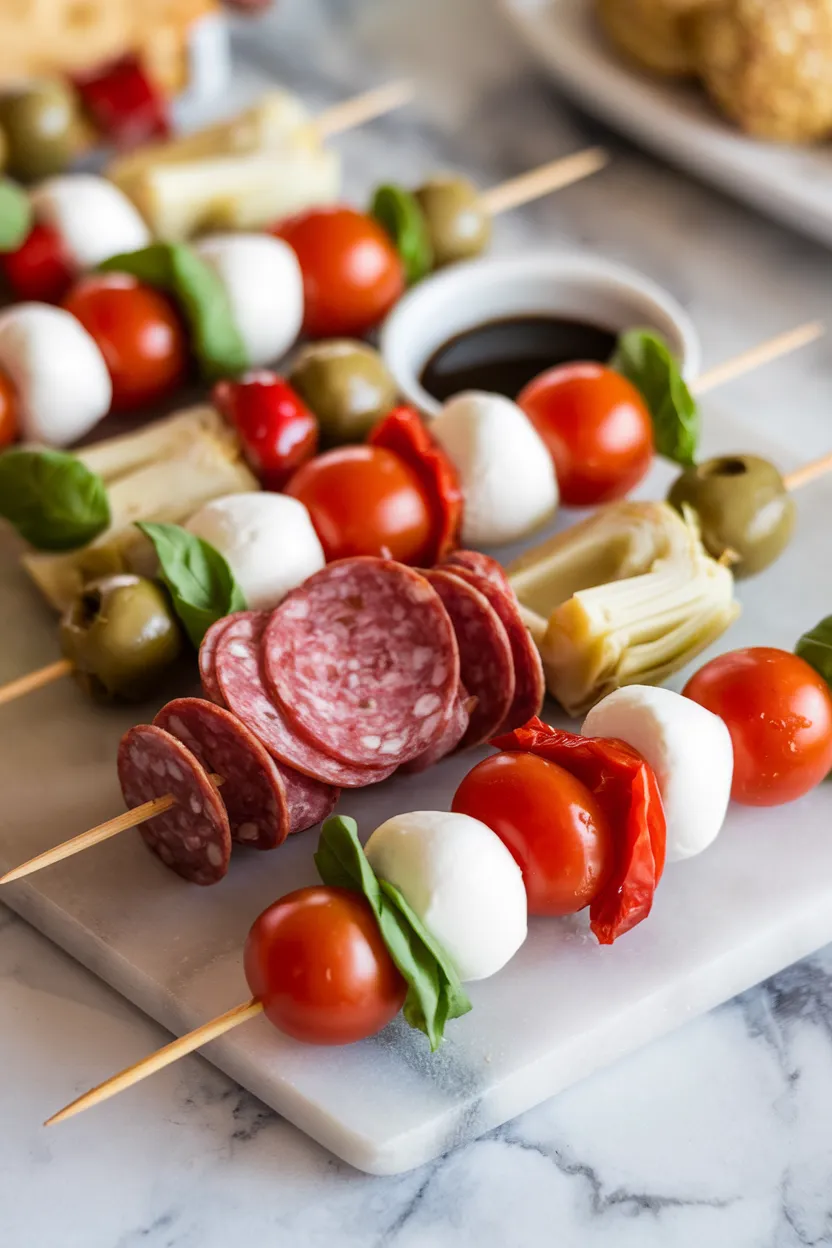
It brings me great joy to prepare and serve these antipasto skewers at my gatherings. They are a cinch to assemble and quite transportable.
I usually feature cherry tomatoes, mozzarella balls, and pitted olives, with the occasional addition of fresh basil. I don’t always include cold cuts but when I do, I usually keep the assembly and flavor profile relatively simple with either salami or pepperoni.

Ingredients
12 cherry tomatoes
12 mozzarella balls
12 thin slices of salami or pepperoni
12 pitted olives (green or black)
12 fresh basil leaves
1/2 cup marinated artichoke hearts, quartered
1/2 cup roasted red peppers, chopped
1 tablespoon balsamic glaze
12 bamboo skewers
Instructions
1. Begin with the preparation of all components to facilitate assembly. Let the mozzarella balls and artichoke hearts. Chop the roasted red peppers into pieces suitable for popping into your mouth.
2. Obtain a skewer made of bamboo and place upon it a singular cherry tomato, followed by a leaf of fresh basil.
3. Then take a slice of salami or pepperoni, fold it in half, and then in half again, and thread it onto the skewer.
4. Add a ball of mozzarella cheese, followed by an olive, and then a piece of artichoke heart that has been marinated.
5. Keep layering the elements of the dish. Make it a “wow” factor. Take it as an opportunity to showcase the beauty of the ingredients. And definitely feel free to take this dish into whatever flavor direction you prefer.
6. When the skewers are fully assembled, give them a light drizzle of balsamic glaze to amp up the flavor. Serve them immediately, or stash them in the fridge until you’re ready to serve at your New Year’s gathering.
12. Nacho Platter
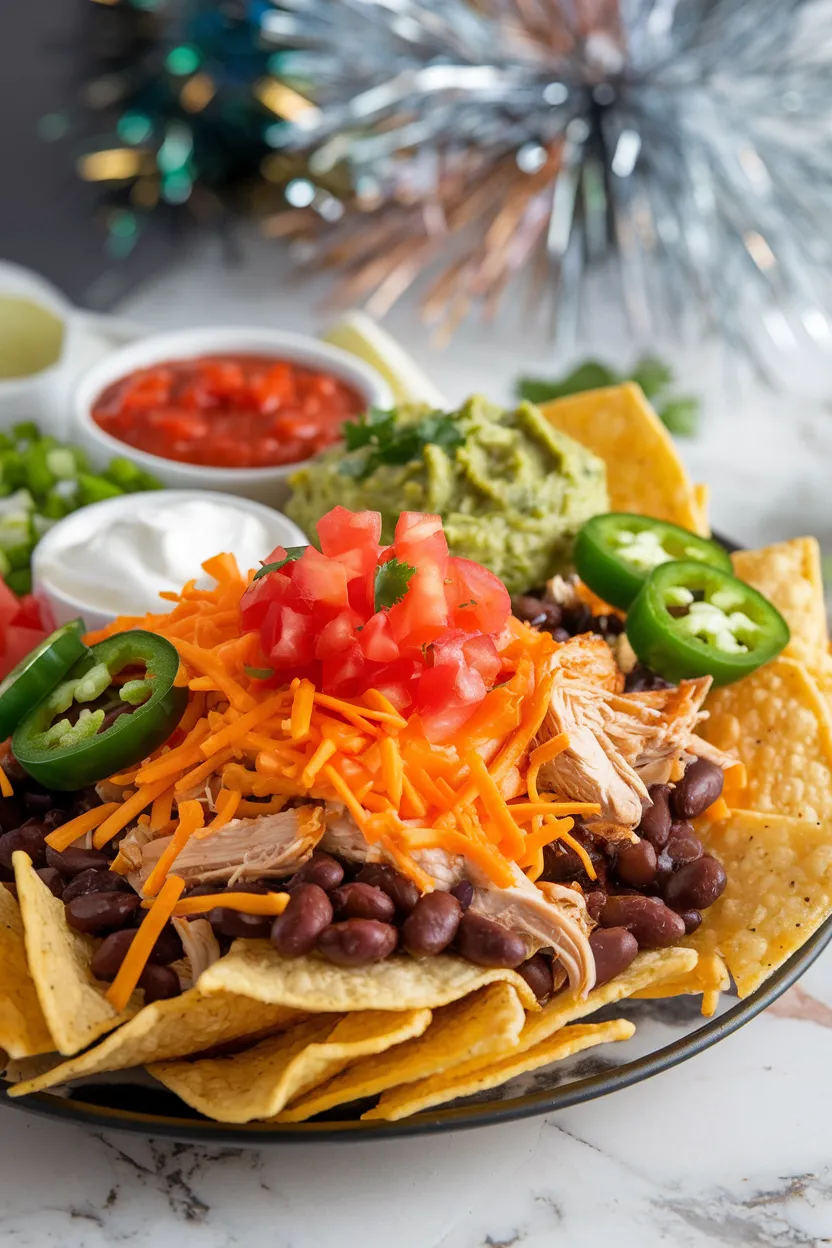
A nacho platter is the ideal party centerpiece, and in my opinion, it includes a crunchy foundation of tortilla chips, generous amounts of Cheddar and Pepper Jack cheeses, and some not-so-optional black beans. I also sometimes add shredded chicken, but you can skip that and just pile on diced tomatoes, sliced jalapeños, and an almost aggressively heaped handful of fresh cilantro.
You’re getting a healthy dose of nacho vibes, which is perfect because you also need to be in a good headspace to tackle one of life’s great challenges: a platter of nachos.

Ingredients
Tortilla chips
Cheddar cheese, shredded
Pepper Jack cheese, shredded
Black beans, drained and rinsed
Cooked and shredded chicken (optional)
Diced tomatoes
Sliced jalapeños
Chopped green onions
Sour cream
Guacamole
Salsa
Chopped fresh cilantro
Instructions
1. On a large platter or baking sheet that is safe for the oven, spread the tortilla chips out in an even layer.
2. Dash a blend of Pepper Jack and Cheddar cheese over the tortilla chips, then layer on the black beans, the shredded, precooked chicken, the diced tomato, the sliced-up jalapeños, and the chopped green onion.
3. Place the concoction in a preheated oven for 10-15 minutes, or until the cheese has achieved the desired state of melty goodness and is exuding bubbly bliss.
4. Take out of the oven and layer on top the following: sour cream, guacamole, salsa, and chopped cilantro.
5. For the finest flavor, serve right away, and savor the best taste possible! Enjoy your New Year’s celebration!
13. Fruit and Nut Tray
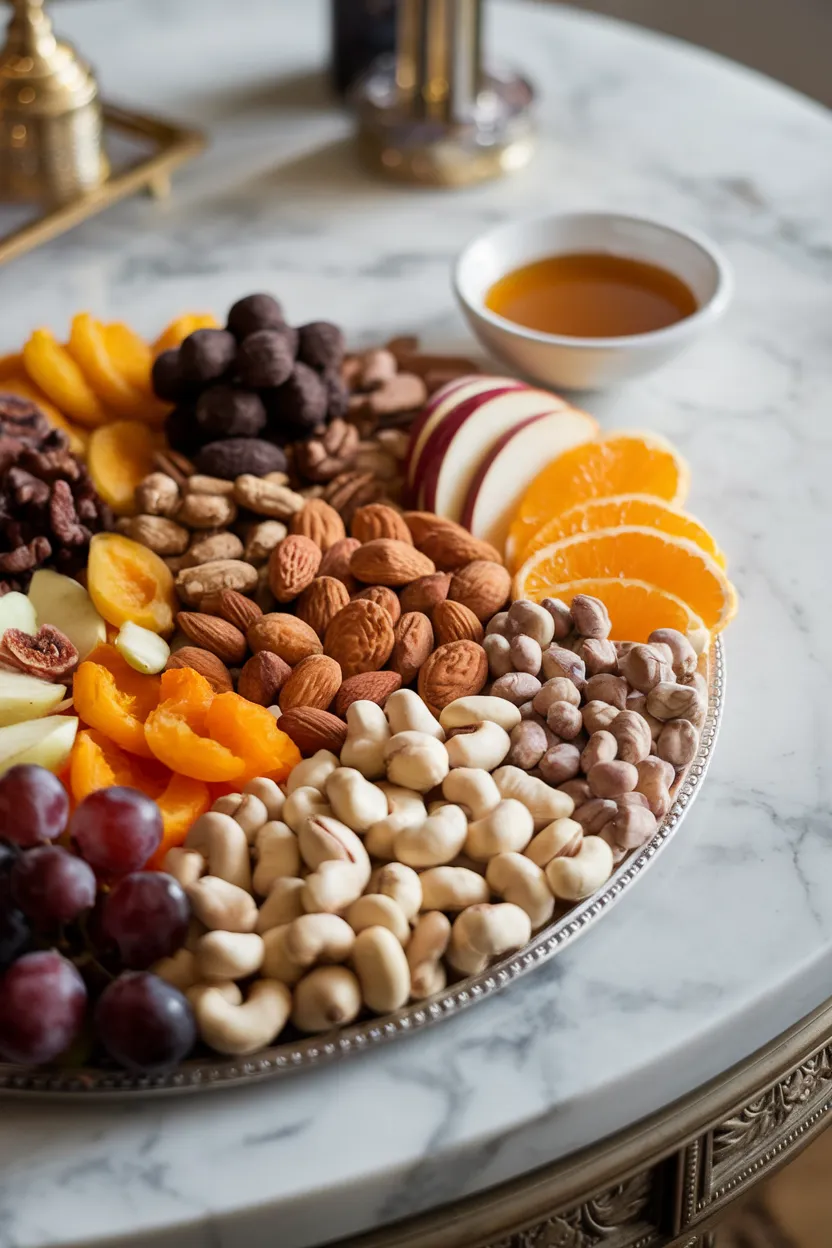
I adore making a tray of fruits and nuts, which mingles the sweet, chewy bites of dried apricots, figs, and dates with the rich crunch of nutty almonds, walnuts, and cashews. .
A touch of fresh grape and apple slices to lend the tray a freshness I think is a must.

Ingredients
Assorted dried fruits (e.g., apricots, figs, dates)
Almonds
Walnuts
Hazelnuts
Pecans
Cashews
Pistachios
Dark chocolate-covered nuts or fruits
Candied ginger
Fresh grapes
Fresh apple slices
Fresh oranges (sliced or sectioned)
Honey or yogurt dip (optional)
Instructions
1. Start by picking a large, eye-catching tray or platter to set the ingredients on. If possible, use one with compartments that will help separate the several kinds of fruit and nut components of the display.
2. Position the dried fruits in tiny clusters or rows on the tray. Make them look good. Use contrasting colors and shapes to make your presentation pop.
3. Following that, position the different types of nuts in the sections or small mounds around the dried fruits, making sure they are distributed with even symmetry. You might want to group the nuts by type, for instance, arranging in separate or mixed mounds almonds, walnuts, hazelnuts, pecans, cashews, and pistachios.
4. Include any and all extra garnishes. For even more flavor and a pretty presentation that makes your guests say, “Wow!”, add dark chocolate-covered nuts or fruits.
5. Any leftover areas on the tray should be filled with fresh grapes, slices of apples, and segments of oranges.
6. If you like, you can put a small bowl or dish of honey or yogurt dip on the side of the tray for dipping the fruits and nuts. Serve right away or cover and keep in a cool place until you’re ready to eat.
14. Chicken Wings
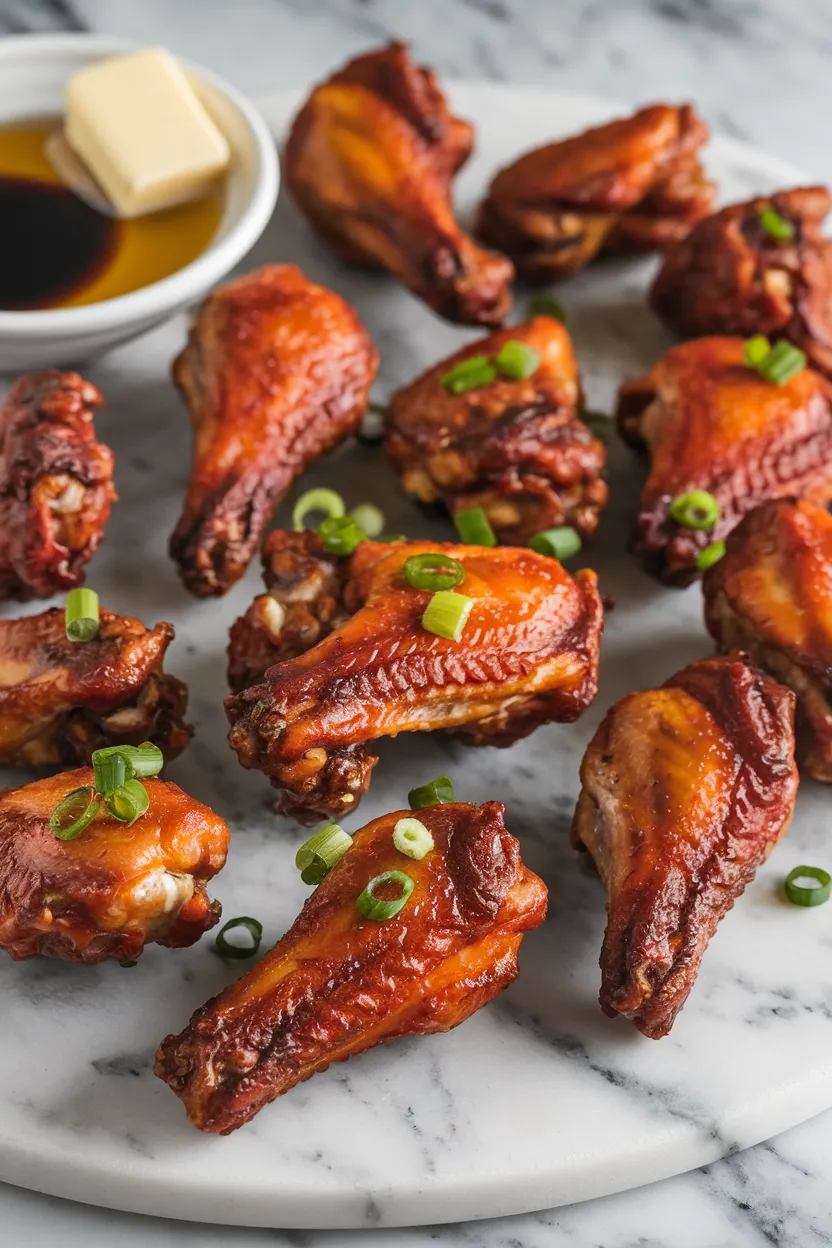
To me, chicken wings are the ideal marriage of crispy and saucy. They’re baked to a state of golden, crunchy perfection; they’re gorgeously seasoned with garlic and paprika; and they’re coated in a lip-smacking sauce made from hot sauce, butter, and a hint of honey.
And the best part? They’re incredibly easy to make.

Ingredients
14 chicken wings
2 tablespoons vegetable oil
1 teaspoon salt
1 teaspoon black pepper
1 teaspoon garlic powder
1 teaspoon onion powder
1 teaspoon paprika
1/2 cup hot sauce (such as Frank’s RedHot)
1/4 cup unsalted butter
1 tablespoon honey
1 tablespoon soy sauce
Instructions
1. Set your oven to 400°F (200°C) to preheat. Take a baking sheet and line it with aluminum foil. On top of the baking sheet, place a wire rack.
2. In a spacious bowl, combine the chicken wings with enough vegetable oil to coat the wings evenly. Add salt, black pepper, and these three (garlic powder, onion powder, and paprika) and mix until the chicken wings are well coated.
3. Place the wings in a single layer on a wire rack and bake in the preheated oven for about 40-45 minutes, flipping halfway through, until they are golden brown and crispy.
4. The sauce is prepared while the wings bake. In a small saucepan over medium heat, the butter is melted. The hot sauce, honey, and soy sauce are then stirred in. Everything is cooked until fully combined and then removed from the heat.
5. After cooking the wings, move them into a large bowl. Pour the sauce over the wings and toss them so that they’re evenly coated.
6. The wings are best served hot and can be garnished with chopped green onions or sesame seeds.

