Spanakopita is an absolute classic. If you have not tried Spanakopita you are in for a treat. In Greece it is so widely available it is often eaten at any meal, breakfast, brunch, lunch or dinner. Spanakopita is also known as Greek Spinach pie and my family absolutely love it. If you are scared of Phyllo Pastry don’t be, with this easy recipe, I take you through it step by step.
In this article, I’ll show you step by step how to make your own homemade spanakopita. I will help you with mastering the art of handling phyllo dough. Through to creating the perfect filling. I’ll also share my tips and tricks for baking it to a golden brown perfection and provide ideas for serving and pairing this delectable Mediterranean spinach pie.
What is Spanakopita?
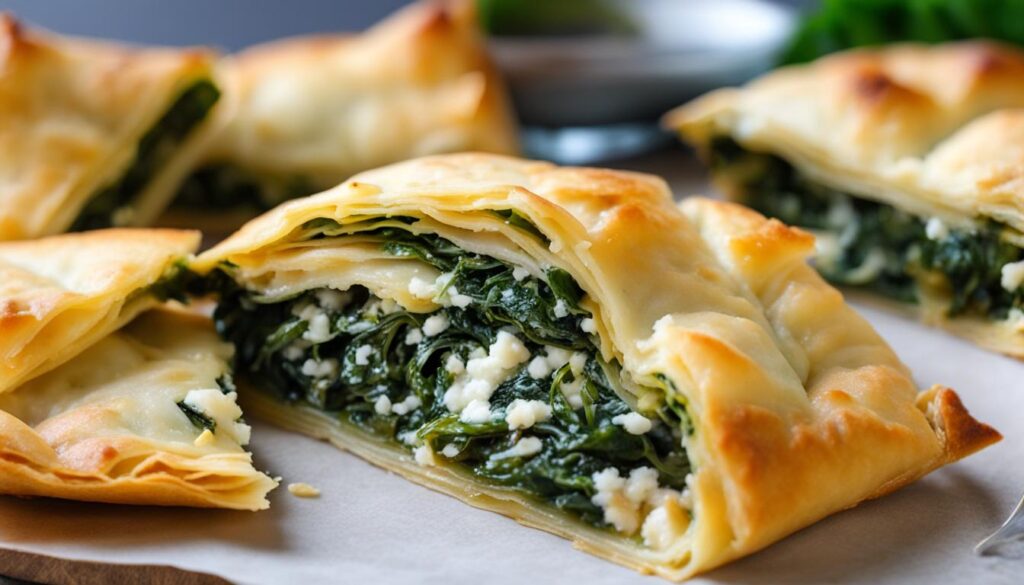
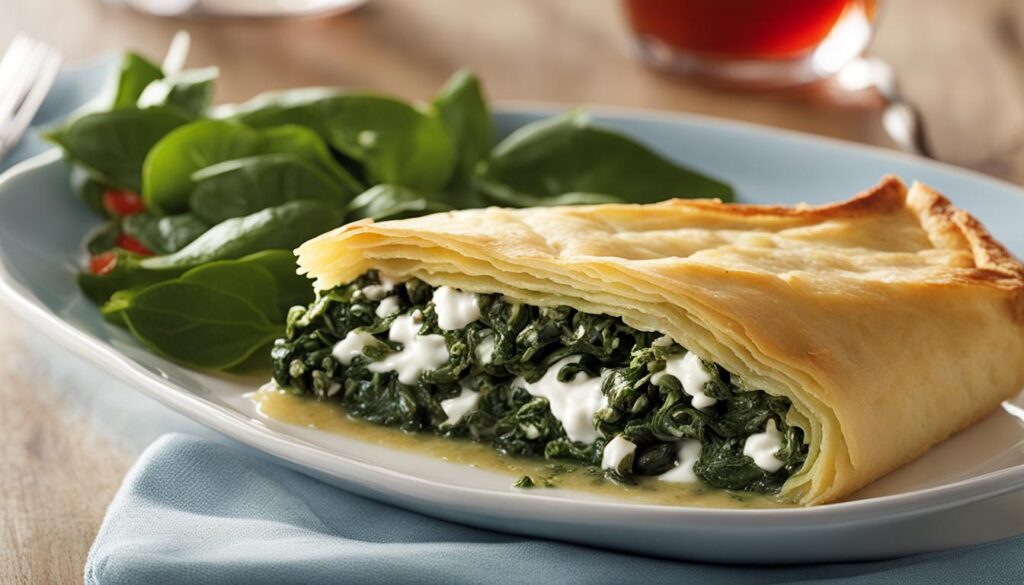
This Greek spinach and feta cheese casserole is very famous. It’s a traditional Greek dish, renowned for its richness and satisfaction. Spanakopita may take the form of a casserole or small hand pies; it serves as an excellent main course and a side dish.
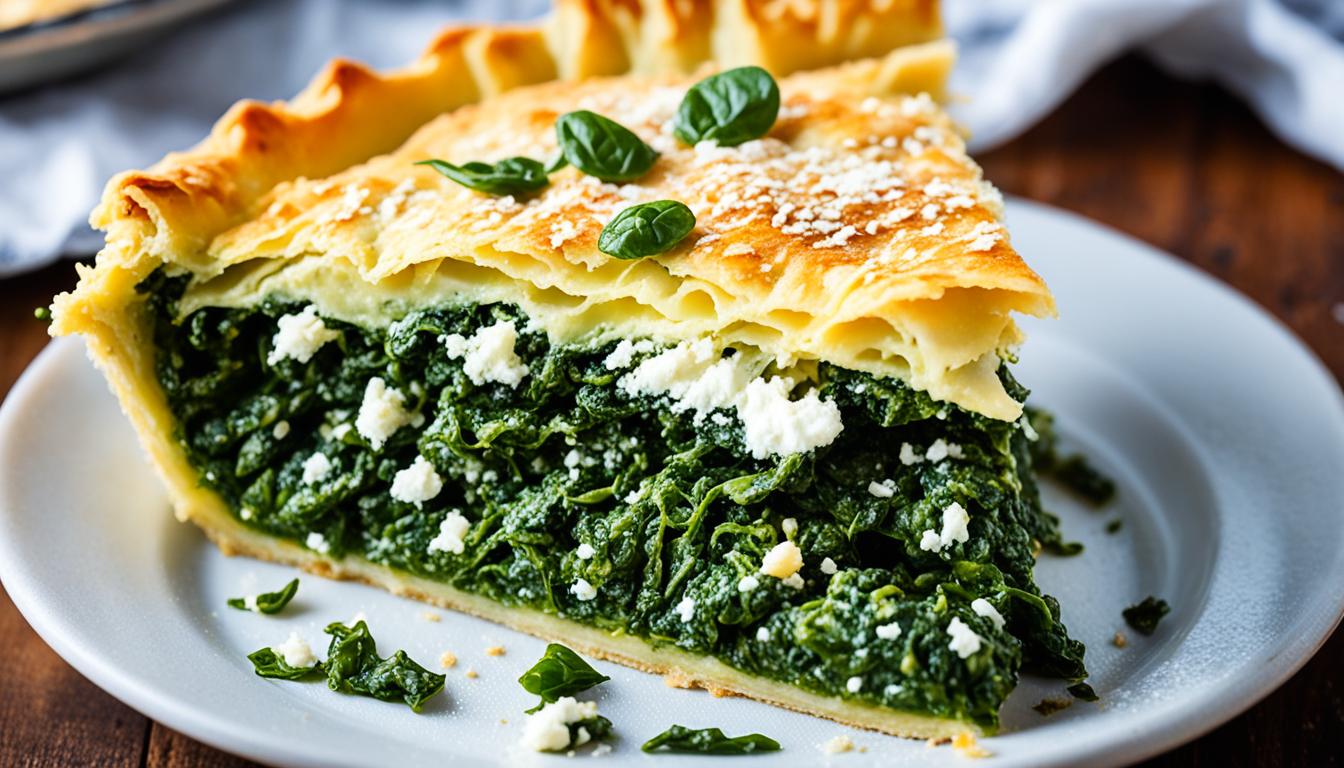
The spinach is one of the important ingredients that give spanakopita its characteristically bright green color and an earthy sense. The feta cheese, which is tangy and salty in nature, brings some creaminess into the mixture. When mixed with fresh herbs and spices, this makes for a perfect concoction that perfectly complements the crunchiness of the phyllo dough.
Spanakopita is loved in Greece and all over the world. This vegetarian dish contains different flavors and textures that can make both non-vegetarians feel satisfied after eating it. It can be served as either an appetizer or main course, but regardless of how you serve it spanakopita possesses authentic taste with Mediterranean charm.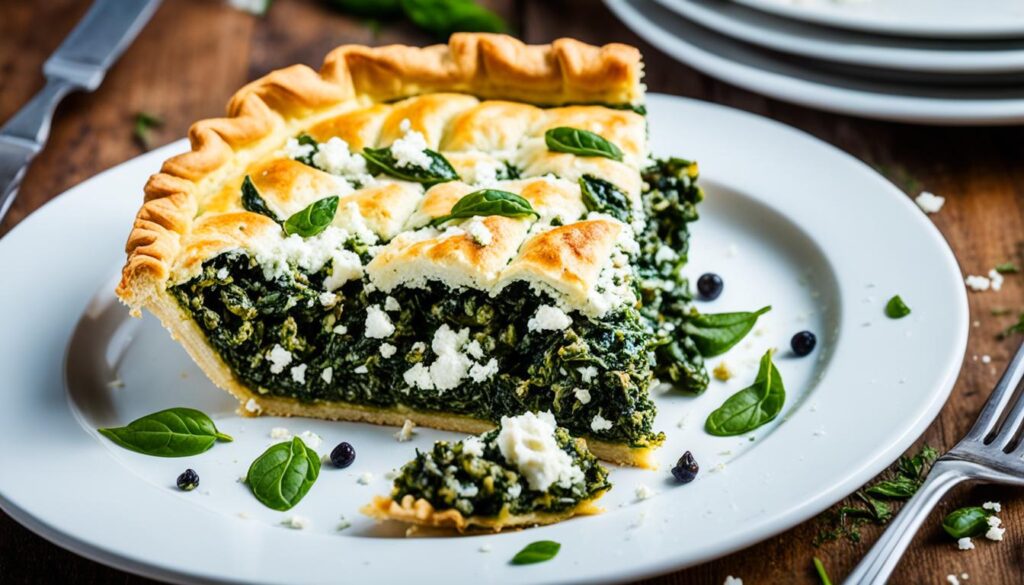
The Essential Ingredients for Authentic Spanakopita
In the making of classic spanakopita, their are some key ingredients that make up the dish.
1. Spinach: The focus is on spinach which gives a pie its fresh green color as well as earthy flavor. Use the fresh leaves of spinach and ensure washing them carefully and drying before use. Don’t use frozen for best results.
2. Feta Cheese: This tangy, crumbled cheese is a must-have ingredient in Greek cuisine and thus makes it such a creamy dish. It’s better to choose high-quality feta cheese.
3. Fresh Herbs: Grab some parsley or dill from your garden. These herbs will add lightness and depth to your dish.
4. Onions and Garlic: As with many dishes Onions and Garlic are as critical as seasoning! Would you like them to be more aromatic? Sauté those ingredients before adding them into the spinach and cheese mixture.
5. Eggs: Being used as binders, these products combine all constituents of the filling together which allows forming an original shape for our pastry;
6.Olive Oil: A major ingredient in Mediterranean cooking, olive oil adds a mild fruity taste to dishes while helping phyllo dough turn golden brown and crispy when cooked
7. Salt and Pepper: Seasoning with salt and pepper is crucial to bring out the flavors of the other ingredients. Use them to taste, ensuring a well-balanced and delicious spanakopita.
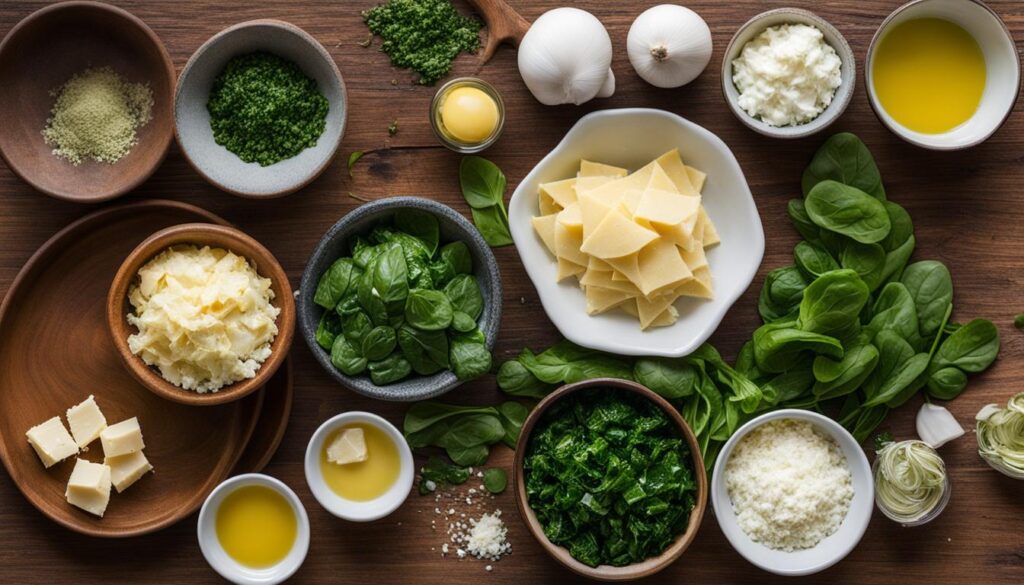
By using these high-quality and fresh ingredients, you’ll be able to create an authentic spanakopita that is bursting with flavor. The combination of spinach, feta cheese, herbs, and other essential ingredients make a delicious Greek spinach pie..
Easy Spanakopita Recipe
If you’re looking for a quick and simple spanakopita recipe, you’ve come to the right place. This easy-to-follow recipe will guide you through the process of making delicious spanakopita that will impress your friends and family.
For approximately 8 pieces, please see the quick instructions below. We have many more detailed tips and tricks following these cheat sheet instructions.
Ingredients:
1 pound fresh spinach
1/2 cup chopped onions
2 cloves garlic, minced
1/2 cup crumbled feta cheese (around 6 lbs)
1/4 cup chopped fresh dill
1/4 cup chopped fresh parsley
2 eggs
2 tablespoons olive oil
Salt and pepper to taste
10 sheets of phyllo dough, thawed
Olive oil for brushing
Instructions:
Preheat your oven to 375°F (190°C) and lightly grease a baking dish.
- In a large skillet, heat the olive oil over medium heat. Add the onions and garlic, and sauté until they become translucent.
- Add the spinach to the skillet and cook until wilted. Remove from heat and let cool.
- In a bowl, combine the cooled spinach mixture, Add the eggs and mix well. Add the feta cheese, dill, parsley, salt, and pepper. Mix well.
- Place one sheet of phyllo dough in the prepared baking dish and brush it with olive oil. Repeat this process with four more sheets, brushing each layer with olive oil.
- Spoon the spinach and feta mixture evenly over the phyllo dough in the baking dish.
- Layer the remaining five sheets of phyllo dough on top of the spinach mixture, brushing each layer with olive oil.
- Using a sharp knife, score the top layer of phyllo dough into squares or triangles.
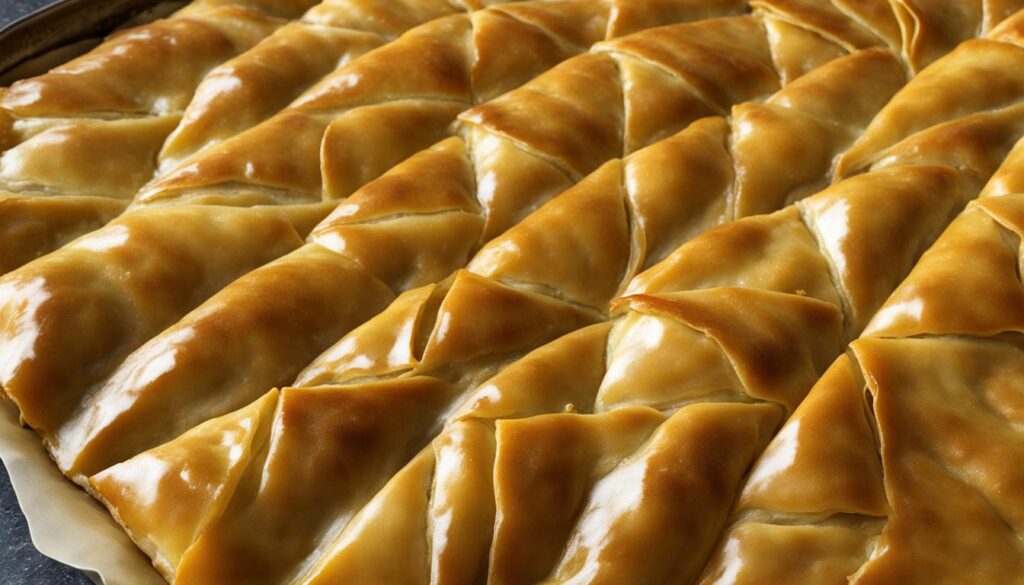
- Bake in the preheated oven for 25-30 minutes, or until the top layer of phyllo dough is golden brown and crisp.
- Remove from the oven and let it cool slightly before serving.
The Art of Phyllo Dough
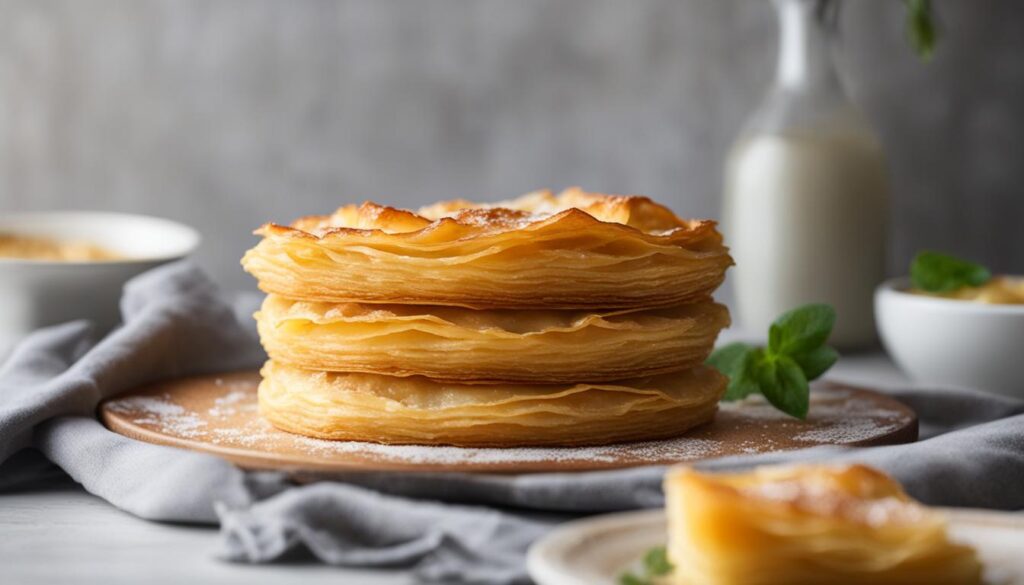
To make flaky layers of Spanakopita, phyllo dough is an important and fragile pastry. Phyllo dough demands some finesse to handle it properly, but with a few tips and tricks, you can become a pro with it.
First and foremost, it is necessary to properly thaw the phyllo dough. Put it in the fridge for one night or use the instructions on the package for quicker defrosting. Microwaving, as well as leaving at room temperature for a long time is not recommended since these lead to fragile and dry sheets which are harder to work with.
While working on the dough keep it moist by covering it using a slightly wet towel. This will prevent drying the sheets hence reduced cracking. Remember just to remove one sheet at a time as others will dry so fast.
To add flavor brush olive oil onto each sheet, which also helps increase crispiness deliciousness! Olive oil should be applied gently on each sheet before placing another using pastry brush. Take care not to pour too much oil into your sheets this could easily make them soggy.
Don’t forget while olive oil lining put aside some of your best phyllo sheets for the pie top for that winning presentation.
Working with phyllo dough may seem intimidating at first, but with practice and attention to detail, you’ll soon become comfortable handling this delicate pastry. By following these tips and techniques, you’ll be well on your way to creating perfect spanakopita every time.
The Filling: Blending Spinach, Feta, and Herbs
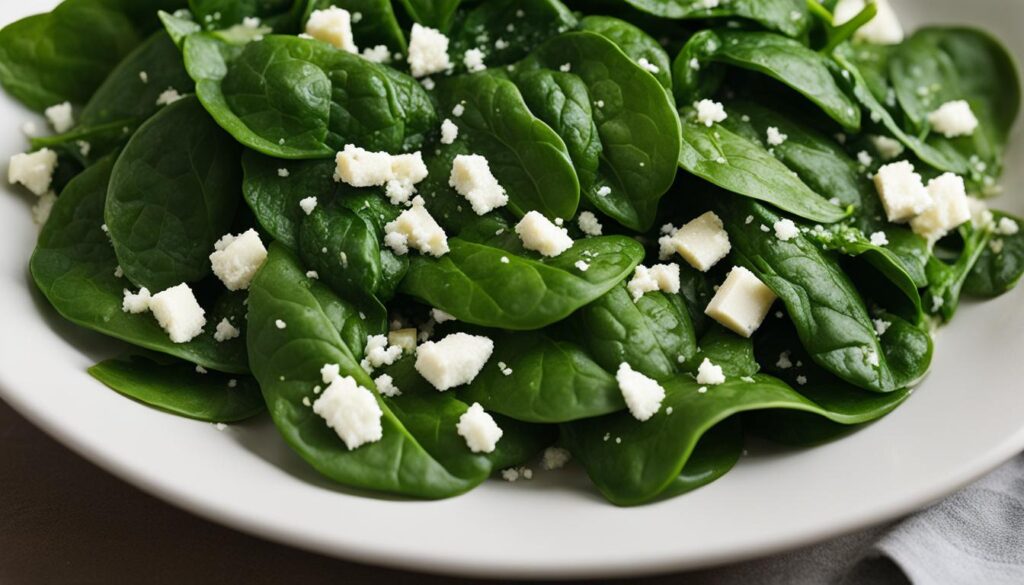
Now it is time to make the filling for your spanakopita. We will need spinach, feta cheese and herbs.
Take a big skillet, pour some olive oil in it and then put a lot of spinach, minced onions and garlic into that. Allow the flavors to blend well while cooking until the spinach wilts and onions become browned.
Put this sautéed spinach mixture into another bowl and let it cool down gently so that it does not turn out too thin when filled with phyllo dough.
After the spinach mixture has cooled down, get ready for adding the feta cheese which is its main ingredient. Crumble your feta cheese before sprinkling it over the hot mixture in the other bowl. This earthy taste of spinach will go well with feta’s tangy creaminess.
To further intensify their flavor, you could add a couple bunches of fresh herbs to the filling. The best choices would be parsley and dill since they give each bite an extra freshness and vitality. Now chop these herbs finely, mixing them with the previous ingredients evenly in order to prevent any clumping.
Lastly, taste it by using salt, pepper together with any other seasonings that you prefer.
Remember, one crucial step in preparing the filling is to drain the sautéed spinach well. This will prevent any excess moisture from making your spanakopita filling soggy, ensuring a crispy, flaky pie.
Now that your spanakopita filling is ready, it’s time to move on to the next step – assembling your delicious Greek spinach pie!
Assembling Your Spanakopita: A Step-by-Step Guide
Now that you have your phyllo dough and filling ready, it’s time to assemble your spanakopita. Follow this step-by-step guide to create a delicious and visually stunning Greek spinach pie.
- Start by preheating your oven to 375°F (190°C) and greasing a baking dish with olive oil. This will prevent the spanakopita from sticking to the dish.
- Place a sheet of phyllo dough in the baking dish, making sure it covers the bottom and sides. Brush the sheet with olive oil using a pastry brush to add flavor and achieve a crispy texture.
- Add another sheet of phyllo dough on top of the first one and brush it with olive oil as well. Repeat this layering process until you have about 6-8 sheets, brushing each layer with olive oil.
- Spread a thin layer of the spinach and feta filling evenly over the phyllo sheets. Make sure to cover the entire surface of the phyllo dough.
- Add another layer of phyllo dough on top of the filling, brushing each sheet with olive oil. Repeat this layering process until you have used up all the remaining phyllo sheets.
- Finish off your spanakopita by brushing the top layer of phyllo dough with olive oil. This will give it a beautiful golden crust.
- Using a sharp knife, gently score the top layer of phyllo into your desired serving portions. This will make it easier to cut once it’s baked.
- Place the assembled spanakopita in the preheated oven and bake for about 45-50 minutes, or until the phyllo is golden brown and crispy.
- Once baked, remove the spanakopita from the oven and allow it to cool for a few minutes before serving. This will help the filling set and make it easier to handle.
Next, we’ll discuss the techniques and tricks for achieving a perfect golden brown phyllo crust when baking spanakopita.
Baking to Golden Brown: Techniques and Tricks
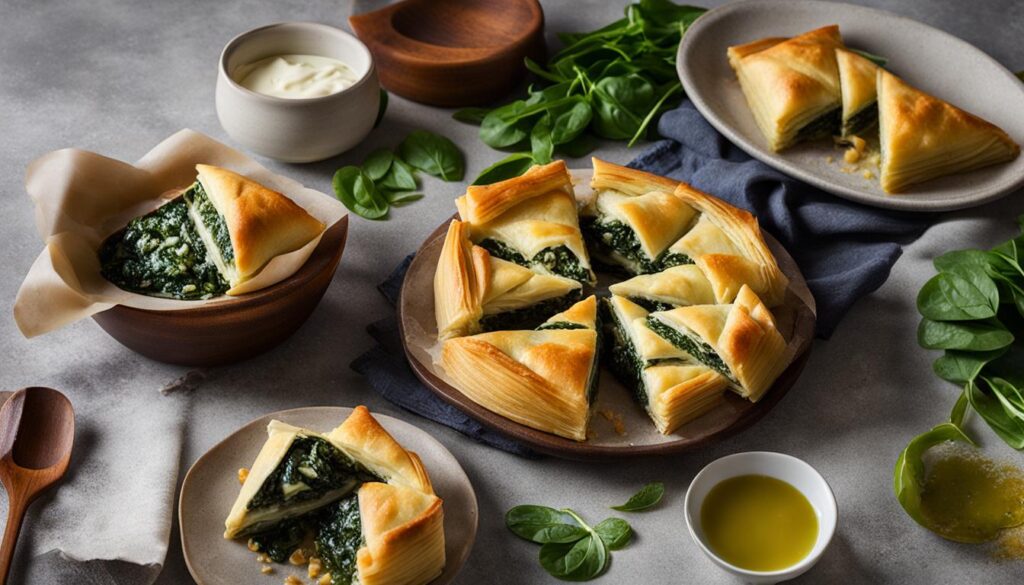
When it comes to baking spanakopita, achieving a golden brown, crispy phyllo crust is the ultimate goal. Here are some techniques and tricks to help you achieve that perfect result:
1. Preheating the Oven: Before you begin baking, make sure to preheat your oven to the recommended temperature. This will ensure that the phyllo dough cooks evenly and becomes beautifully golden brown.
2. Baking Time and Temperature: Follow the recipe instructions for the recommended baking time and temperature. Baking spanakopita at the right temperature for the right amount of time will help the phyllo dough become crispy and achieve that golden brown color.
3. Proper Cooling: After removing the spanakopita from the oven, let it cool slightly before cutting into it. This allows the filling to set and prevents it from oozing out when slicing. It also gives the phyllo crust a chance to crisp up further.
Storing and Reheating Your Greek Spinach Pie
I love making big batches of Spanakopita and storing for future meals. It is never quite as good when fresh but still well worth doing for a hearty snack or second meal. Properly storing and reheating spanakopita is essential to maintain its delicious taste and texture.
Storing Spanakopita
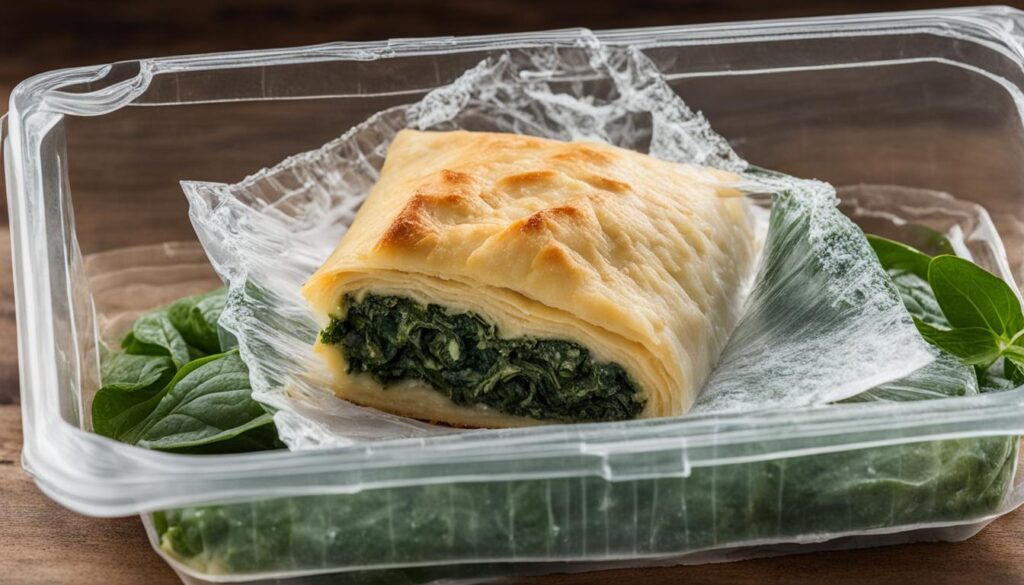
1. Wrap the spanakopita tightly in plastic wrap or aluminum foil to prevent air exposure and maintain freshness.
2. Store the wrapped spanakopita in the refrigerator for up to a few days.
3. For longer storage, the best option is to freeze spanakopita. Wrap it tightly in plastic wrap and then place it in an airtight container or freezer bag to prevent freezer burn.
4. Frozen spanakopita can be stored for up to 3 months.
Reheating Spanakopita
1. Preheat your oven to 375°F (190°C).
2. Remove the spanakopita from the refrigerator or freezer and unwrap it.
3. Place the unwrapped spanakopita on a baking sheet lined with parchment paper.
4. Cover the spanakopita loosely with aluminum foil to prevent the phyllo from burning.
5. Bake the spanakopita in the preheated oven for about 15-20 minutes if reheating from the refrigerator or 25-30 minutes if reheating from frozen. The exact time may vary depending on the size of the spanakopita.
6. Remove the foil in the last few minutes of baking to allow the phyllo to turn golden brown and crispy.
7. Once heated through and the phyllo is crispy, remove the spanakopita from the oven and let it cool slightly before cutting and serving.
