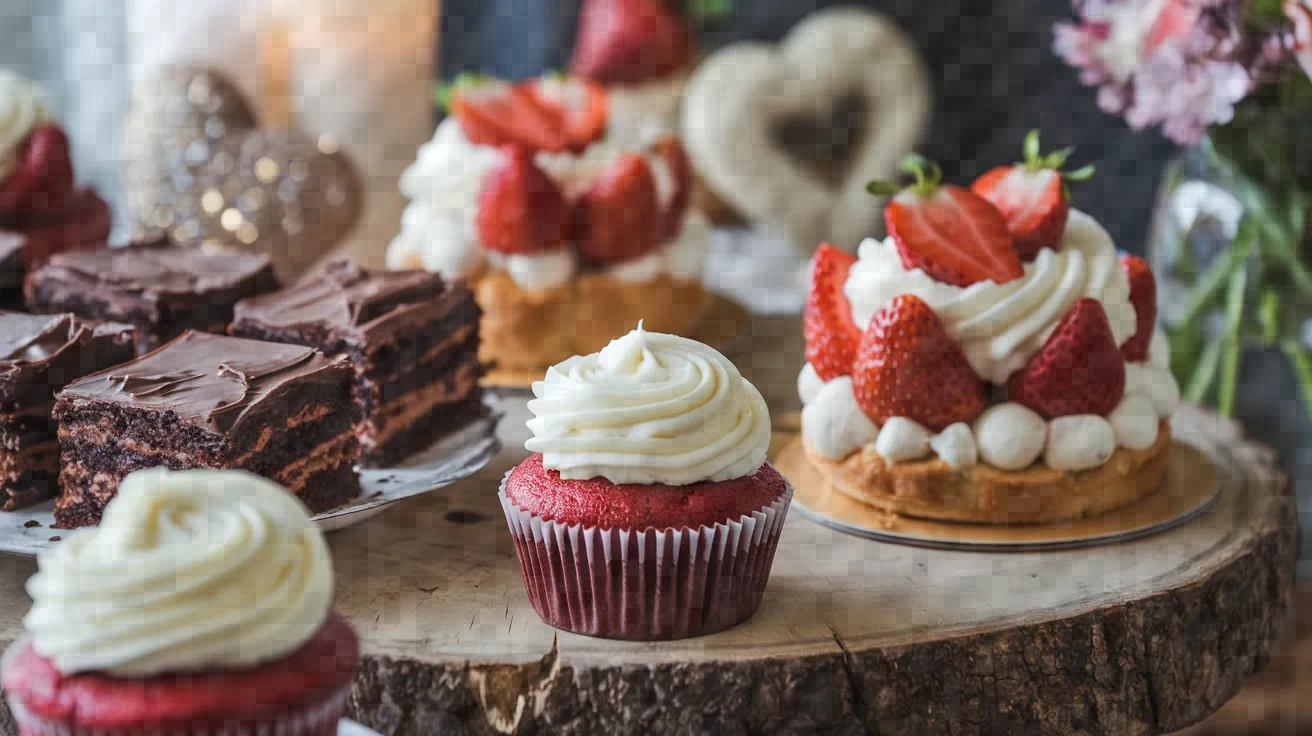
There is no time quite like Valentine’s Day to allow oneself the pleasure of deeply indulgent desserts. For me, that means lavishly flavored sweets that also have an element of surprise in their appearance.
And, above all, there’s chocolate. I love dark chocolate, which has nearly limitless potential when it comes to flavor pairing.
Yet as much as I enjoy covering strawberries with dark chocolate, I also love using that same ingredient to make wickedly rich, off-the-charts chocolate mousse—and then pairing it with not just strawberries, but raspberry sauce as well. A “classic” pairing in a dessert that is undeniably sexy.
The 13 Best Valentines Day Desserts
1. Chocolate-Covered Strawberries
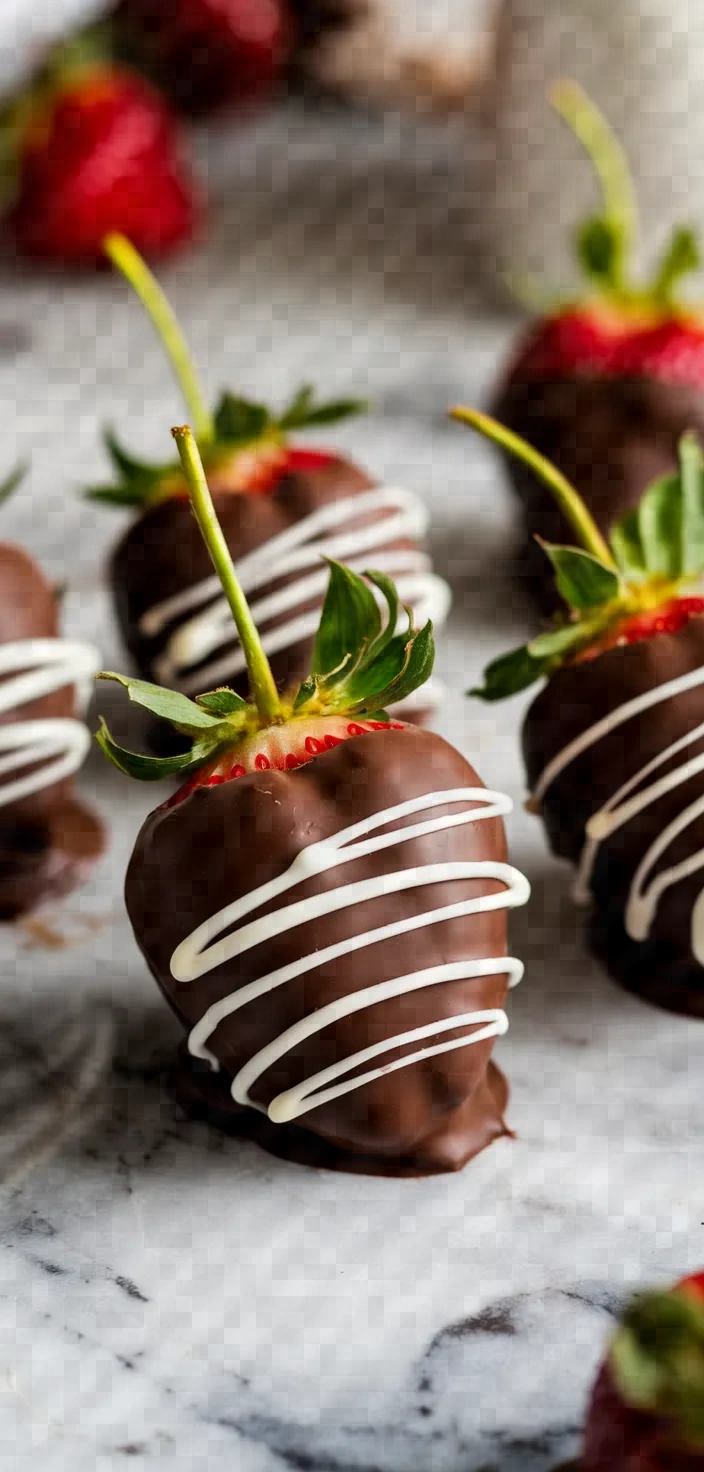
In my opinion, chocolate-covered strawberries are an absolutely delightful dessert. They marry the natural sweetness of fresh strawberries with the rich flavor of semi-sweet chocolate.
And what’s more, they are extremely easy to “make your own,” thanks to a seemingly endless array of potential toppings. You can do so much with and to them—add extra layers of flavor, crunch, and texture—that the chocolate-covered strawberry becomes almost a blank canvas for a fun, easily accomplished, and easily personalized dessert.

Ingredients
- 1 pound fresh strawberries, washed and dried
- 8 ounces semi-sweet chocolate chips or chunks
- Optional: 1 teaspoon coconut oil or vegetable shortening
- Optional toppings: crushed nuts, sprinkles, or shredded coconut
Instructions
1. Prepare a baking sheet by putting parchment paper or a silicone baking mat on it.
2. In a bowl that can withstand the heat of the microwave, mix together the chocolate morsels and the coconut oil or shortening, if using.
3. Melt the chocolate in a microwave, using the 30-second time span and stirring after each interval. Stir until the chocolate is completely smooth. Do not overheat.
4. Grasp the stem of each strawberry and plunge it into the warm chocolate, letting any surplus return to the bowl from whence it came.
5. Put the chocolate-coated strawberries on the baking sheet that has been prepared in advance. If you want toppings, go ahead and put those on before the chocolate sets.
6. Let the chocolate cool and harden in a location that is around room temperature. This could take half an hour or so. If you want it done faster, put it in the fridge; just don’t forget about it.
2. Red Velvet Cake
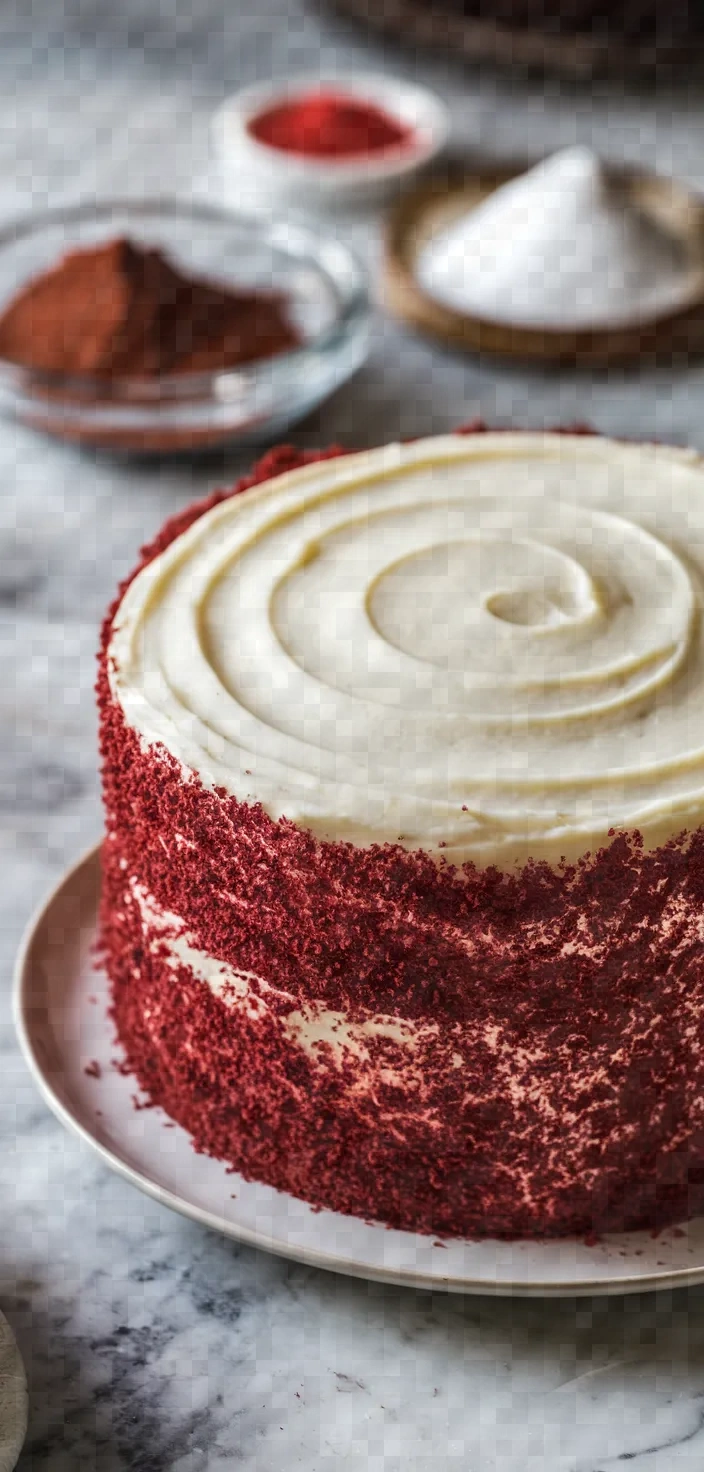
Beneath its dazzling red exterior lies a delectable dessert that marries the sensuousness of a classic chocolate cake with the light, almost airy feel of a pound cake. Its texture alone distinguishes Red Velvet Cake from any ordinary layer cake.
Furthermore, when paired with the undeniably luxurious tang of Cream Cheese Frosting, this southern belle becomes an even more decadent dessert.

Ingredients
2 1/2 cups all-purpose flour
1 1/2 cups granulated sugar
1 teaspoon baking soda
1 teaspoon salt
1 teaspoon cocoa powder
1 1/2 cups vegetable oil
1 cup buttermilk, at room temperature
2 large eggs, at room temperature
2 tablespoons red food coloring
1 teaspoon vanilla extract
1 teaspoon white vinegar
8 oz cream cheese, softened
1/2 cup unsalted butter, softened
4 cups confectioners’ sugar
1 teaspoon vanilla extract (for frosting)
Instructions
1. Set your oven to 350 degrees Fahrenheit (177 degrees Celsius) and use butter or non-stick spray to prepare two 9-inch round cake pans so that the cake will not stick.
2. In a big bowl, combine the flour, sugar, baking soda, salt, and cocoa powder. And sift.
3. In a separate substantial bowl, combine the vegetable oil, buttermilk, eggs, red food coloring, vanilla extract, and vinegar—then whisk these ingredients together until they’re well combined and the mixture appears uniform in color and texture.
4. Slowly add the liquid ingredients to the dry mixture, stirring to combine until the texture is smooth and homogeneous.
5. Evenly distribute the batter between the two aforementioned cake pans and bake for 30-35 minutes or until, when a toothpick is plunged into the center of the cake, it reveals no batter clinging to it.
6. Let the cakes cool, and in the meantime, get the frosting ready by beating the cream cheese and butter in a large bowl until they are creamy. Add the confectioners’ sugar and vanilla extract gradually, beating and coaxing them into the fluffy frosting we all know and love. Once the cakes are cool, coat them in this topping and stack them on top of each other.
3. Heart-Shaped Sugar Cookies
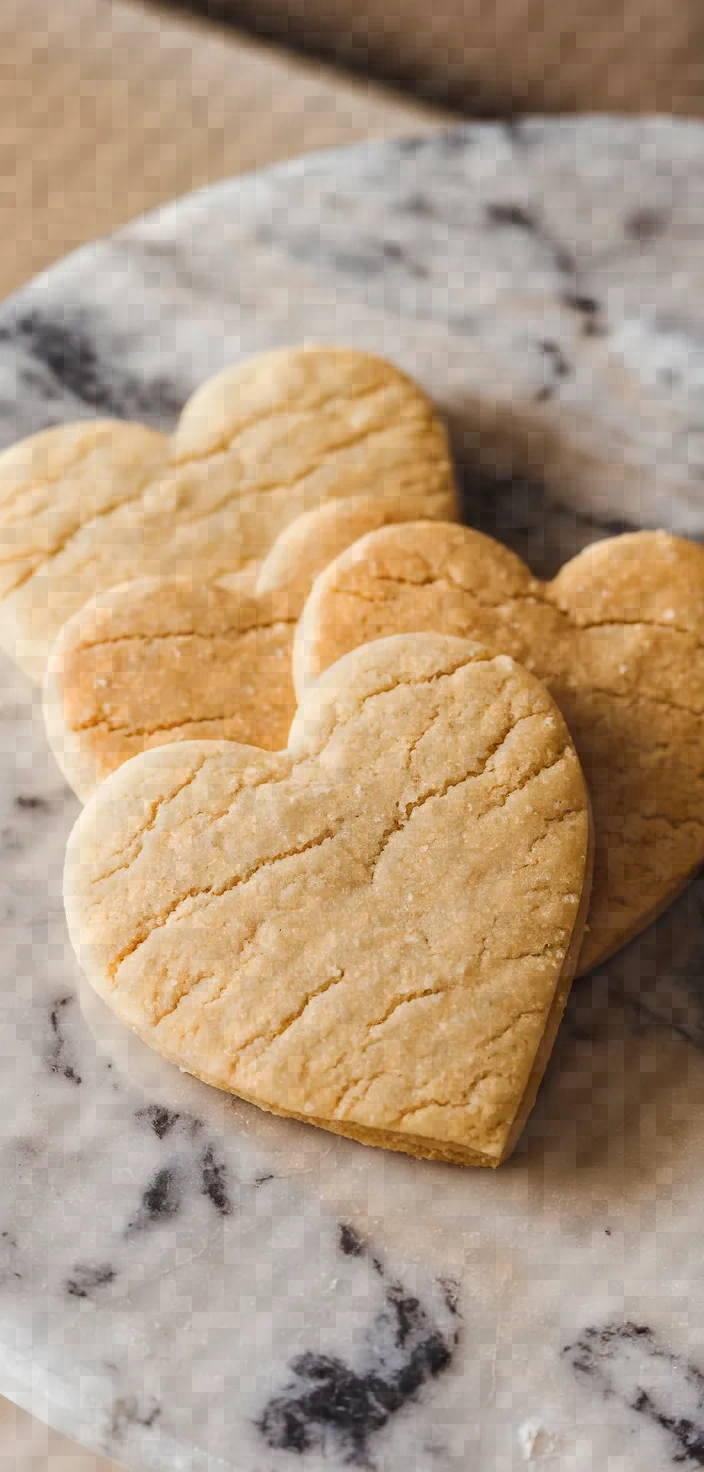
I love to bake sugar cookies in the shape of hearts. Made from basic yet beautiful ingredients—cake flour, unsalted butter, and a touch of vanilla—they are a sweet treat that can bring joy to any occasion.
Of course, that only happens if you make them and then share them with other people.

Ingredients
- 2 3/4 cups all-purpose flour
- 1 teaspoon baking powder
- 1/2 teaspoon salt
- 1 cup unsalted butter, softened
- 1 1/2 cups granulated sugar
- 1 large egg
- 1 1/2 teaspoons vanilla extract
- 1/2 teaspoon almond extract
- Red or pink food coloring (optional)
- Royal icing, for decorating (optional)
Instructions
1. Set your oven to 350 degrees Fahrenheit (175 degrees Celsius) to get it nice and hot. In the meantime, prepare your baking sheets. You can either grease them or line them with parchment paper.
2. In a bowl of medium size, combine the flour, baking powder, and salt; mix thoroughly.
3. In a big mixing bowl, mix together the base ingredients until they form a light, airy mixture that is uniform in texture and color. This is accomplished by the standard method of mixing: working the butter and sugar together with a sturdy spatula or with an electric mixer, beating at low and then medium speed until the mixture seems to have risen a bit and lightened in color.
4. The dry ingredients should be added to the wet ingredients gradually, mixing until combined. The dough must be divided in half, and each half must be wrapped in plastic wrap. The wrapped dough needs to chill in the refrigerator for 1 hour or longer.
5. On a counter that’s been dusted with flour, roll the dough into a circle about 1/4 inch thick. Use a heart cookie cutter to cut out the cookies and place them on the prepared baking sheets.
6. For 8 to 10 minutes, bake cookies until the edges just start to turn golden. When the time is up, let the cookies sit on the baking sheets for 2-3 minutes before moving them to a wire rack. You can allow them to cool until they’re not too hot to handle and then go ahead and decorate them with royal icing, if that’s your jam.
4. Raspberry Cheesecake
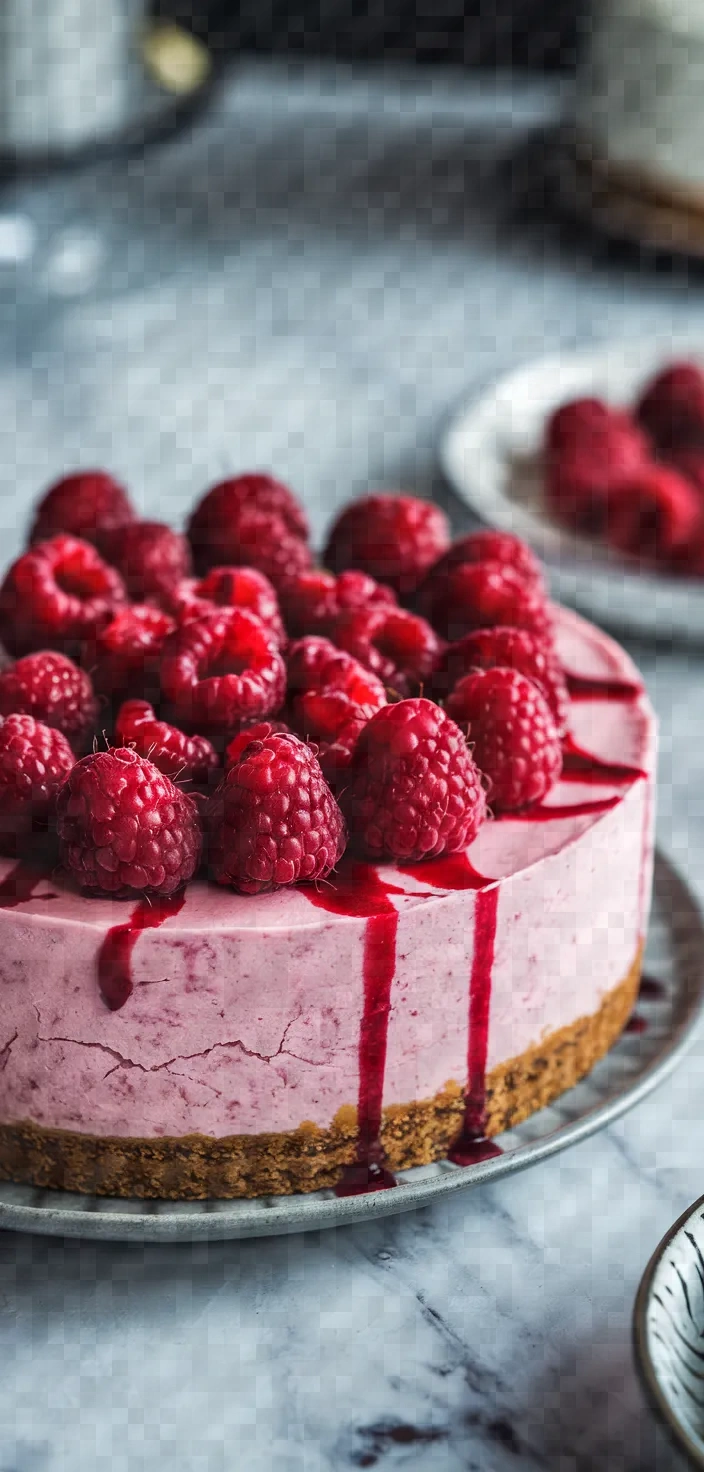
Raspberry cheesecake is quintessentially simple. The star ingredient is softened cream cheese, which serves as the stage for a rhapsody of flavors.
In that filling, you’ll find not only the creamy tang of the cheese, but also the pure sweetness of fresh raspberries and a whisper of vanilla.

Ingredients
1 1/2 cups graham cracker crumbs
1/4 cup sugar
1/2 cup unsalted butter, melted
24 oz cream cheese, softened
1 cup granulated sugar
1 tsp vanilla extract
3 large eggs
1/2 cup sour cream
1/4 cup all-purpose flour
1 1/2 cups fresh raspberries
1/4 cup raspberry jam
Whipped cream, for garnish (optional)
Instructions
1. Set the oven to 325°F (160°C) to get hot while you prepare the crust. Mix together the graham cracker crumbs, 1/4 cup sugar, and melted butter in a medium bowl. Once mixed, press the combined ingredients into the bottom of a 9-inch springform pan.
2. Using a big mixing bowl, beat the cream cheese and 1 cup of sugar until the mixture is smooth and creamy. Then mix in the vanilla extract.
3. Incorporate the eggs, one at a time, mixing thoroughly after each addition. Then, blend in the sour cream and the flour until they’re just combined and pour on the base.
4. Cook for 50-60 minutes, until the edges are set and the center jiggles just a little. Turn off the oven, crack the door about 6 inches open, and let the cheesecake cool for 1 hour.
6. Move to a refrigerator and cool for a minimum of 4 hours or, better yet, overnight. Top with fresh raspberries and a bump of whipped cream before serving, if that’s your thing.
5. Strawberry Shortcake
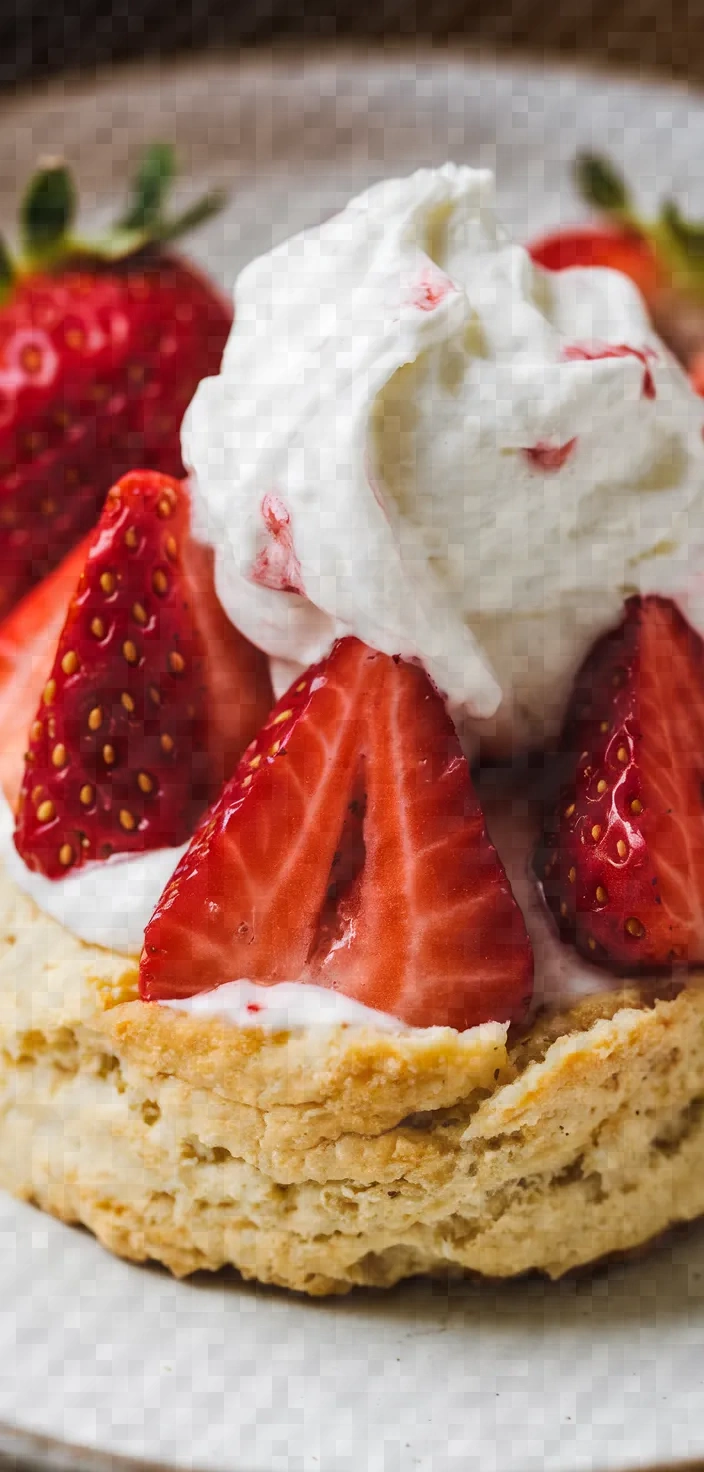
I take great pleasure in making the dessert that I know as Strawberry Shortcake. It has a few basic components, all of which are absolutely necessary for yielding the end result that I want.
The first and most important component is the shortcake, which is not some sort of half-baked, soggy biscuit but a flaky, tender, and slightly sweet cake made with flour, baking powder, and butter, and was once made simply on a griddle to produce a very basic pancake.

Ingredients
2 cups all-purpose flour
1/4 cup granulated sugar
1 tablespoon baking powder
1/2 teaspoon salt
1/2 cup unsalted butter, cold and diced
2/3 cup whole milk
1 teaspoon vanilla extract
1 pound fresh strawberries, hulled and sliced
1/4 cup granulated sugar (for strawberries)
1 cup heavy whipping cream
2 tablespoons powdered sugar
1 teaspoon vanilla extract (for whipped cream)
Instructions
1. Set the oven to 425°F (220°C) and prepare a baking sheet by lining it with parchment paper.
2. In a mixing bowl, whisk together the flour, 1/4 cup of sugar, baking powder, and salt. Using a pastry cutter, cut the butter into the mixture until it resembles coarse crumbs.
3. Combine the milk and 1 teaspoon of vanilla extract with the dough until just mixed. Place the resulting dough onto the sheet pan in 8 even dollops, leaving space between them to allow for expanding biscuits.
4. Bake for 12-15 minutes, or until they’re a lovely shade of gold. Once they come out of the oven, let the biscuits cool on a wire rack.
5. Combine the sliced strawberries with 1/4 cup sugar and let them sit for no less than 30 minutes to draw out their juices.
6. In a different bowl, whip the heavy cream, incorporating the powdered sugar and 1 teaspoon of vanilla extract, to soft peaks.
7. To put together, cut the biscuits in half, and layer them with strawberries and whipped cream
6. Molten Chocolate Lava Cake
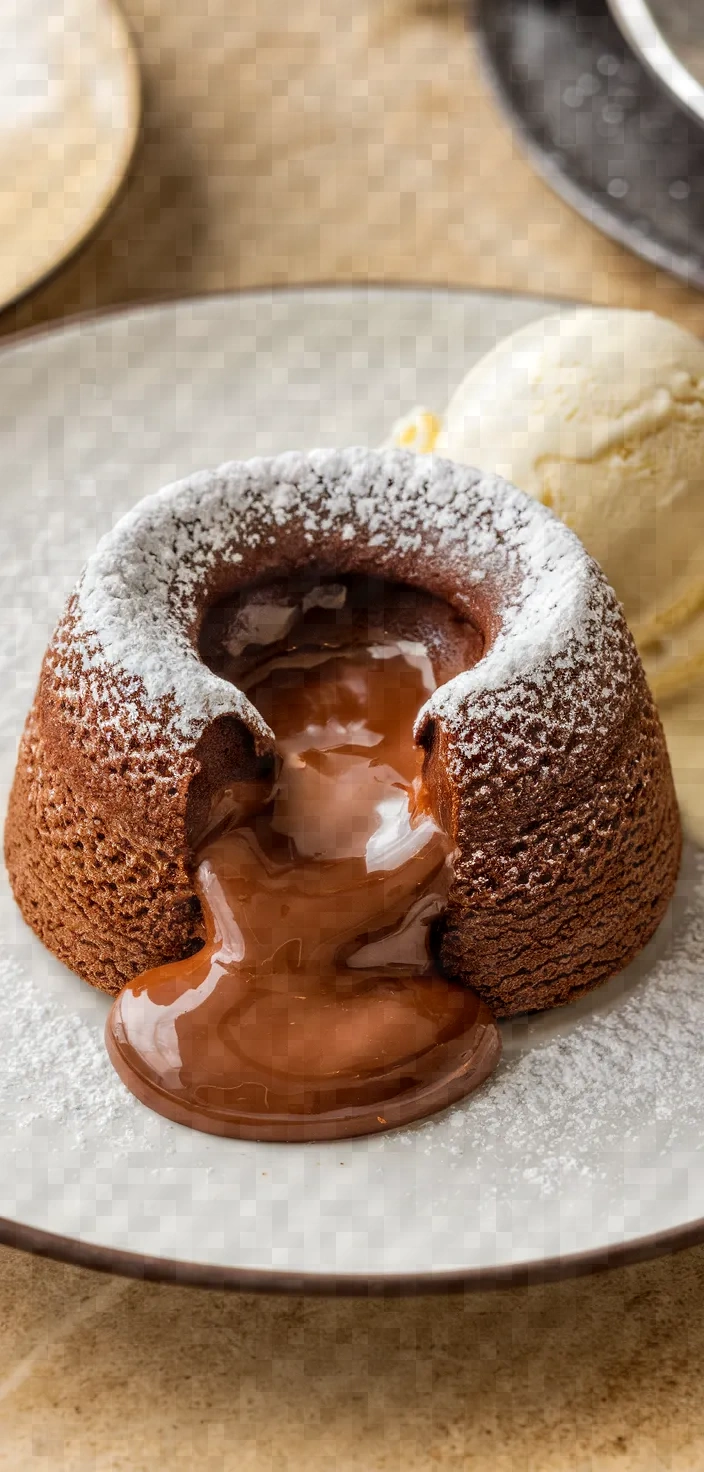
I adore molten chocolate lava cake for its rich, molten center imprisoned inside a delicate chocolate shell. My version features semisweet chocolate and unsalted butter, blending into a velvety batter with eggs, sugar, and a half cup of flour.
They are delightful little puddles of joy, especially when dusted with powdered sugar and presented alongside a scoop of vanilla ice cream.

Ingredients
1/2 cup unsalted butter (plus more for greasing the ramekins)
1 cup semisweet chocolate chips or chopped chocolate
2 large eggs
2 large egg yolks
1/4 cup granulated sugar
2 tablespoons all-purpose flour
1/4 teaspoon salt
Optional: powdered sugar and ice cream for serving
Instructions
1. Set your oven to 425°F (218°C) to warm up. Take four ramekins and grease them with butter. They should be sturdy enough to withstand a move to the oven and back. Place the ramekins on a baking sheet, which makes them easier to transport.
2. In a bowl safe for the microwave, combine the butter and chocolate. Heat in the microwave in 30-second intervals, stirring after each, until smooth.
3. In another bowl, beat together the eggs, yolks, and sugar until they become thick and pale.
4. Slowly blend the chocolate mixture into the egg mixture, then add the flour and salt. Stir until smooth.
5. Evenly distribute the batter among the ready ramekins.
6. Place in the oven at the set temperature. Set the timer for 12 minutes and check to see if the cakes are done at that point and if not add another minute and check again. Remove from the oven and let sit for just a moment if they are too hot; then invert onto plates, and serve.
7. Chocolate Fondue
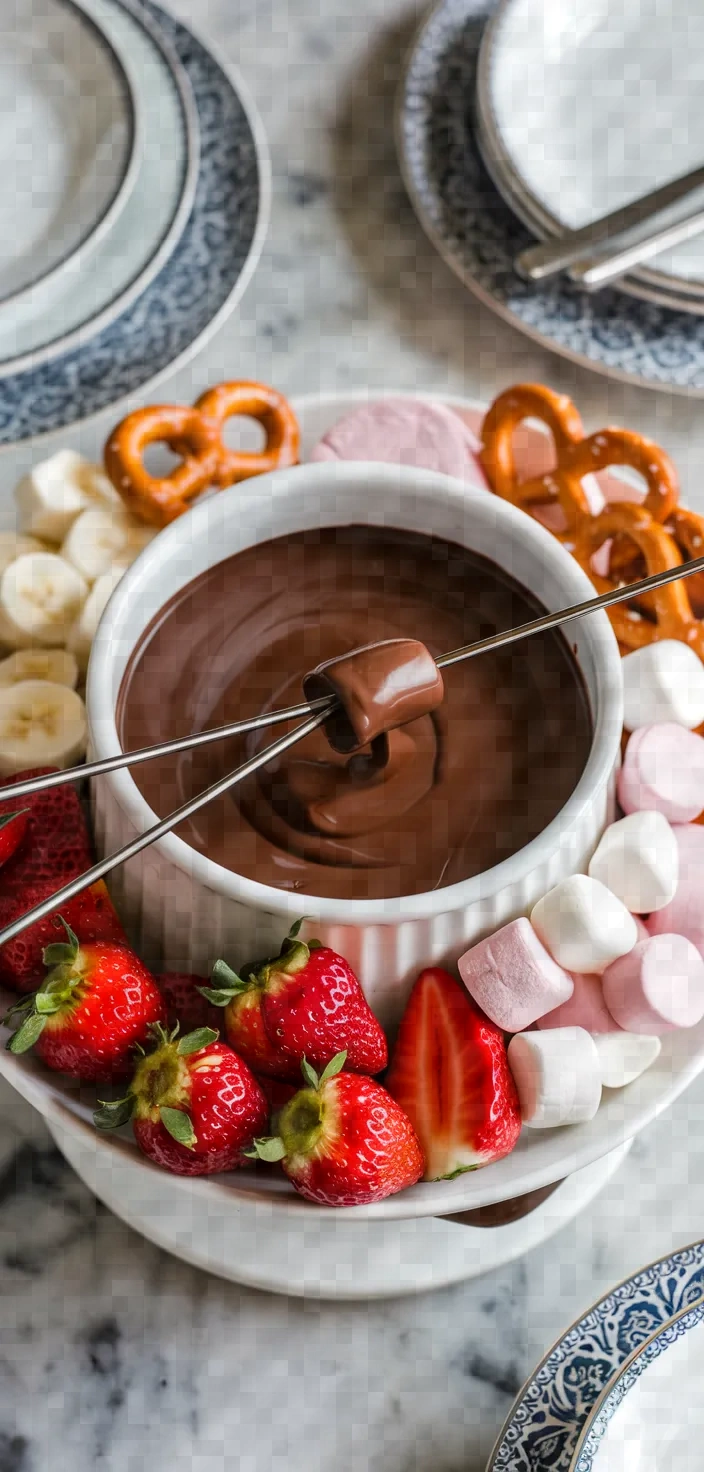
Chocolate fondue is one of my all-time favorite desserts, and for many good reasons. Its preparations are uncomplicated yet refined.
You need only a few essential ingredients: semisweet or bittersweet chocolate, heavy cream, and a hint of vanilla. When melted, these combine into an unctuous, nearly intoxicating chocolate sauce.
And that’s when the fun really starts. You can dip into the fondue virtually anything your heart desires, from graham crackers to various fruits.

Ingredients
8 oz semisweet or bittersweet chocolate, chopped
1 cup heavy cream
1 teaspoon vanilla extract
A pinch of salt
Assorted dippers (such as strawberries, banana slices, marshmallows, pretzels, and pound cake cubes)
Instructions
1. In a medium saucepan, slowly heat the heavy cream until it simmers.
2. Take the saucepan off the heat and add the chopped chocolate, stirring until the chocolate is thoroughly melted and the mixture is completely smooth.
3. Add the vanilla extract and a dash of salt.
4. To maintain warmth, shift the chocolate fondue into a fondue pot or a serving bowl that can withstand heat.
5. Accompany with various dippers and savor the experience of immersing them into the molten chocolate fondue.
8. Valentine’s Day Macarons
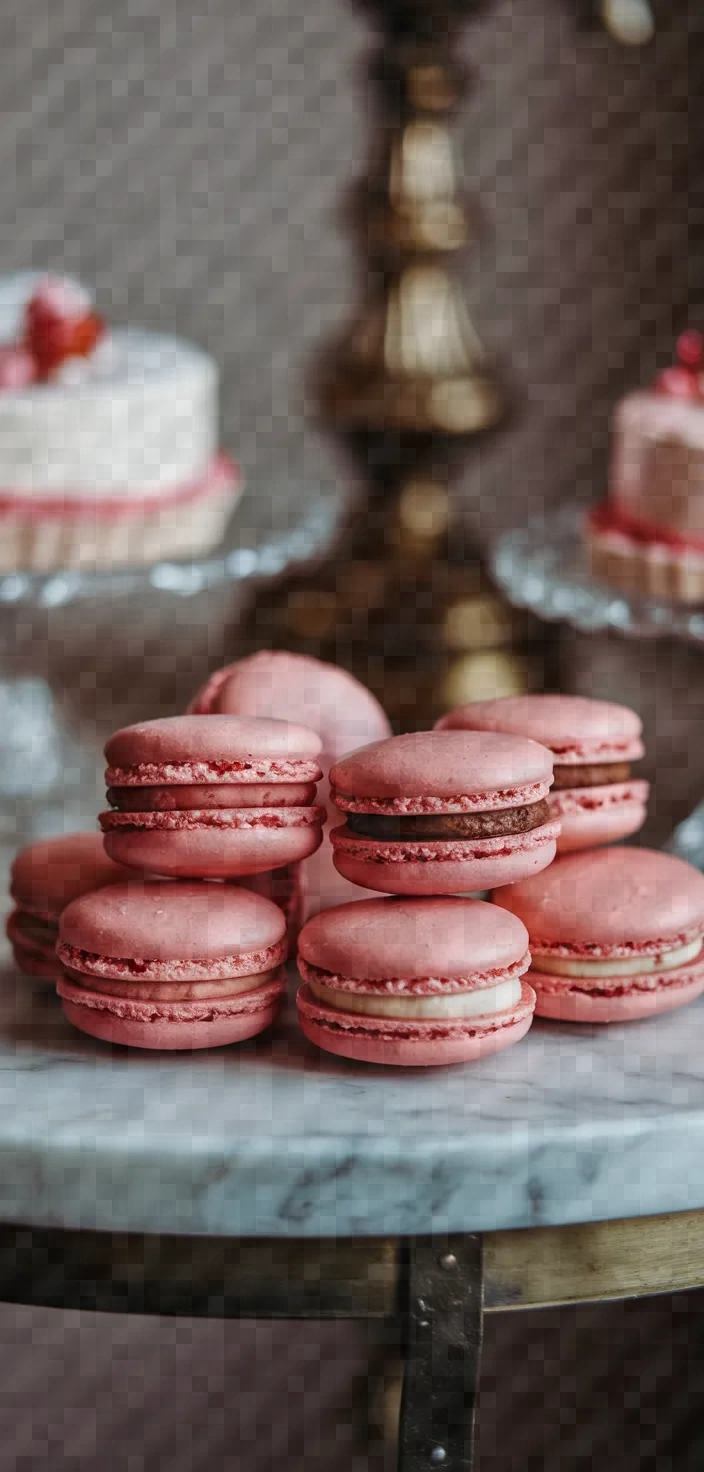
I take immense pleasure in crafting the dainty and delectable macarons that embody the spirit of Valentine’s Day. My low-key yet oh-so-tasty recipe is composed of very few ingredients, all of which are necessary for this French confection.
Fluffed egg whites are the key to a delicate meringue, which is combined with finely ground almond flour and sweet powdered sugar. These form the basis for the macaron shell.

Ingredients
1 3/4 cups confectioners’ sugar
1 cup almond flour
3 large egg whites, at room temperature
1/4 cup granulated sugar
1/4 teaspoon cream of tartar
Red food coloring
1/2 cup unsalted butter, softened
1 cup confectioners’ sugar (for filling)
1 teaspoon vanilla extract
Pinch of salt
Instructions
1. Place a bowl in a sifter. Add the confectioners’ sugar and the almond flour to the bowl, and sift the two ingredients together to ensure they are well mixed and to remove any lumps.
2. In a separate bowl, combine egg whites and medium electrical speeds until they reach a foam-like consistency. Add the cream of tartar and ensure it is well combined with the egg whites. Have your granulated sugar ready, and as always, add it very gradually to the egg whites—just a little at a time. Beat your egg whites and sugar together until the mixing bowl starts to feel warm. When you reach this stage, reduce the mixing speed to medium low. Keep mixing.
3. In batches, combine the dry mixture with the egg whites, gently folding until you have an even mixture. Then add several drops of red food coloring and fold it in until the batter is smooth and flowing.
4. Put the batter into a piping bag and pipe 1-inch rounds onto a baking sheet lined with parchment. Allow the piped rounds to rest at room temperature for 30 to 60 minutes until a skin forms on their surfaces.
5. Set the oven temperature to 300°F (150°C) and put the macarons in for 15-18 minutes of baking. When they finish, allow them to cool fully on the baking tray.
6. To prepare the filling, beat the softened butter until smooth and creamy. Then, add the confectioners’ sugar, vanilla extract, and a pinch of salt to the bowl and mix well. You should have a nice, stiff frosting that holds its shape. Pipe the filling onto half of the macaron shells, then top with the other half of the shell to create a sandwich.
9. Red Velvet Cupcakes
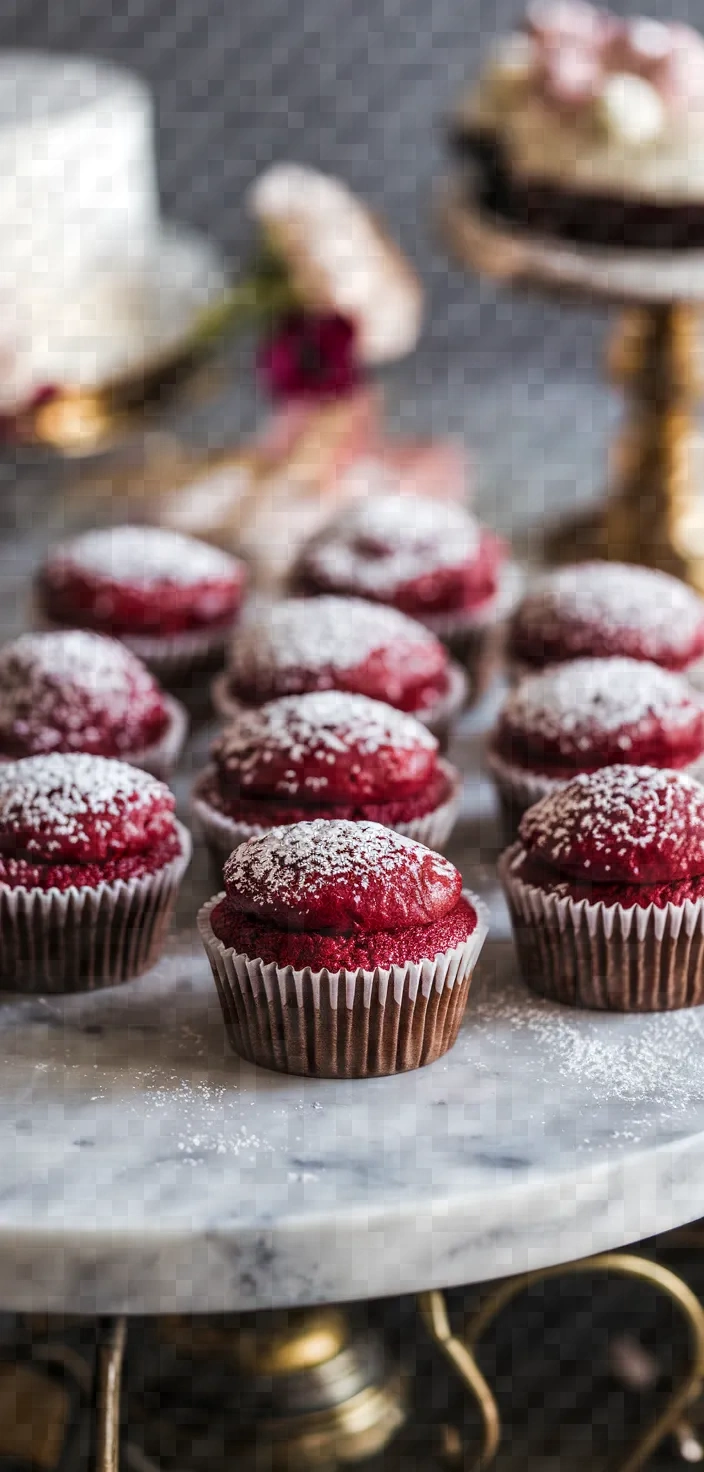
I love to whip up these delightful little red velvet cupcakes. They are so good, I am pretty sure they can cure almost any ailment.
In case you are unfamiliar with them, red velvet cupcakes are actually a kind of chocolate cupcake—albeit a very intimate kind of chocolate.

Ingredients
- 1 and 1/4 cups (150g) all-purpose flour
- 1 tablespoon (10g) unsweetened cocoa powder
- 1/2 teaspoon baking soda
- 1/4 teaspoon salt
- 1/2 cup (115g) unsalted butter, softened to room temperature
- 3/4 cup (150g) granulated sugar
- 1 large egg, at room temperature
- 1/4 cup (60ml) sour cream, at room temperature
- 1/2 cup (120ml) buttermilk, at room temperature
- 1 tablespoon (15ml) liquid red food coloring
- 1 teaspoon pure vanilla extract
- 1 teaspoon white vinegar
- For the cream cheese frosting: 8oz (224g) cream cheese, softened
- 1/4 cup (60g) unsalted butter, softened
- 2 cups (240g) powdered sugar
- 1 teaspoon pure vanilla extract
- Pinch of salt
Instructions
1. Start by setting your oven to 350 degrees Fahrenheit (177 degrees Celsius) to preheat. While the oven reaches the right temperature, line a 12-cup muffin tin with paper liners.
2. Whisk the flour, cocoa powder, baking soda, and salt in a bowl of medium size. Put this mix aside for now.
3. In a spacious mixing bowl, use an electric mixer to beat the butter and sugar together on high speed until creamy, about 1 minute. Add the egg, sour cream, and vanilla, scraping down the sides as necessary.
4. In two increments, combine the dry ingredients with the wet ingredients, alternating with the buttermilk. Mix them together gently after each addition. Then, add the food coloring and vinegar, mixing just until everything comes together.
5. Evenly distribute the batter between the liners, filling each about two-thirds of the way full. Bake for 18 to 20 minutes; a toothpick inserted in the center should come out clean. Allow the cupcakes to cool completely before frosting.
6. To make the frosting, beat the cream cheese and butter together on high speed until they’re smooth. Then, add the powdered sugar, vanilla extract, and pinch of salt. Beat these ingredients together on low speed for 30 seconds, then go ahead and turn the mixer to high speed and beat for 2 minutes until creamy and thoroughly mixed. Then, you can use the frosting to top the cupcakes however you’d like.
10. Chocolate Truffles
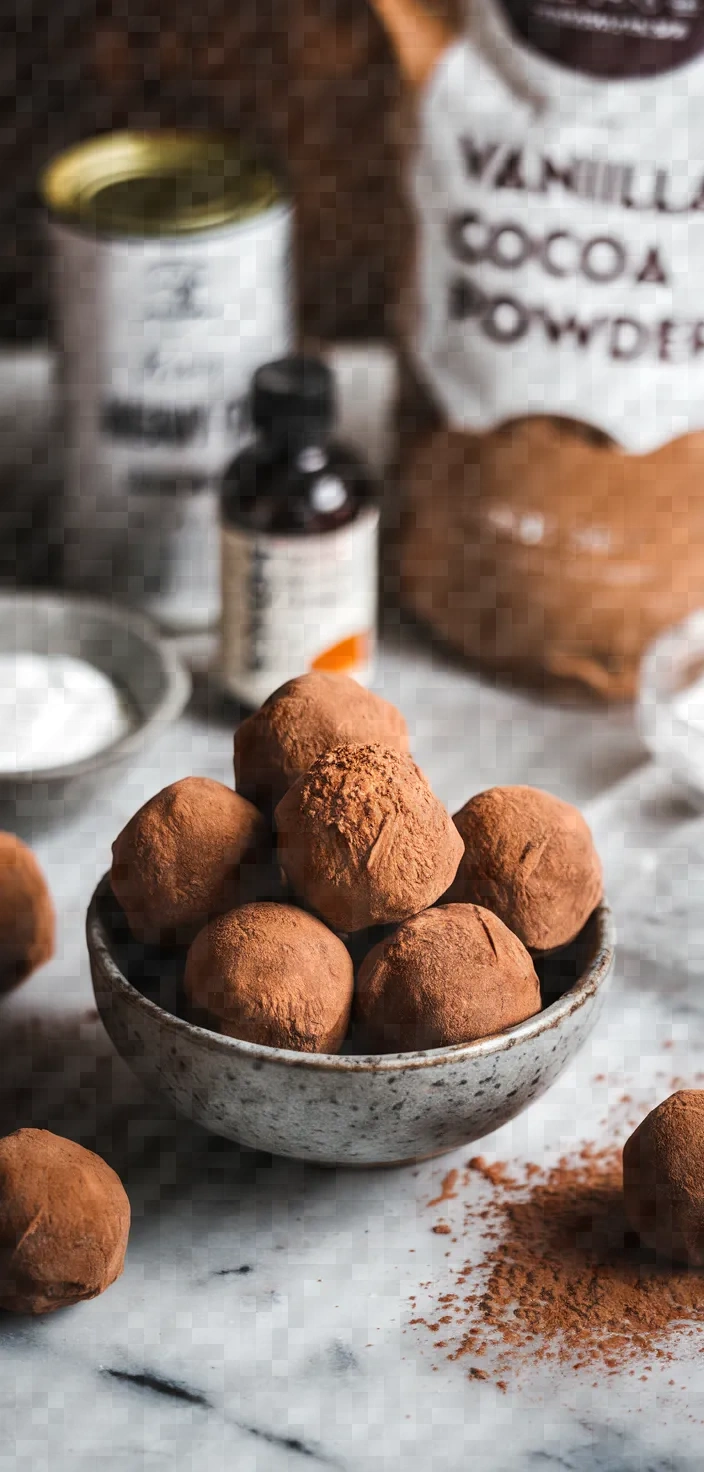
For me, chocolate truffles represent the very definition of simple elegance within the culinary arts. They contain just five ingredients, two of which are the ubiquitous semisweet and bittersweet chocolates that almost everyone has at home these days.
Of course, chocolate is the main event in a chocolate truffle, but it’s not the only one; heavy cream is also essential. And for a new twist on a classic chocolate truffle, I am using swirls of sweetened and salted caramel and, quite surprisingly, using no nuts whatsoever.

Ingredients
8 oz semisweet or bittersweet chocolate, chopped
1/2 cup heavy cream
1 teaspoon vanilla extract
Pinch of salt
1/4 cup unsweetened cocoa powder, for rolling
Instructions
1. Put the chopped chocolate in a bowl that can withstand heat. In a small saucepan, keep the heavy cream over medium heat and bring it just to a simmer.
2. The hot cream should be poured over the chocolate, which should then be left to sit for a few minutes before being stirred very gently. The chocolate should be completely melted and smooth before you go on to the next step.
3. Add the vanilla extract and a small amount of salt.
4. Plastic wrap should be used to cover the bowl, and it should then be placed in the refrigerator for 1 to 2 hours, or until the substance within the bowl is solid enough to be worked with.
5. Scoop out the bits of chocolate mixture and roll them with your hands into a small ball form. You can use a small spoon, a melon baller, or any other utensil you have on hand to scoop the mixture.
6. To coat the truffles evenly, roll each one in unsweetened cocoa powder. Keep them in a container that seals tightly in the fridge, and you’ll be all set to serve them at a moment’s notice.
11. Pink Champagne Cake
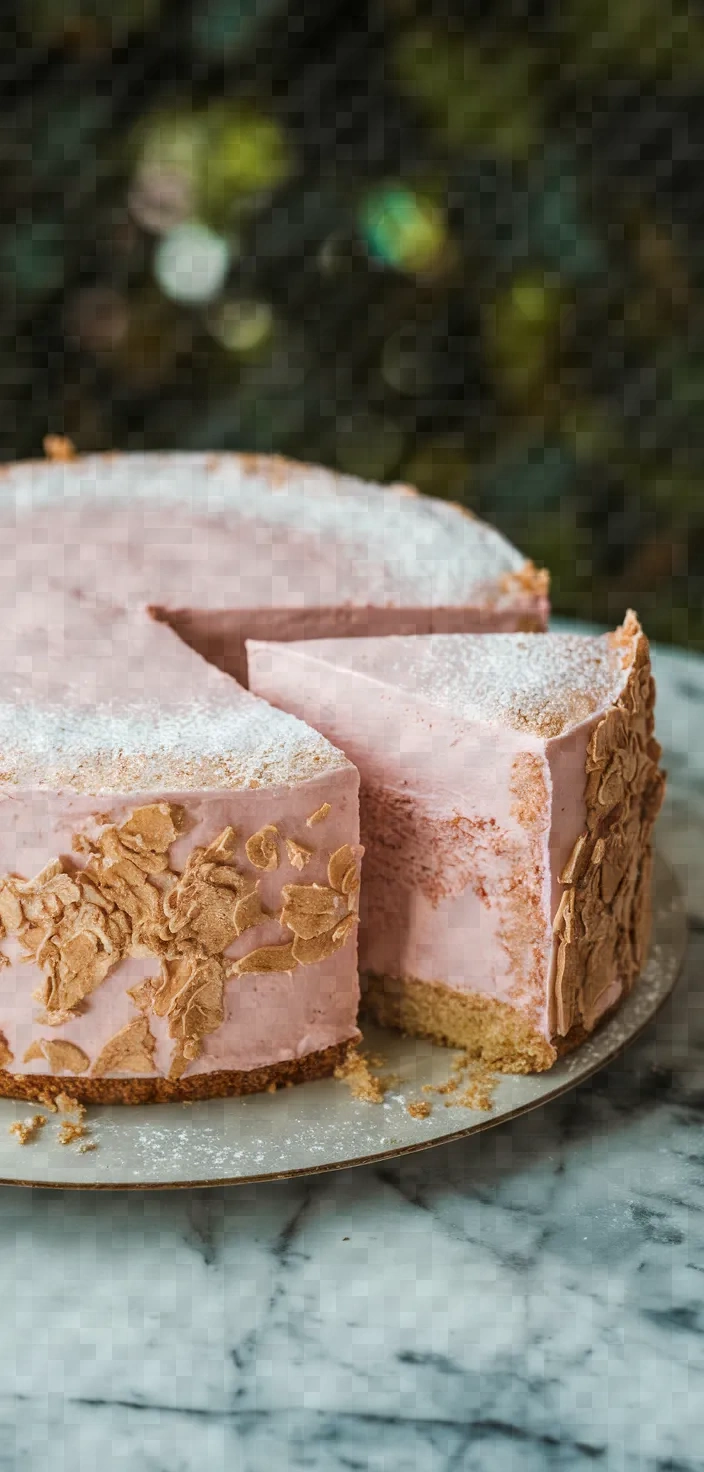
I love the refinement of Pink Champagne Cake—a blend of sophistication and ease. This cake is not sponge but rather a poundish cake made with all-purpose flour, unsalted butter, and granulated sugar.
It gets most of its flavor from the pink champagne, which gives the cake a light effervescence that teeters on the bubbly. A touch of vanilla extract and a kind of frosting that uses even more champagne make this cake sing.

Ingredients
2 3/4 cups all-purpose flour
1 tablespoon baking powder
1 teaspoon salt
3/4 cup unsalted butter, softened
2 cups granulated sugar
1 teaspoon vanilla extract
6 large egg whites
1 1/4 cups pink champagne
A few drops of pink food coloring (optional)
Instructions
1. Set your oven to 350°F (175°C) to preheat. Get three 8-inch round cake pans ready by greasing and flouring them so that the cake releases easily when baked.
2. In a bowl of medium size, combine the flour, baking powder, and salt; set them aside.
3. In a spacious mixing bowl, combine the butter and sugar and beat them together until light, fluffy, and fully incorporated. Then add the vanilla and mix it in.
4. Slowly incorporate the egg whites, mixing one at a time, then alternately adding the dry ingredients and pink champagne. Start and end with the dry ingredients. If you wish, add food coloring to achieve your desired shade.
5. Equal portions of the batter go into each of the two prepared pans. The pans go into a preheated oven, and the timer is set for 25–30 minutes. When the buzzer sounds, check for doneness; the cake should be set, and a toothpick poked through the center should come out clean.
6. Let the cakes sit in their pans for 10 minutes to cool down. After that, carefully remove the cakes from the pans and place them on a wire rack. Allow them to cool completely before frosting.
12. Rose-flavored Mousse
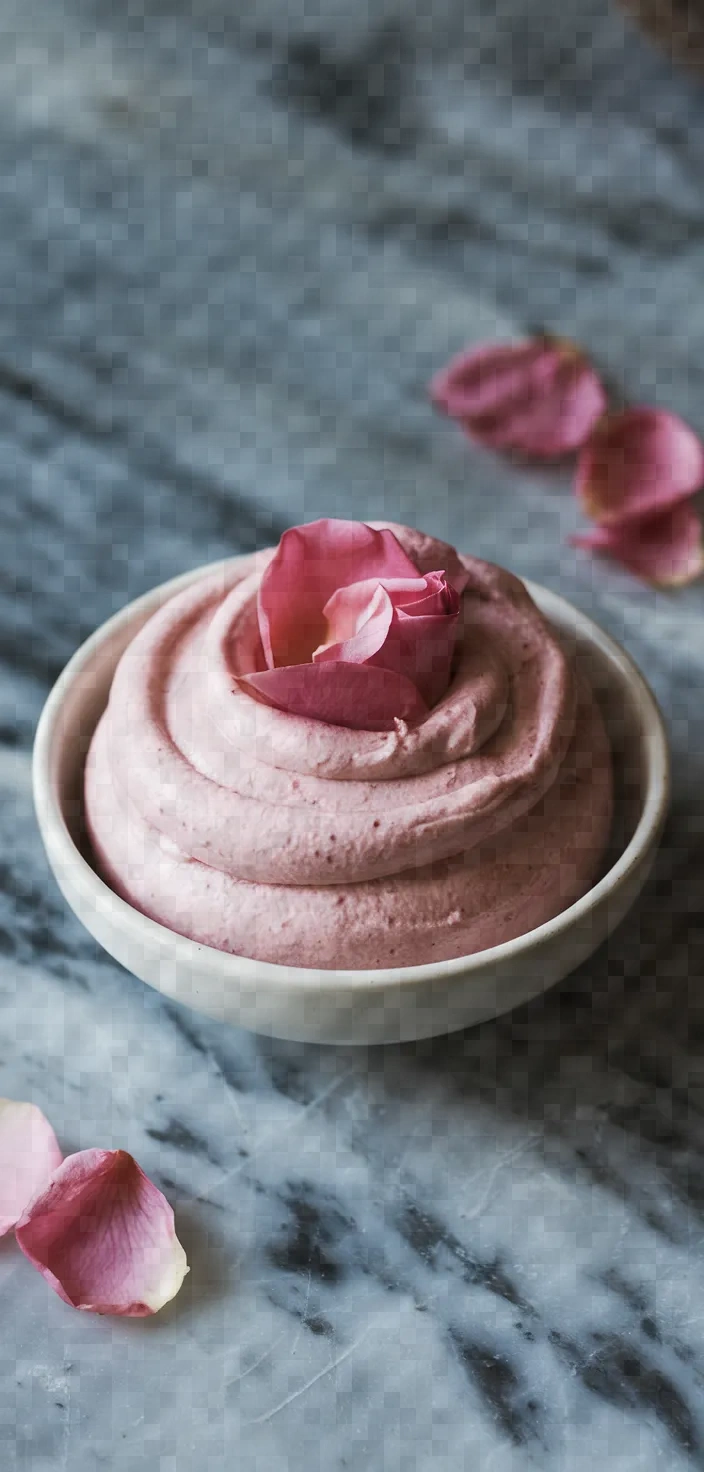
The dessert I most often recommend for showing off floral flavors is the rose-flavored mousse. This light and airy treat is a simple matter of folding whipped cream into a base of sweetened and lightly thickened rose water.
It is the perfect way to bring a signature ingredient to the table, and it’s also incredibly easy to make.

Ingredients
1 cup heavy cream
2 tablespoons sugar
1 teaspoon rose water
2 tablespoons cold water
1 teaspoon unflavored gelatin
2 drops pink food coloring (optional)
Rose petals for garnish (optional)
Instructions
1. In a tiny bowl, scatter the gelatin over 2 tablespoons of cold water, and allow it to bloom for approximately 5 minutes.
2. In a small saucepan, heat the bloomed gelatin gently over low heat, stirring constantly until it is completely dissolved. Remove from heat and allow it to cool slightly.
3. In an ample mixing bowl, combine the heavy cream and sugar and whip together until soft peaks form.
4. The whipped cream should be blended with the dissolved gelatin mixture and the rose water. If you want a slightly pink hue to your final product, this is the time to add a few drops of pink food coloring.
5. Spoon the mousse into individual cups or ramekins, then refrigerate for at least 2 hours until set.
6. If you wish, you can adorn the dish with rose petals before serving.
13. Valentine’s Day Tiramisu
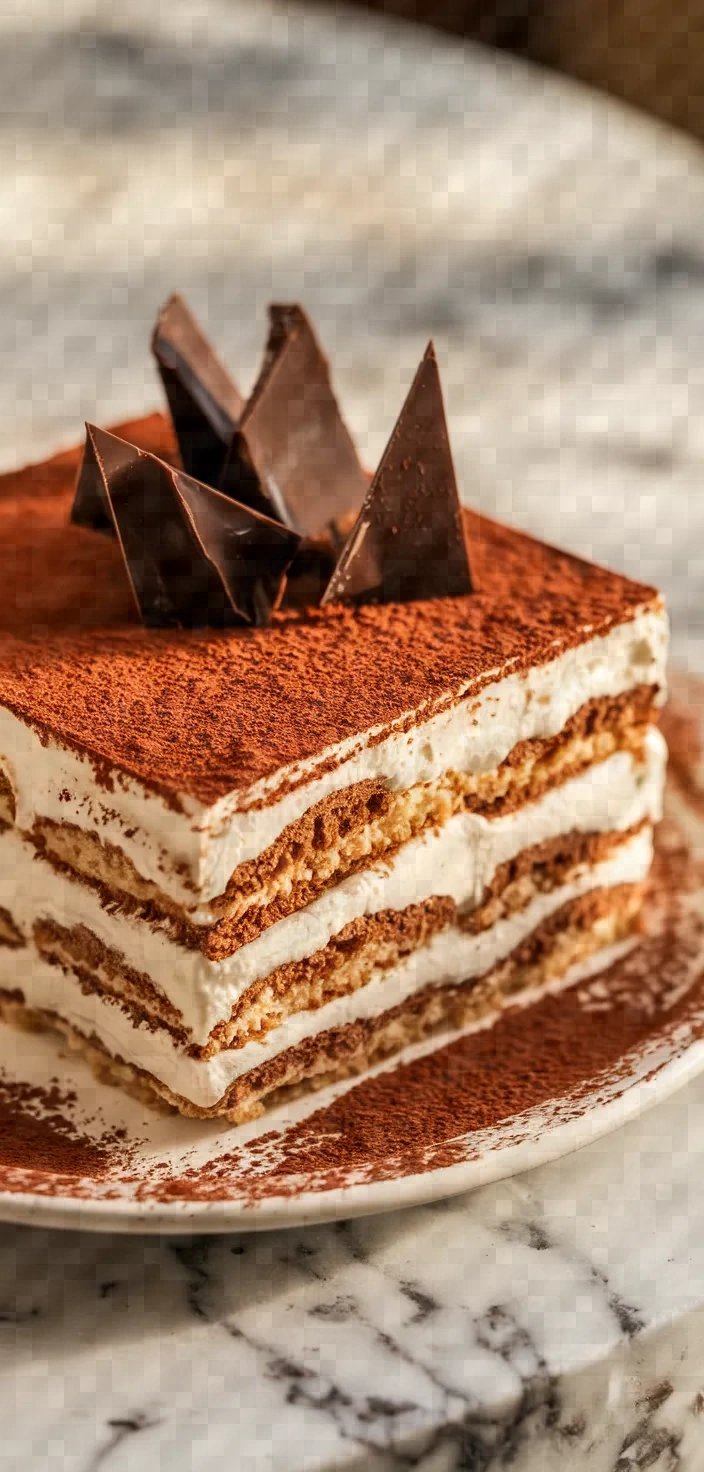
I love to prepare the Valentine’s Day Tiramisu, a rich and elegant dessert that marries the deep, seductive flavors of espresso and creamy mascarpone with a whisper of vanilla extract. Ladyfinger cookies serve as the building blocks for this dessert, and you could use them to build a romantic fort as a prelude to sharing this Cocoa-Covered Tiramisu.

Ingredients
1 cup espresso or strong coffee, cooled
3 tablespoons coffee liqueur (optional)
3 large eggs, separated
1/2 cup granulated sugar
8 ounces mascarpone cheese
1 teaspoon vanilla extract
1 cup heavy cream
24-30 ladyfinger cookies
2 tablespoons unsweetened cocoa powder
Shaved dark chocolate, for garnish
Instructions
1. In a low dish, blend the cold espresso with the coffee liqueur, if you’re using any.
2. In a blending basin, beat together the yolk of the eggs and sugar until the mixture is thick and pale. Add in the mascarpone cheese and the vanilla extract and mix until the result is smooth.
3. In a different bowl, beat the heavy cream until soft peaks form. Very gently fold the whipped cream into the mascarpone mixture.
4. In another bowl, beat the egg whites until they form stiff peaks. Very gently, fold the whipped egg whites into the mascarpone mixture.
5. Each ladyfinger should be dipped rapidly into the espresso mixture and layered in the bottom of a serving dish. Half of the mascarpone mixture should then be spread over the ladyfingers. Another layer of dipped ladyfingers should be placed over the first layer, followed by the remaining mascarpone mixture.
6. Sprinkle the top with cocoa powder and decorate with shavings of dark chocolate. Refrigerate for a minimum of 4 hours, or up to overnight, before serving.

