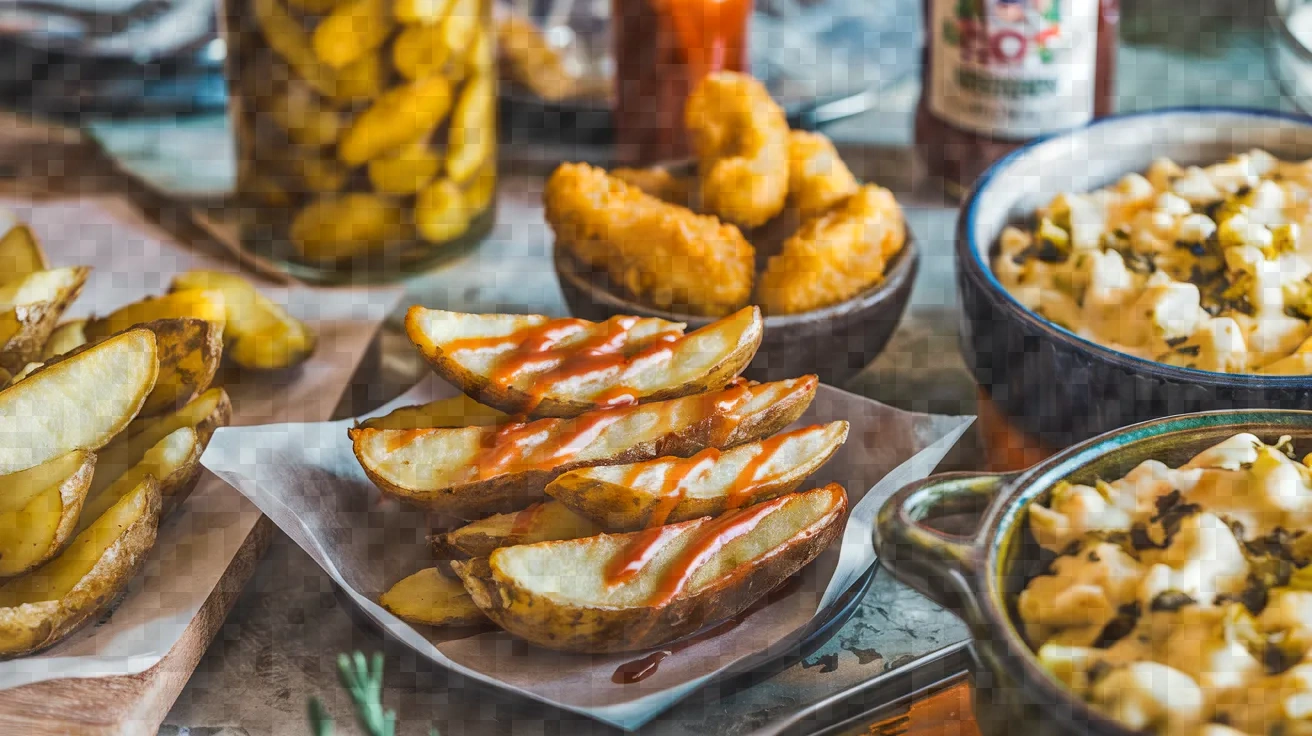
As a Super Bowl fan, I relish the opportunity to showcase my side dishes—the real stars of the event, in my opinion. And while I’m happy to settle for a nacho cheese dip that consists solely of a large bowl of melted Velveeta, I take this occasion to serve something a little jazzier.
I make a nacho cheese dip by blending and puréeing my cheese with a few halved jalapeños, which makes for an excellent dip that is even better when served with tortilla chips that have some bite. Also, and again, under perfect Super Bowl conditions: My loaded potato skins are super delicious, and I’m not one to typically load anything.
The toppings I use—crispy bacon, sharp cheddar, and dollops of sour cream—make my potato skins a permanent resident in the vicinity of the Super Bowl.
The 14 Best Super Bowl Sides Dishes
1. Buffalo Chicken Dip
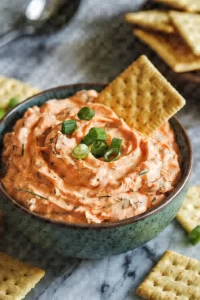
An appetizer that’s spicy and creamy that brings people together—Buffalo Chicken Dip is just that. Pulled chicken mixed with cream cheese and Frank’s RedHot sauce make for a luscious combination baked to bubbly perfection.
One decadent dip, garnished with green onions for a pop of freshness, is really two dips in one: a dive-worthy dip and a party in itself.

Ingredients
2 cups cooked, shredded chicken
8 ounces cream cheese, softened
1/2 cup ranch dressing
1/2 cup Frank’s RedHot sauce
1/2 cup shredded cheddar cheese
1/2 cup crumbled blue cheese (optional)
1 tablespoon chopped green onions (for garnish)
Instructions
1. Set your oven to 350 degrees Fahrenheit (175 degrees Celsius) to preheat.
2. In a mixing bowl, combine the chicken, cream cheese, ranch dressing, and Frank’s RedHot sauce until well-blended.
3. Add the shredded cheddar cheese and blue cheese, if using, and stir until well combined.
4. Disperse the concoction into a dish suitable for baking in an oven.
5. Place in the preheated oven and heat for 20-25 minutes or until bubbling and warm throughout.
6. Before serving, top with finely chopped green onions.
2. Spinach Artichoke Dip
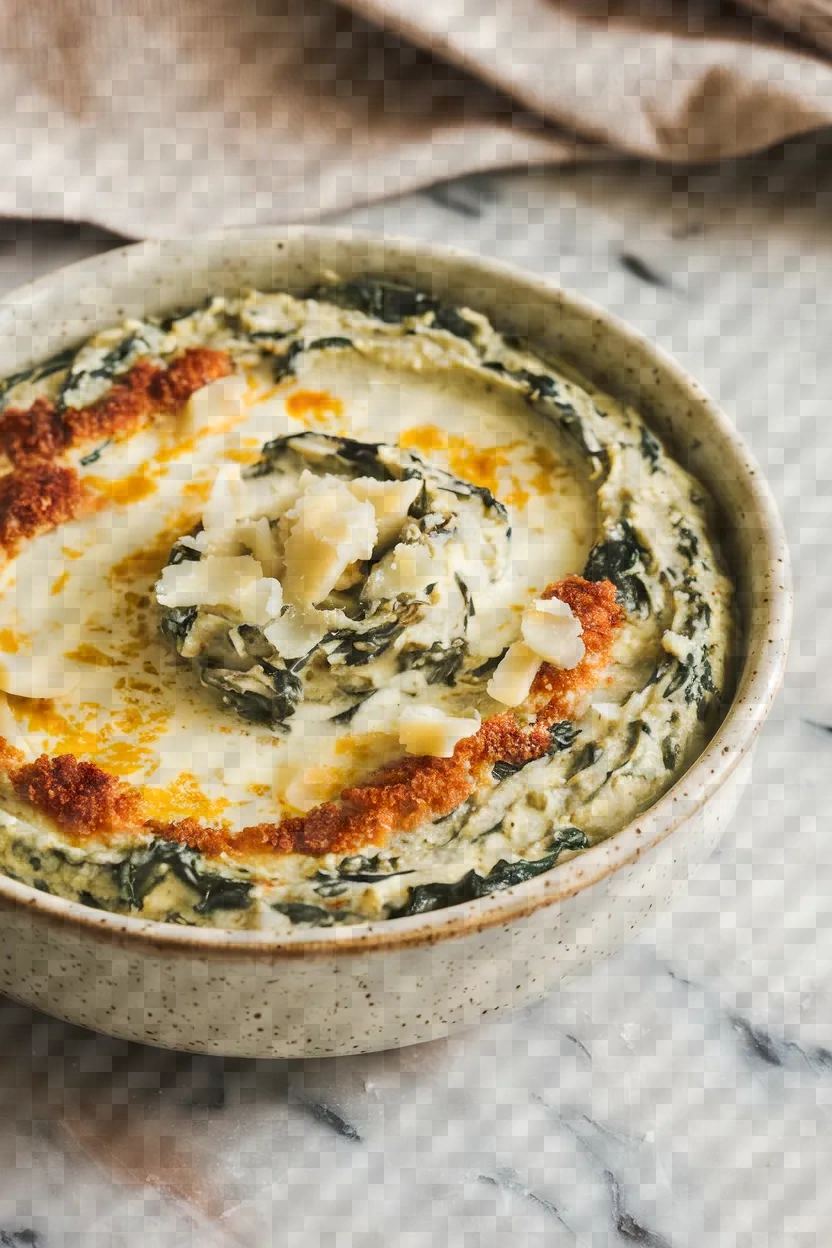
I adore a luscious and creamy dip that melds together spinach, artichokes, and cheeses—like cream cheese and Parmesan—for a delectable appetizer. This warm delight, often served bubbly and golden from the oven, is perfect with tortilla chips or sliced bread.
It’s a rich and savory ensemble that never fails to please.

Ingredients
1 (10-ounce) package frozen chopped spinach, thawed and drained
1 (14-ounce) can artichoke hearts, drained and chopped
1 cup cream cheese, softened
½ cup sour cream
¼ cup mayonnaise
1 cup grated Parmesan cheese
1 cup shredded mozzarella cheese
2 cloves garlic, minced
¼ teaspoon salt
¼ teaspoon black pepper
¼ teaspoon red pepper flakes (optional)
Instructions
1. Set the temperature of your oven to 350°F (175°C) and allow it to warm up in advance.
2. In a big mixing bowl, blend the cream cheese, sour cream, and mayonnaise until they’re all smooth and well-combined.
3. Add the Parmesan cheese, mozzarella cheese, minced garlic, salt, black pepper, and red pepper flakes and stir.
4. Incorporate the chopped spinach and artichokes, mixing until they are completely integrated.
5. Move the mixture to a dish that can withstand the heat of an oven and place it in the oven for 25 to 30 minutes. The dish is done when its top is golden and bubbling.
6. You can serve it warm with tortilla chips or sliced bread.
3. Loaded Nachos
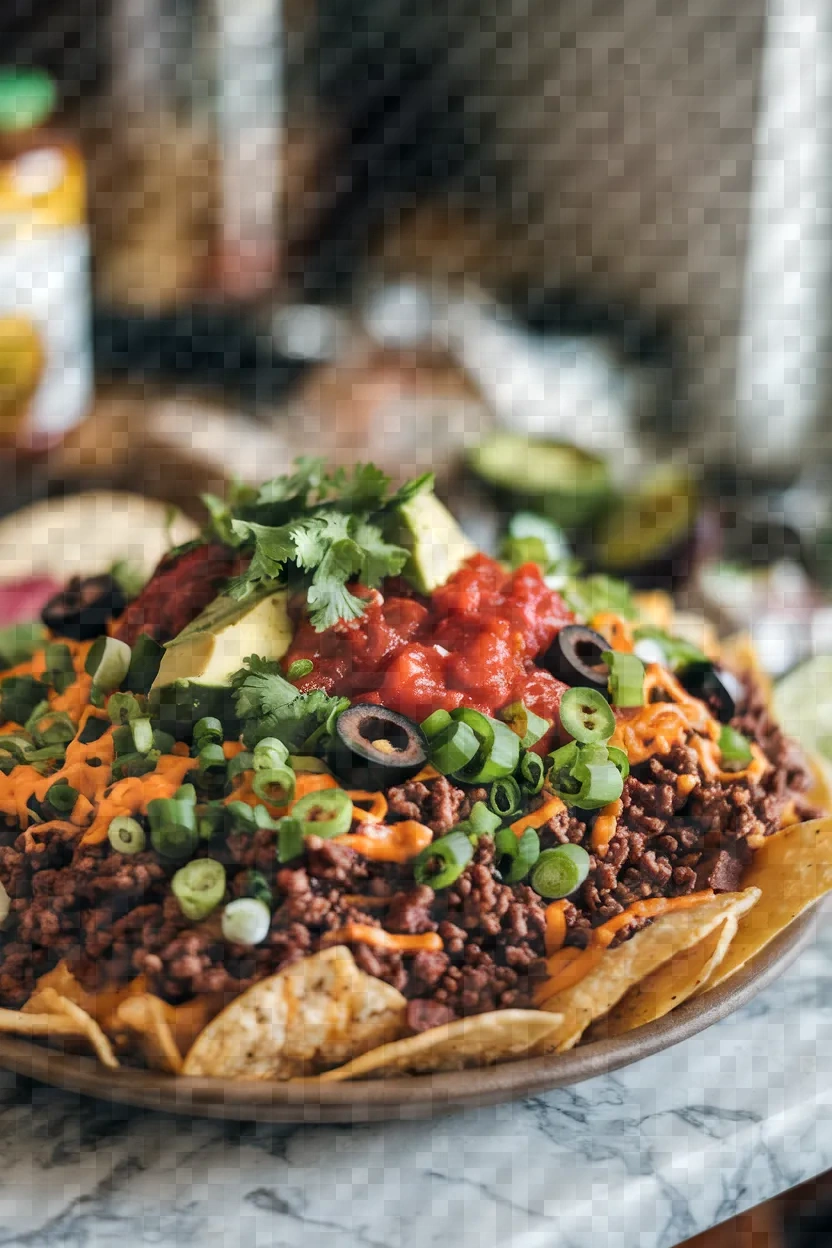
I enjoy a good plate of loaded nachos. They’re hard to resist when done the right way which is to say: loaded up and dripping with cheese.
You can get them at the bar (a decent version, anyway), but the best ones I’ve had were at home, assembly-style, in the kitchen with my partner. We’ve tried a couple of ways with the beef and, honestly, they’re both good.
Once, we seasoned and sautéed ground beef to Tex-Mex perfection; the other time, we did the same with shredded beef. Either way, nachos dominate.

Ingredients
Tortilla chips
1 cup shredded cheddar cheese
1 cup shredded Monterey Jack cheese
1 can (15 ounces) black beans, drained and rinsed
1 pound ground beef
1 packet taco seasoning mix
1 cup salsa
1 jalapeño, sliced
1 avocado, diced
1/4 cup sliced black olives
1/4 cup chopped green onions
1/4 cup chopped fresh cilantro
Sour cream
Instructions
1. Set your oven to 375°F (190°C) to warm up while you prep.
2. In a big skillet over medium heat, brown the ground beef and drain the fat. Add the taco seasoning and a splash of water, and cook for 2 minutes more.
3. Arrange the tortilla chips in a single layer on a baking sheet. Sprinkle them with half of the cheddar, Monterey Jack, and black beans. Add the ground beef, breaking it up and spreading it evenly across the nachos. Top with the remaining cheese and any other toppings you like.
4. Include another layer of tortilla chips and proceed in the same manner with the rest of the cheese, black beans, and seasoned beef.
5. Place in a preheated oven for 8-10 minutes, or until the cheese is melted and bubbly.
6. Take it out of the oven, and it with salsa and jalapeño slices. Top the serving with diced avocado, black olives, and green onions for that extra “wow!” factor. You can’t forget the sour cream. Remember, this isn’t just any sour cream—it is dollops of deliciousness! Eat it now, and eat it good!
4. Guacamole
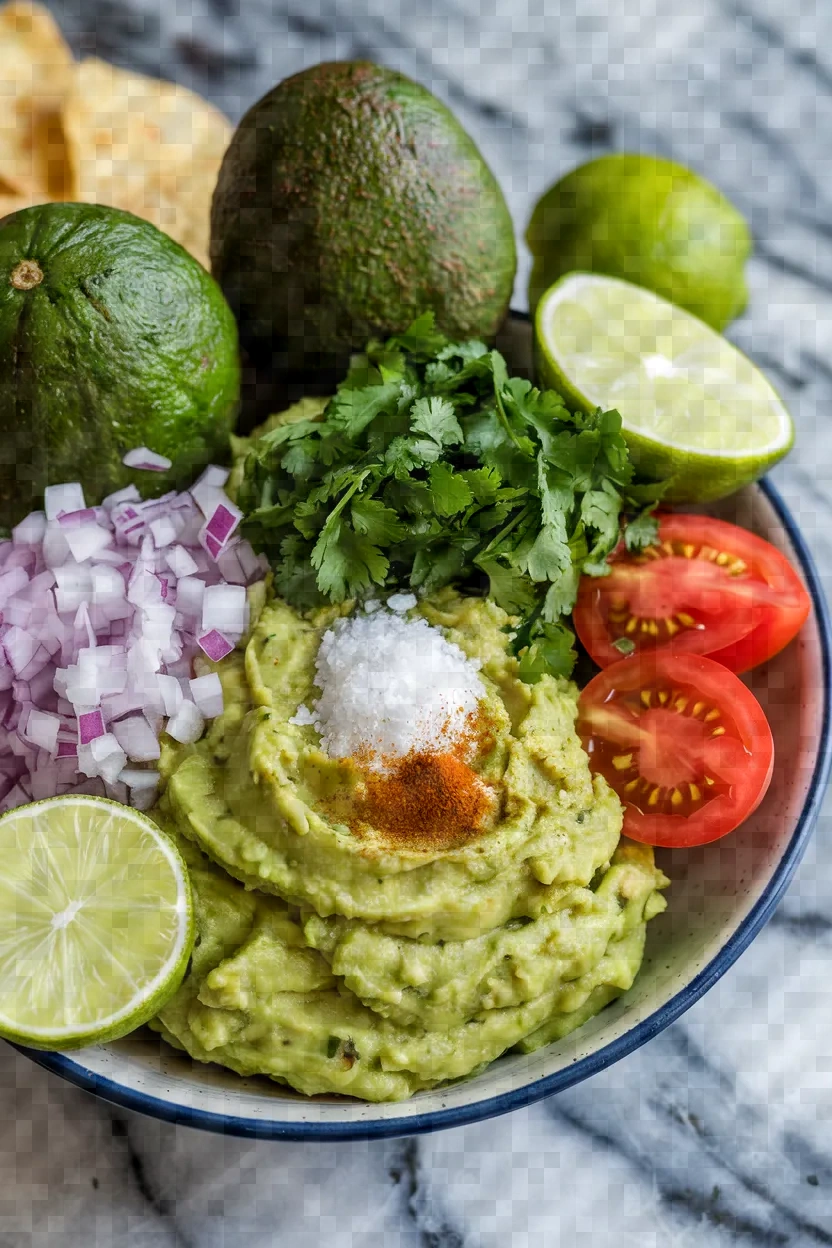
Guacamole brings to my mind a bowl of creamy avocados mixed with the zesty juice of limes and a pinch of salt. I think of guacamole as not just a dip but an explosion of taste in my mouth when I bite into a tortilla chip loaded with it.
It offers richness, but the true magic of guacamole lies in its layering of flavors. Diced onions add sharpness, fresh cilantro brightens, and ripe tomatoes add juiciness.
A touch of minced garlic offers depth.

Ingredients
3 ripe avocados
1 lime, juiced
1 teaspoon salt
1/2 cup diced onion
3 tablespoons chopped fresh cilantro
2 roma tomatoes, diced
1 teaspoon minced garlic
1 pinch ground cayenne pepper (optional)
Instructions
1. Halve the avocados, take out the pits, and then scoop the insides into a bowl.
2. Mix together the lime juice and salt, then use a fork to mash everything until you obtain the desired consistency.
3. Mix in the chopped onion, diced cilantro, diced tomatoes, and minced garlic.
4. Combine the components thoroughly; make sure the flavors are well fused.
5. To incorporate a little “oomph,” add cayenne pepper and blend. Tweak the seasoning to your liking, and it’s ready to go.
5. Seven-Layer Dip
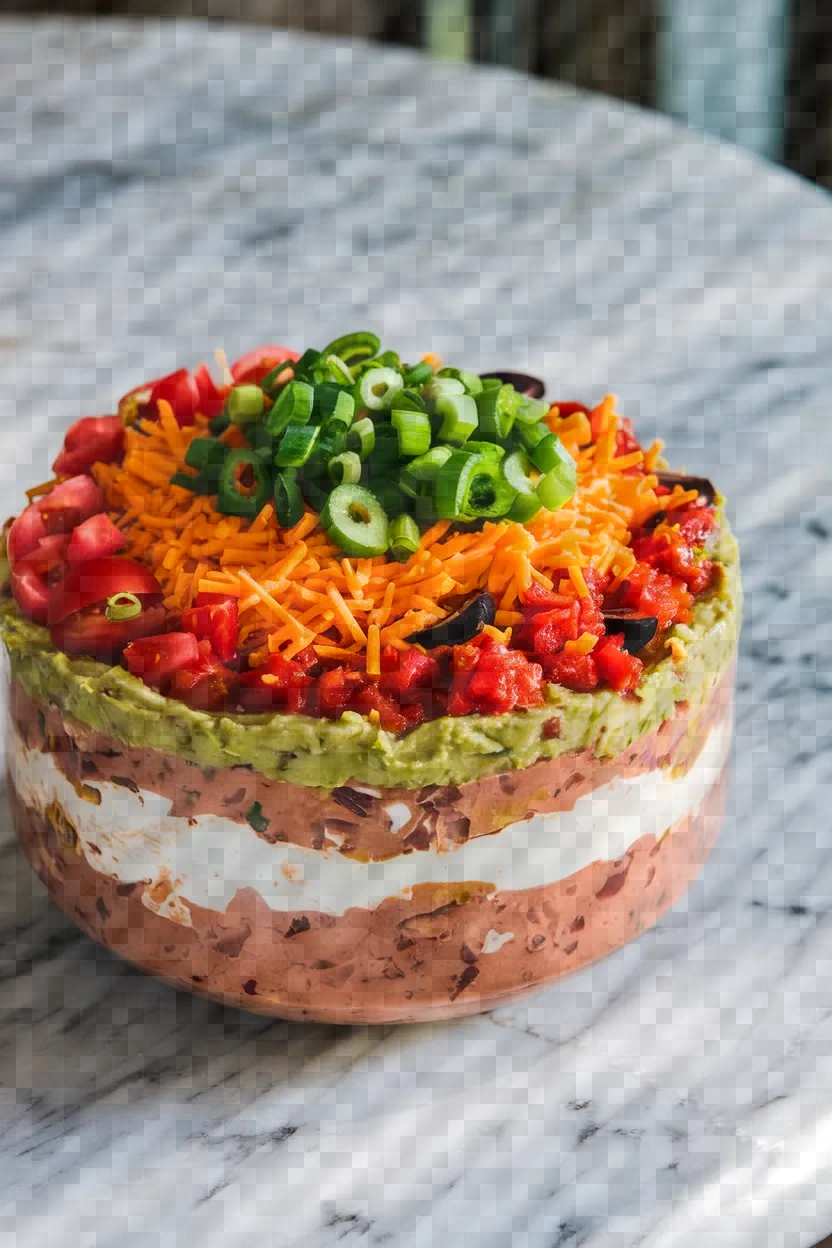
An appetizer that has layers of creamy guacamole, zesty salsa, and refried beans, is the perfect way to start any gathering. Elote dip, however, is arguably the way to go and just as good—with layers of sweet, smoky corn, (an ingredient in traditional elote), guacamole, and refried beans, together with salsa, it is Rome kind of a 7-layer dip.

Ingredients
1 (16 oz) can refried beans
1 cup sour cream
1 packet taco seasoning mix
1 cup guacamole
1 cup salsa
1 cup shredded cheddar cheese
1/2 cup chopped tomatoes
1/4 cup sliced black olives
1/4 cup chopped green onions
Instructions
1. In an 8×8-inch serving dish, spread the refried beans evenly across the bottom.
2. Combine the sour cream and taco seasoning in a small bowl, then spread that mixture over the refried beans.
3. Carefully distribute the guacamole in an even layer over the sour cream.
4. Next, pour the salsa over the guacamole. This will be the next layer.
5. Evenly distribute the shredded cheddar cheese across the salsa.
6. Top with diced tomatoes, sliced black olives, and chopped green onions. Chill until serving time.
6. Mozzarella Sticks
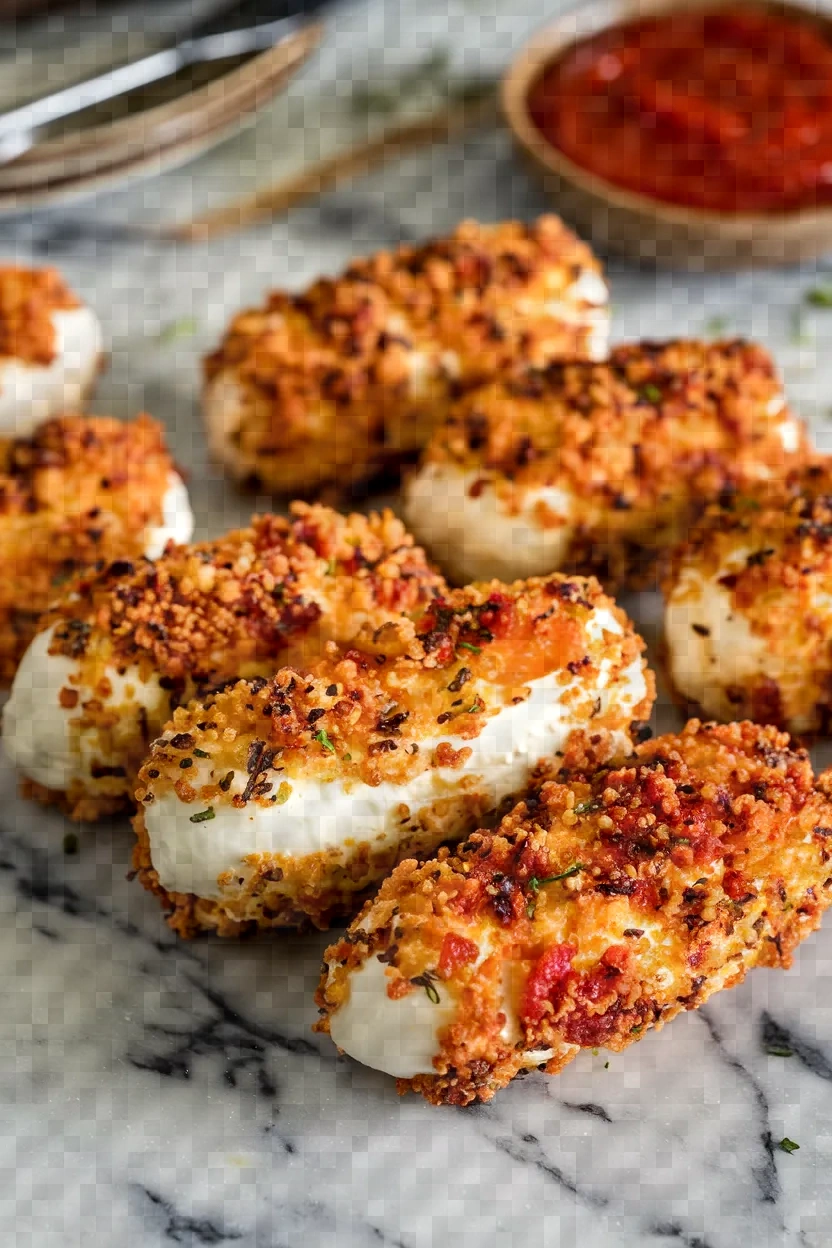
A delightful snack, mozzarella sticks are made from mozzarella cheese that is coated in a mixture of breadcrumbs and seasonings, including garlic powder and oregano. The finished product is deep-fried until golden brown.
I appreciate their crisp exteriors, and I love the fact that they are served, almost always, with marinara sauce. In my opinion, they are the ideal snack and can almost be called a light meal when served with a salad.

Ingredients
Mozzarella cheese sticks (cut into halves)
1 cup all-purpose flour
2 large eggs
2 tablespoons milk
1 cup seasoned breadcrumbs
1 teaspoon garlic powder
1 teaspoon dried oregano
Salt and pepper to taste
Vegetable oil for frying
Marinara sauce for serving
Instructions
1. To make the mozzarella cheese sticks easier to handle, cut them in half.
2. Put the flour into a dish with a wide, shallow surface. In another dish with a similar shape and size, mix the eggs and milk and beat until the two are thoroughly combined. In a third dish, combine the breadcrumbs with the garlic powder, oregano, salt, and pepper.
3. Take each piece of mozzarella and first cover it in flour. Next, immerse it in the egg mixture, allowing the excess to drip off. Finally, coat the piece in the seasoned breadcrumbs. If you want super crispy sticks, you can double-dip them in the egg and then the breadcrumbs again.
4. Lay the breaded mozzarella sticks in a single layer on a baking sheet that has been lined with parchment paper and freeze for at least 1 hour. This will help them maintain their shape during frying.
5. In a deep skillet or deep fryer, heat the vegetable oil to a temperature of 350°F (175°C).
6. In small groups, fry the mozzarella sticks for 1 to 2 minutes, or until they turn golden brown. Allow them to drain on paper towels, and then serve them without delay. Marinara sauce is the preferred accompaniment.
7. Jalapeño Poppers
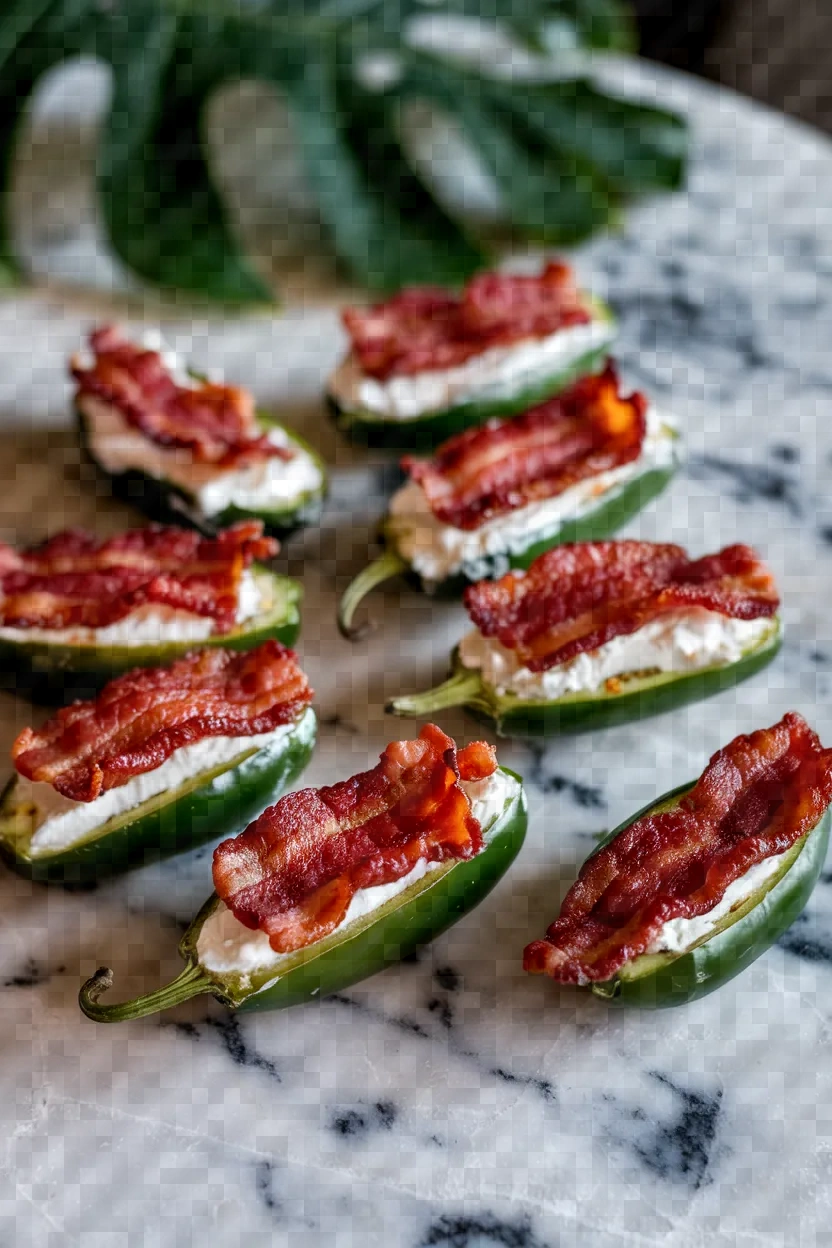
I enjoy preparing jalapeño poppers for social functions. They pack a lot of heat, with spicy jalapeños that are sliced, scooped, and then packed with a creamy filling of softened cream cheese, shredded cheddar, garlic powder, and onion powder.
When I serve these little flavor bombs, I know my friends and family will be reaching for more.

Ingredients
12 jalapeño peppers
8 ounces cream cheese, softened
1 cup shredded cheddar cheese
1 teaspoon garlic powder
1 teaspoon onion powder
12 slices bacon, halved
Toothpicks
Instructions
1. Prepare the oven by setting it to a temperature of 400°F (200°C).
2. Slice the jalapeño peppers in half lengthwise and take out the seeds and membranes.
3. Combine the cream cheese, shredded cheddar cheese, garlic powder, and onion powder in a bowl and mix until well blended.
4. Stuff the cream cheese mixture into each half of the jalapeño.
5. Take a half slice of bacon and wrap it around each stuffed jalapeño, then secure it with a toothpick.
6. Put the baking sheet containing the jalapeño poppers into the oven. Set the timer for 20 to 25 minutes. When the timer goes off, the poppers should be ready—crispy bacon and tender jalapeños.
8. Chili Cheese Fries
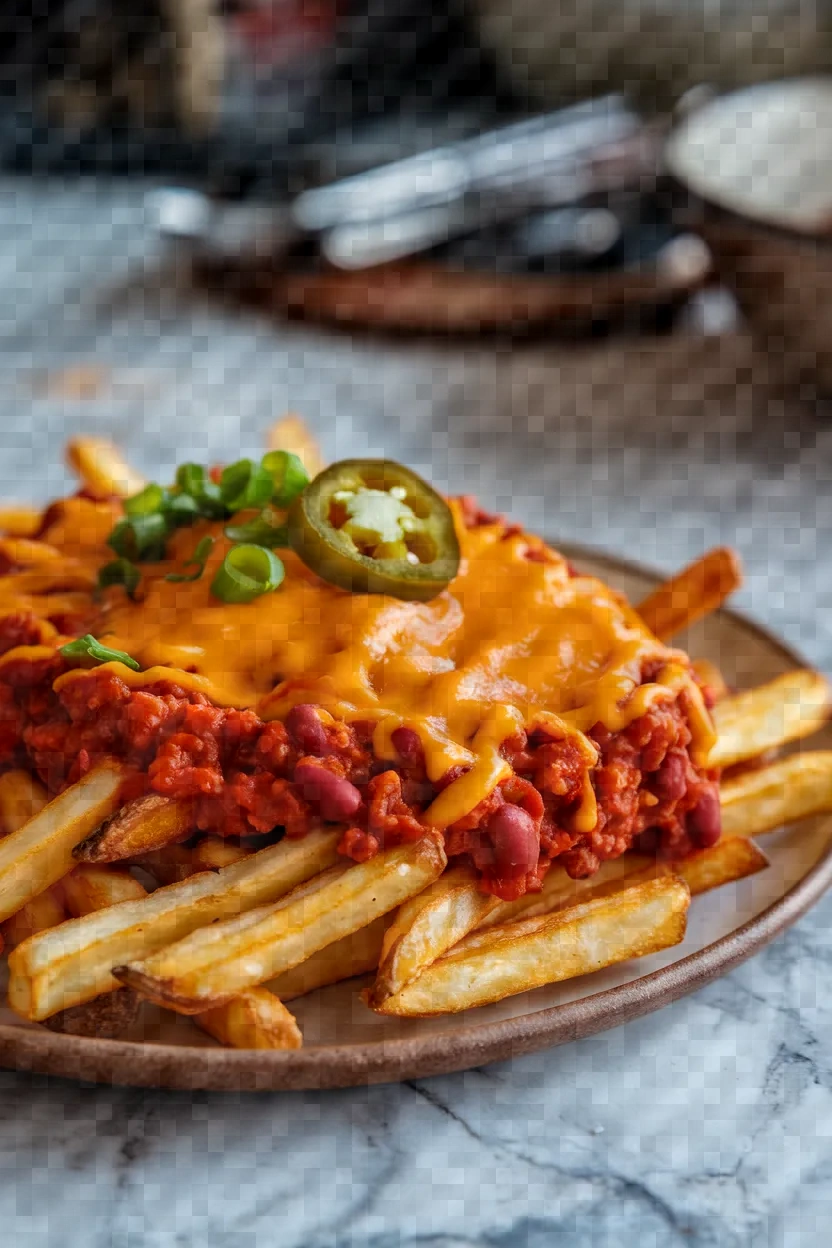
Chili cheese fries are everything you could want from a comfort food. They are my ideal bowl of chili (not that there is any other good way to serve chili).
I use half beef and half pork (not you see better, but it tastes better), cook the meat to tiny bits in the sauce, then simmer it alongside some chili beans. Finally, I smother the concoction with cheddar cheese and use the loaded fries as a delivery system.

Ingredients
1 bag of frozen French fries (about 28 ounces)
1 pound ground beef
1 can (15 ounces) chili beans or kidney beans, drained and rinsed
1 can (15 ounces) tomato sauce
1 tablespoon chili powder
1 teaspoon ground cumin
1 teaspoon onion powder
Salt and pepper to taste
2 cups shredded cheddar cheese
Optional toppings: sour cream, sliced jalapeños, chopped green onions
Instructions
1. Set your oven according to the directions for frozen French fries. Lay the fries on a baking sheet, popping any that look like they might clump together apart, and set the pan in the oven. Whether you are using a convection oven or a conventional oven, the directions for baking the fries are generally the same: 20 to 30 minutes in a preheated oven.
2. As the fries bake, set a large skillet over medium-high heat. Add the ground beef. Cook it until it browns and cooks all the way through, breaking it apart with a spoon as you cook. After it’s done, drain the beef and take away any excess fat.
3. In a skillet, combine the chili beans, tomato sauce, chili powder, cumin, onion powder, salt, and pepper with the beef. Stir everything together, and bring to a simmer. Allow the mixture to mingle in the flavors and cook for about 10 minutes, stirring at least once to ensure all parts are equally mingled.
4. After the fries have been cooked, shift them from the oven to a large plate for serving, or maintain them on the baking sheet.
5. Distribute the hot chili evenly over the fries. Give the shredded cheddar cheese a good dusting where it counts atop the chili fries. Unlike the first go-round, this time the cheese’s satisfying melt should reach the radius of every fry. Again, return the fries to the oven. Wait 5-7 minutes or until bubbly.
6. Take the dish out of the oven and top it with any desired accompaniments—like sour cream, sliced jalapeños, or chopped green onions. Serve it up right away and relish the deliciousness!
9. Pigs in a Blanket
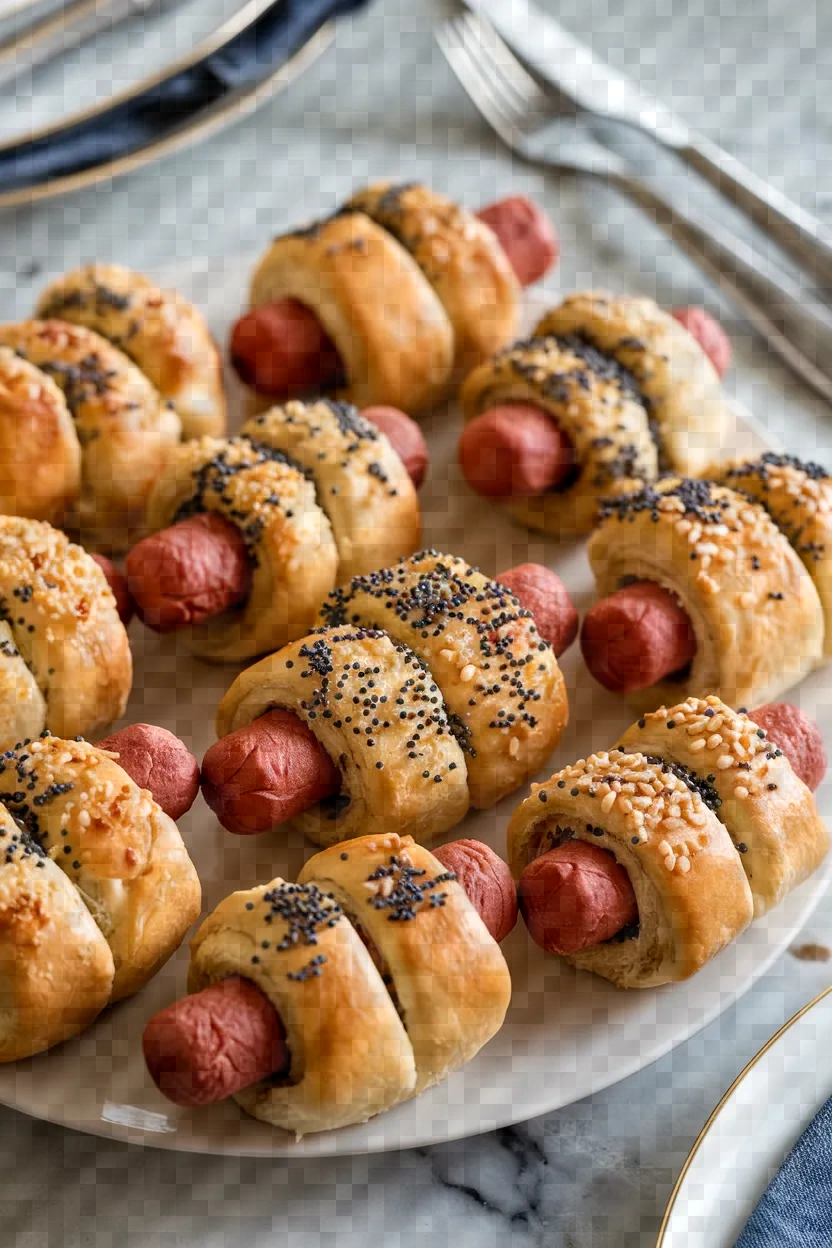
I adore serving the appetizer known as Pigs in a Blanket at get-togethers. It’s such an easy dish to prepare: Just take hot dog pieces, wrap them in crescent roll dough, and bake until they’re about as golden brown as an appetizer can be.
I usually brush the Pigs in a Blanket with egg wash right before they go in the oven–that definitely takes them to the next level in terms of appearance. They’re also delicious.

Ingredients
1 package of crescent roll dough
8 hot dogs
1 egg (optional, for egg wash)
1 tablespoon water (optional, for egg wash)
Poppy seeds or sesame seeds (optional, for garnish)
Instructions
1. Set your oven to 375°F (190°C) to heat up while you prepare the dish.
2. Open the crescent roll dough and cut it into triangular shapes.
3. Slice each hot dog in half to produce 16 separate pieces.
4. Take each half of the hot dog and enclose it in a triangle of crescent roll dough. Begin at the wide end of the triangle and roll toward the point.
5. Put the hot dogs on a baking sheet that has been lined with parchment paper. If you’d like, you can beat an egg with a little water and brush it on the dough before it bakes. That will give it a lovely golden-brown finish.
6. If you want, you can add poppy seeds or sesame seeds to the outside of each hot dog before wrapping it up for a little extra oomph in the flavor and texture department.
7. Place in the oven that you have preheated and bake for 12-15 minutes. The result should be that your dough is golden brown and your hot dogs are heated through.
8. Take it out of the oven and allow it to cool for a few minutes before you dive in. Pigs in a Blanket are an incredible side dish for the Super Bowl, and they can serve equally well as the warm-up act to any major event you have on your calendar.
10. Potato Skins
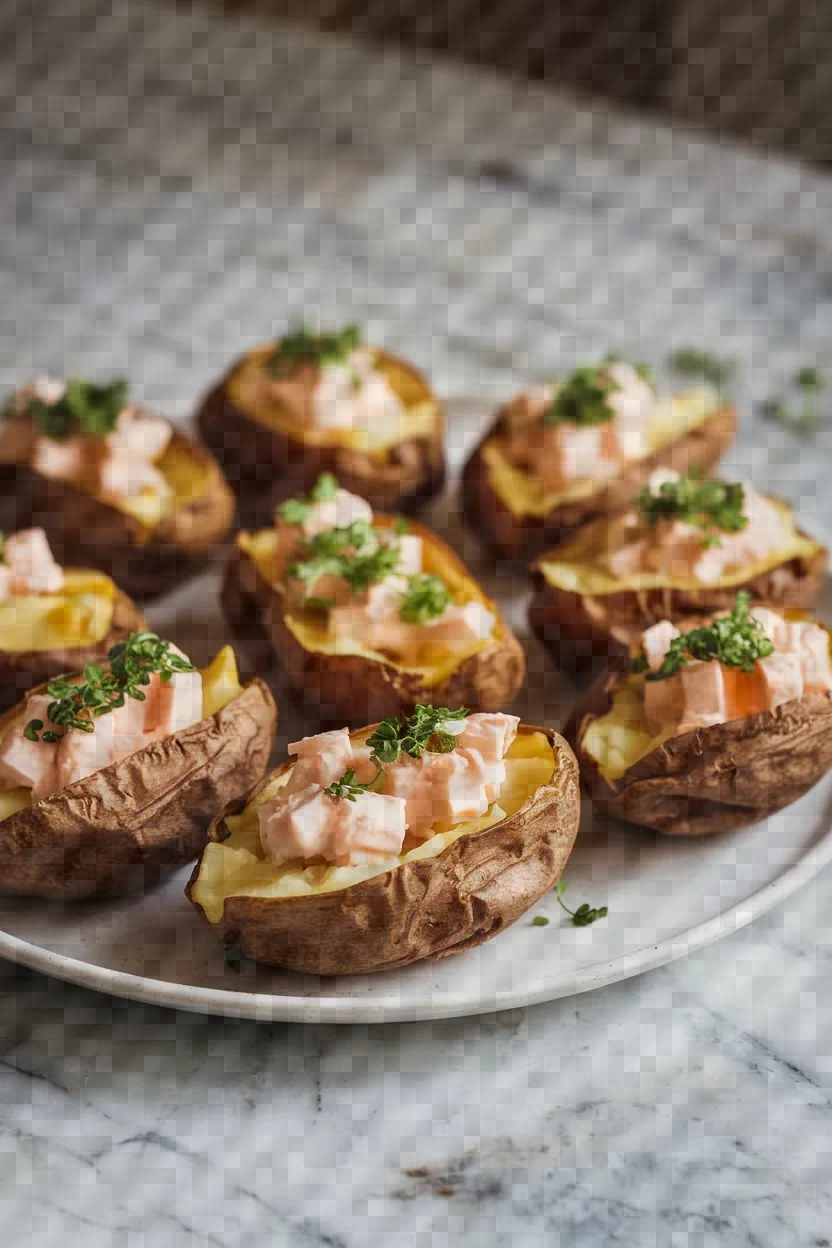
Potato skins are among my favorite starters. They showcase everything that’s great about potatoes.
Using russet potatoes, the skins are cooked until they’re perfectly crisp. Then just when you think it can’t get any better, the skins are loaded with cheese.
Cute, right?

Ingredients
4 large russet potatoes
2 tablespoons olive oil
1 cup shredded cheddar cheese
1/2 cup cooked and crumbled bacon
1/4 cup chopped green onions
Sour cream (for serving)
Salt and pepper to taste
Instructions
1. Set your oven to 400 degrees Fahrenheit (200 degrees Celsius). Wash the potatoes thoroughly and poke them a few times with a fork. Coat them in olive oil and lay them on a baking sheet. Bake in the oven until you can stick a fork in them and they are tender, which should take 45 to 60 minutes.
2. Take the potatoes out of the oven and allow them to cool for approximately 10 minutes. Slice each potato in half lengthwise.
3. Using a spoon, remove the interior of each half potato, leaving a 1/4 inch shell. You can use the saved potato for anything, really. We saved ours for some fantastic, creamy mashed potatoes, which we had a couple of nights later.
4. With the insides of the potato skins, paint with olive oil and make sure they are well salted and peppered. Put them back in the oven for 5-7 minutes to finish up sizzling the skins.
5. Take the potato skins out of the oven and generously cover them with cheddar cheese and bacon. Put them back in the oven and let them bake for another 5 minutes, until the cheese is melted and bubbling.
6. Take from the oven and top with finely chopped green onions. Serve hot, with a mound of sour cream on top of each potato skin—that’s the way I like ’em, anyway.
11. Deviled Eggs
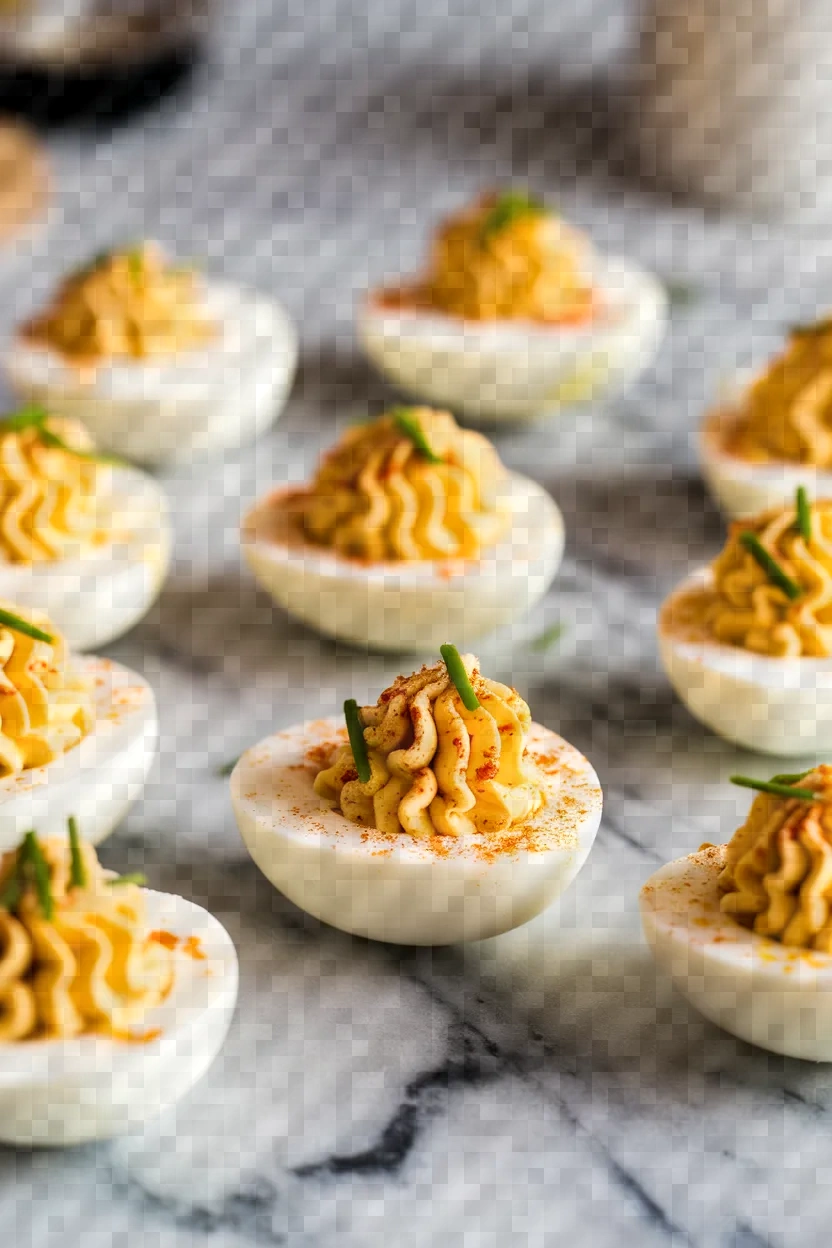
Deviled eggs are a beloved and versatile classic appetizer that can find a place at any gathering because they are as simple as they are elegant. An egg filling, with its pale sunshiny yellow, can only be improved upon by the egg yolk.
And when the mashed yolk is combined with mayonnaise and a hint of Dijon mustard (which I think is the secret ingredient), you get a smooth, delicious filling that is quite a step up from a simple boiled egg.

Ingredients
6 large eggs
3 tablespoons mayonnaise
1 teaspoon Dijon mustard
1 teaspoon white vinegar
Salt, to taste
Freshly ground black pepper, to taste
Paprika, for garnish
Chives or parsley, for garnish (optional)
Instructions
1. Arrange the eggs in a single layer in a saucepan, then cover them with enough water so that there is about an inch of water above the eggs. Using medium-high heat, bring the water to a nice, rolling boil.
2. After the water comes to a boil, take the pan off the heat, put a lid on it, and let the eggs bathe in the hot water for about 10-12 minutes.
3. Pour out the hot water and immerse the eggs in ice water so that they chill quickly and thoroughly. Let the eggs luxuriate in their frigid bath for 5 minutes. Then, as a special favor to a good friend, peel the eggs for them. It’s a delicate operation, best performed with the egg in one hand and the shell in the other.
4. Cut each egg in half lengthwise, and gently separate the yolks from the whites. Place the yolks in a mixing bowl, and set the whites aside on a serving platter.
5. Using a fork, mash the yolks, then add the mayonnaise, Dijon mustard, and white vinegar. Combine these ingredients until smooth, then season to taste with salt and pepper.
6. Using a spoon or a piping bag, fill each half of the egg white with the yolk mixture. Garnish with paprika and chopped chives or parsley, if desired. Serve immediately or, if preferred, keep refrigerated until service time.
12. Coleslaw
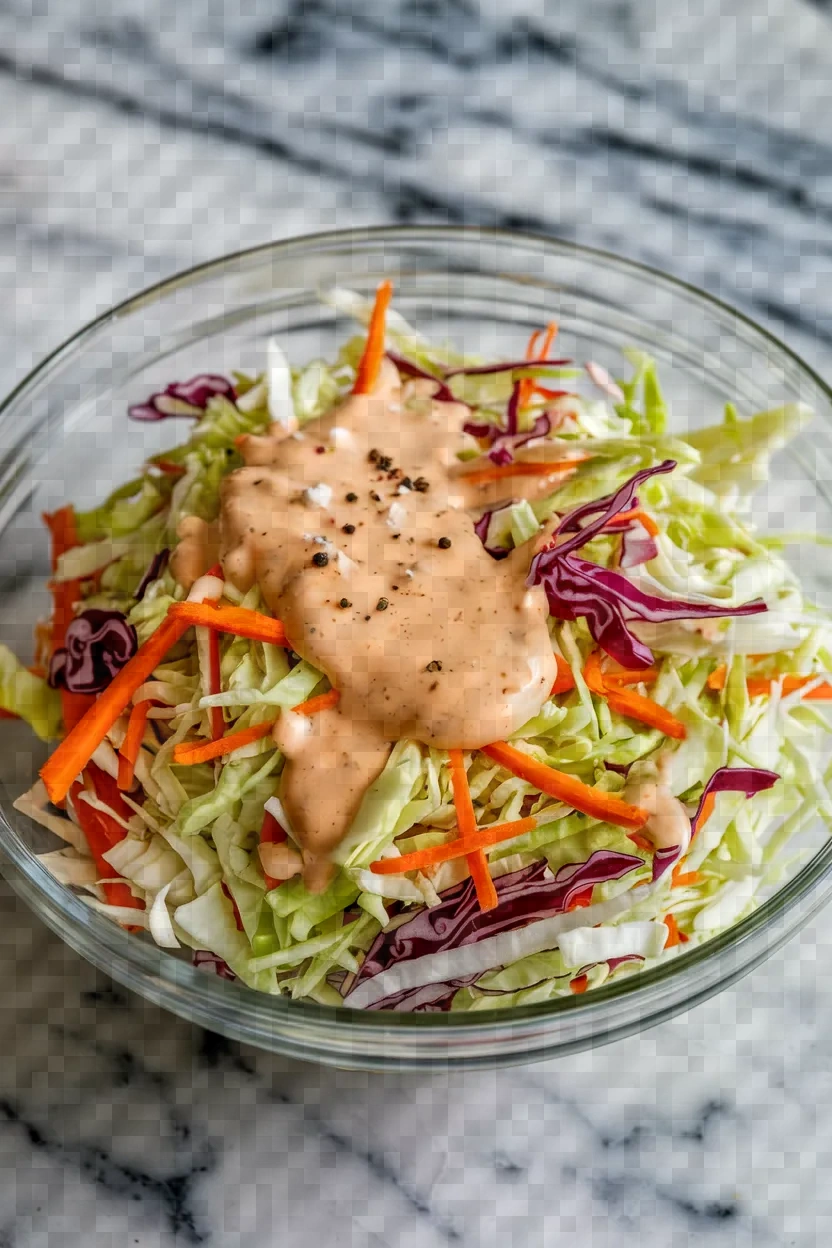
The classic coleslaw is a thing of beauty, with its uncomplicated manner and elegant simplicity. It is made with finely shredded green cabbage (and, sometimes, purple cabbage) and carrots that are either grated or julienned.
Cabbage is a mainstay in the American diet—so much so that it was even a component of the original food pyramid. We produce and consume more of it than you might imagine.
It is used in every conceivable way: in salads, soups, sandwiches, as a side dish, and also, at times, as a filling for pancakes.
 Ingredients
1 small head of green cabbage, finely shredded
1 small head of purple cabbage, finely shredded
2 large carrots, grated
1/2 cup mayonnaise
2 tablespoons apple cider vinegar
1 tablespoon Dijon mustard
1 tablespoon sugar
1/2 teaspoon salt
1/4 teaspoon freshly ground black pepper
1/4 cup chopped fresh parsley (optional)
Instructions
1. In a spacious mixing bowl, mix together the shredded green and purple cabbage with the grated carrots.
2. In another medium bowl, blend the mayonnaise, apple cider vinegar, Dijon mustard, sugar, salt, and black pepper into a smooth, even mixture.
3. Over the cabbage mixture, pour the dressing and toss well so that all the vegetables are coated with it.
4. You can fold in the chopped parsley for an added burst of flavor and color if you want.
5. Allow the flavors to meld in the coleslaw by covering the bowl and placing it in the refrigerator for at least an hour.
6. Toss the coleslaw one last time before serving. It can go straight from the mixing bowl to the serving dish—there’s no reason to dirty an extra bowl if you’re enjoying it at home.
13. Mini Sliders
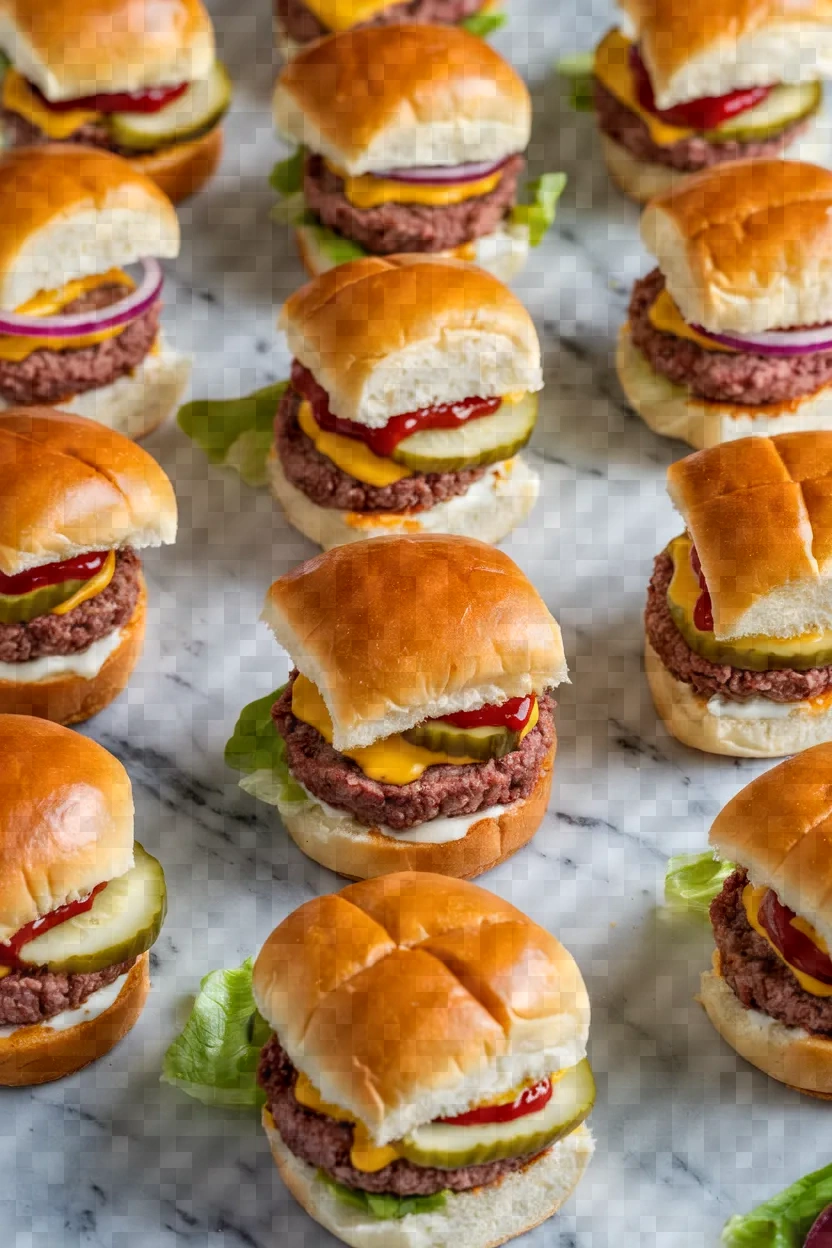
Juicy ground beef, well-seasoned with onion and garlic, combines perfectly with melted cheddar in mini sliders. My pleasure in the sliders has to do with their layers: deli pickle slices, red onions, and crisp lettuce on a soft bun provide a delightful contrast of flavors and textures.
Oh, and there’s a sauce, too. Zesty mayo paired with ketchup and mustard forms a delighted bite-sized sauce for the mini slider feast.
 Ingredients
1 pound ground beef (80% lean)
1 teaspoon onion powder
1 teaspoon garlic powder
1 teaspoon salt
1/2 teaspoon black pepper
12 mini slider buns
6 slices of cheddar cheese, cut in half
1/4 cup mayonnaise
1 tablespoon ketchup
1 tablespoon mustard
Dill pickle slices
Thinly sliced red onion
Lettuce leaves
Instructions
1. In a bowl, blend together the ground beef, onion powder, garlic powder, salt, and black pepper. Mix these ingredients until they are just combined; be careful not to overwork the meat, and do not try to form it into a cohesive mass.
2. Form the beef mixture into 12 equal portions and shape each into a patty. The sliders are meant to be small, but don’t make them so small that they aren’t really sliders but rather impractically large meatballs.
3. Preheat a grill or skillet to medium-high. Place the patties on the grill or in the skillet and cook until each side has reached your preferred level of doneness, about 2-3 minutes per side.
4. In the final moment of cooking, put a slice of cheese on each patty for melting.
5. Combine mayonnaise, ketchup, and mustard in a small bowl to make the burger sauce.
6. To put the sliders together, start by sauce-ing the bottom bun. Then come the patties, on which you will place pickle slices, onion, and lettuce. Top with the other half of the bun and serve.
14. Garlic Parmesan Wings
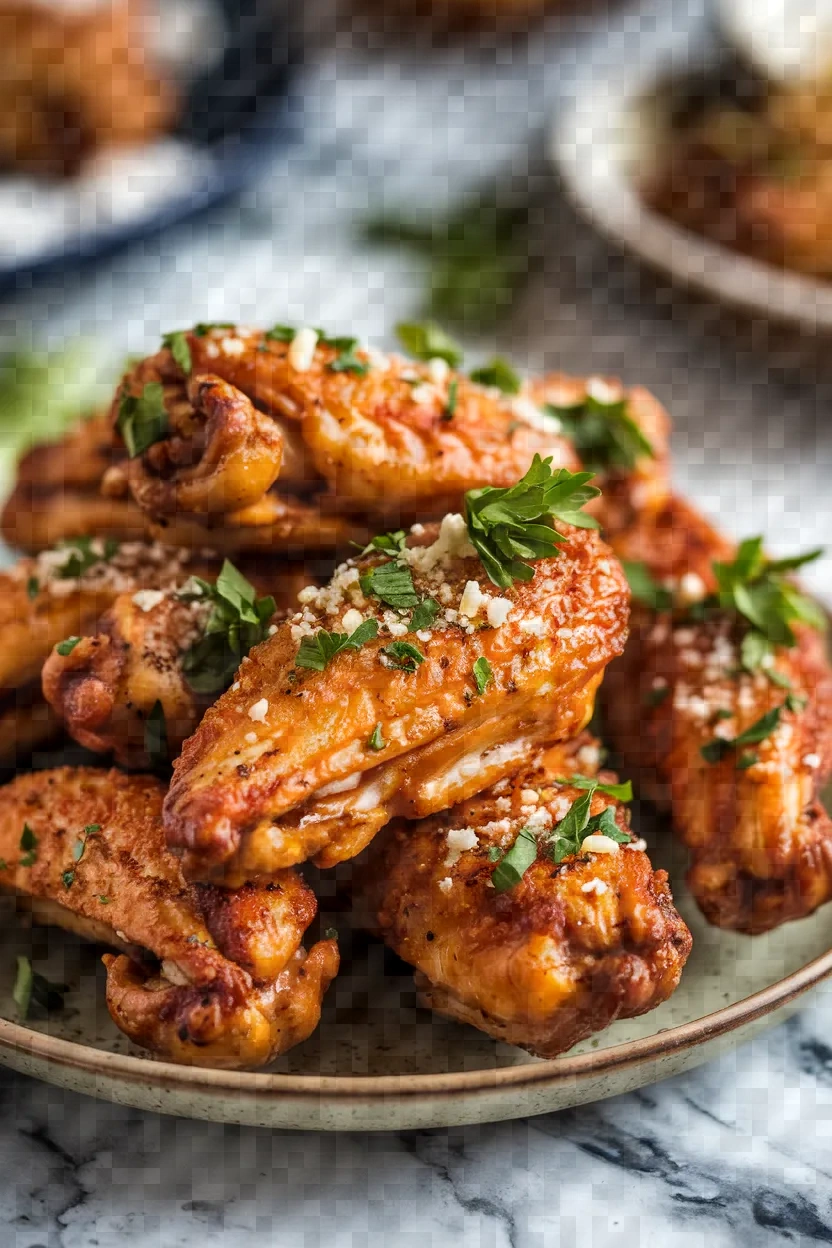
Garlic Parmesan chicken wings are the epitome of everything I love about wing sauces. They are the epitome of everything I love about wing sauces.
Olive oil, garlic, and grated Parmesan are a delightful coating for our chicken wings, and fresh parsley and a hint of lemon juice are the perfect finish. My current obsession with the garlic Parmesan wing flavor and craving for them led me to make my own version of the sauce that covers the fried wing.

Ingredients
2 pounds chicken wings, tips removed and wings separated
2 tablespoons olive oil
1 teaspoon salt
1 teaspoon black pepper
1 teaspoon garlic powder
4 cloves garlic, minced
1/4 cup unsalted butter
1/2 cup grated Parmesan cheese
2 tablespoons chopped fresh parsley
1 tablespoon lemon juice#
Instructions
1. Heat your oven to 400°F (200°C) in good time. Get ready a baking sheet, and line it with foil for easy cleanup. Place a wire rack on top of that. Then, set your sheet pan—a foil-lined one, of course—inside the preheating oven.
2. In a bowl, combine the chicken wings with olive oil, salt, pepper, and garlic powder, and mix well. The wings should be well coated and not crowded in the bowl; if needed, mix in batches. When finished, you’ll have nicely seasoned wings ready to be laid out in a single layer on the wire rack.
3. Cook the wings in the oven for 40 to 45 minutes, turning them halfway through, until they are crispy and brown.
4. As the wings bake, in a small saucepan over medium heat, melt the butter. Stir in the minced garlic. Sauté and become fragrant for 1-2 minutes.
5. Take the saucepan off the heat and blend in the Parmesan cheese, parsley, and lemon juice.
6. After completing the wings, take a large bowl and place the wings in it. Pour the garlic Parmesan sauce over the wings and toss until they are well coated. Serve them hot and fresh from the kitchen.

