For Valentine’s Day, it is perfect to create something outstanding in the kitchen. I love combining ingredients that symbolize love.
My favorites are indulgent chocolate, decadent strawberries, and heavenly cream. One eye-catching first course that I think is a good fit for such an affair is a vibrant salad of beets, goat cheese, and walnuts.
For a powerful yet tender main course, I think a filet mignon with red wine reduction and smoky rosemary potatoes would do the trick. Finally, no romantic dinner would be complete without a luscious cake for dessert, and nothing can beat a chocolate lava cake for gooey, warm elegance.
The 12 Best Valentines Day Recipes
1. Chocolate Fondue for Valentine’s Day
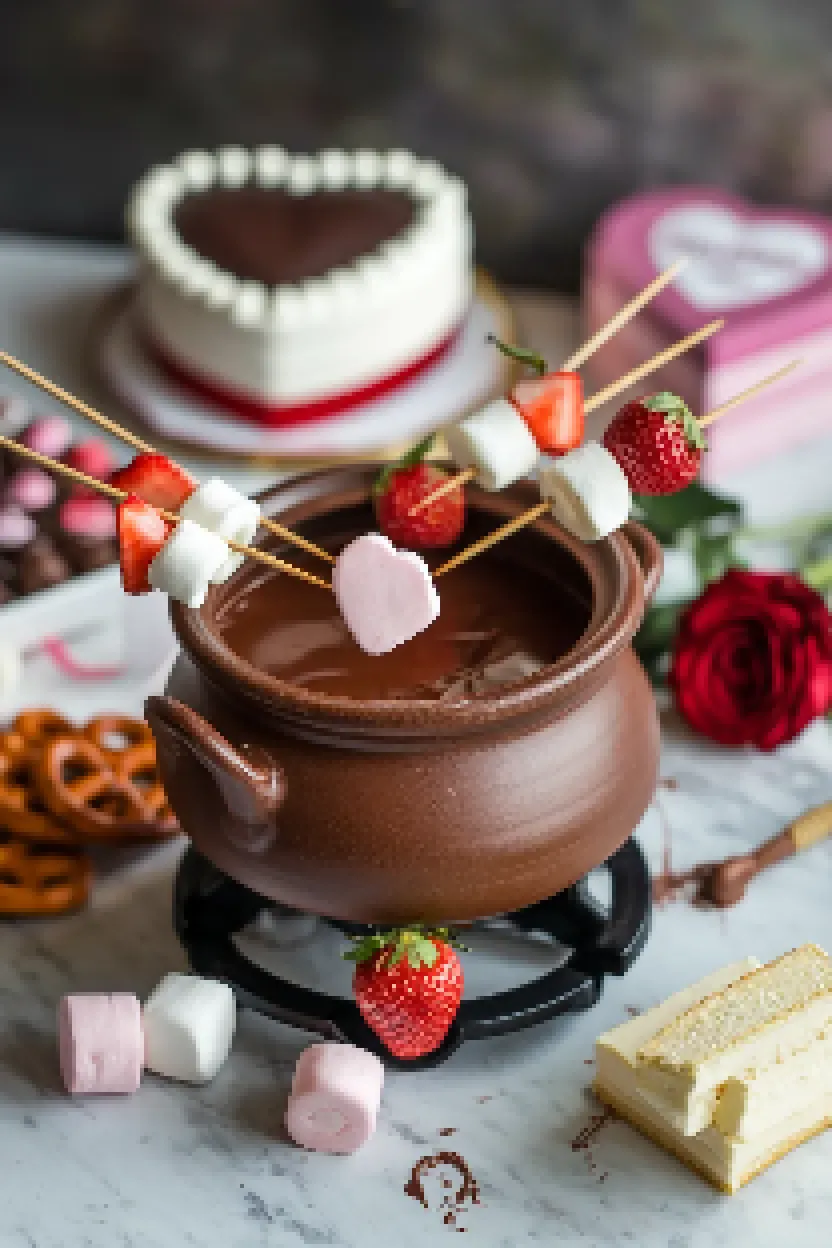
For a Valentine’s Day filled with romance, I love to whip up a thick, rich chocolate fondue. When I say “fondue,” I’m using the term very loosely; what I really make is a thick pot of melted chocolate.
There are no forks for this occasion, just a bowl of dippers and the promise of decadent, chocolate-covered delights. And the best part?
You can serve it straight from the pot.
 Ingredients
8 ounces of high-quality dark or milk chocolate, chopped
1 cup of heavy cream
1 teaspoon of vanilla extract
Pinch of salt
Assorted dippers: strawberries, bananas, marshmallows, pretzels, pound cake, etc.
Instructions
1. In a saucepan of medium size, warm the heavy cream over medium heat until it starts to simmer. Take care to ensure that it does not boil.
2. Take the pan off the heat and add the chocolate that you have chopped. Allow the mixture to sit for about 2 minutes—this will enable the chocolate to melt properly.
3. Whisk the chocolate and cream together until smooth and fully blended.
4. Stir in the vanilla extract and a hint of salt, mixing thoroughly.
5. Pour the melted chocolate mixture into a fondue pot and keep it warm over a low flame.
6. Accompany with a variety of dipper items and savor the experience!
2. Valentine’s Day Red Velvet Cupcakes
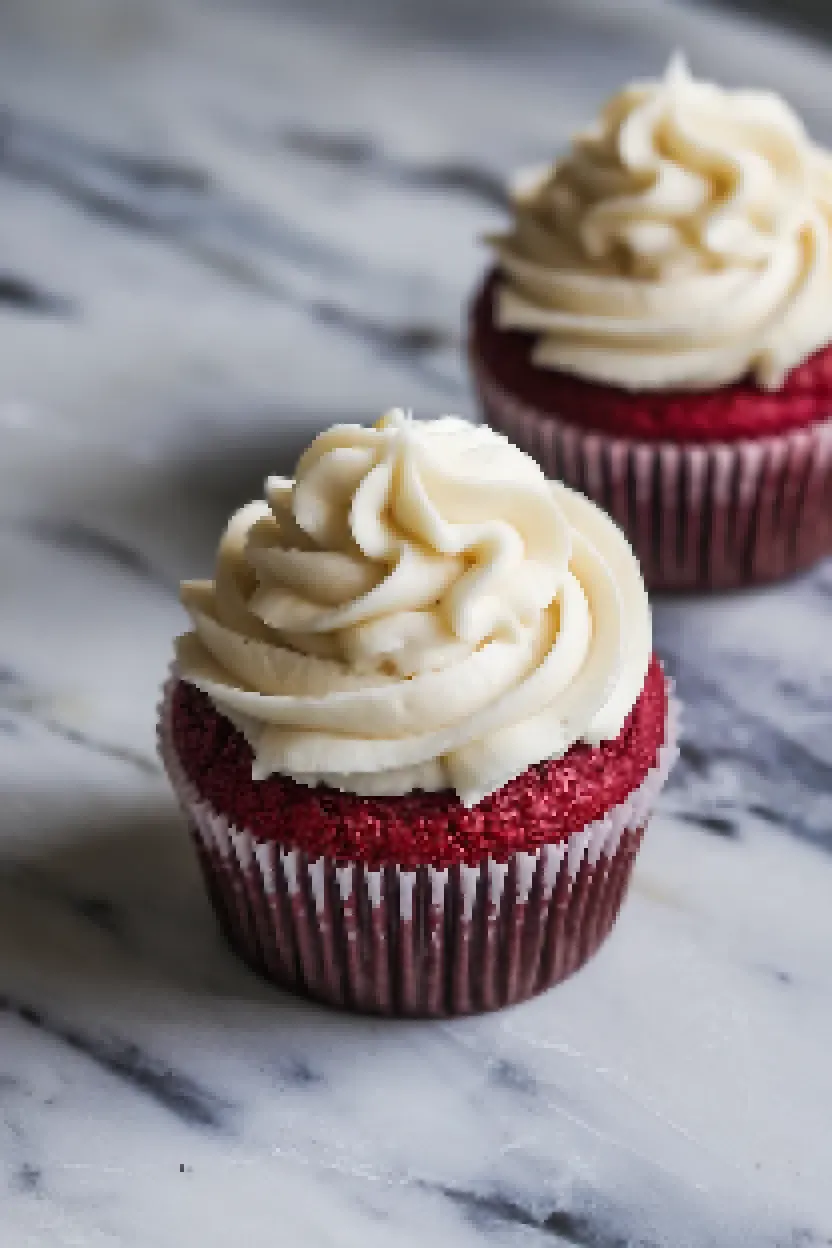
Valentine’s Day is a time when I especially enjoy baking. The treats I prepare for that day take on an extra layer of meaning, as I serve them to my beloved.
Of all the confections I typically present on February 14, red velvet cupcakes are my favorites. They embody the very essence of Valentine’s Day—deeply hued, finely textured, and deliciously decadent.

Ingredients
1 1/4 cups all-purpose flour
1 tablespoon unsweetened cocoa powder
1/2 teaspoon baking soda
1/4 teaspoon salt
1/2 cup buttermilk
1 tablespoon red food coloring
1 teaspoon vanilla extract
1/4 cup unsalted butter, softened
3/4 cup granulated sugar
1 large egg
1/2 teaspoon white vinegar
Instructions
1. Set your oven to 350°F (175°C). Prepare a cupcake pan by inserting paper liners into the cups.
2. Whisk the flour, cocoa powder, baking soda, and salt together in a bowl of medium size.
3. Combine the buttermilk, red food coloring, and vanilla extract in a petite bowl.
4. In a spacious mixing bowl, combine the butter and sugar, then mix them together until they are light and fluffy. After that, add one egg and mix until the egg is thoroughly incorporated.
5. Alternately blend the flour mixture and buttermilk mixture into the butter mixture, starting with the flour mixture and ending with it.
6. Incorporate the vinegar, portion the batter into the liners, and bake for 17-20 minutes. Once cooled, the cupcakes can be adorned with your choice of frosting.
3. Valentine’s Day Chocolate Covered Strawberries

On Valentine’s Day, my favorite treat to prepare is chocolate-covered strawberries. They are so easy to make—if you know a few tricks.
I learned some of those tricks from my mom, who taught me the basics of candy making when I was a child. Using fresh strawberries and high-quality dark chocolate makes for a dangerously elegant snack.

Ingredients
1 pound fresh strawberries
8 ounces high-quality dark chocolate (or milk/white chocolate, if preferred)
1 tablespoon coconut oil or vegetable shortening (optional, for smoother chocolate)
Sprinkles, crushed nuts, or shredded coconut for decoration (optional)
Instructions
1. Wash the strawberries well and dry them carefully with a paper towel. They must be completely dry so that the chocolate will adhere to them well.
2. Prepare a baking sheet by lining it with parchment paper or a silicone baking mat.
3. In a bowl that can safely be put in the microwave, mix the chocolate and coconut oil (if using). Microwave them together for 30 seconds, and then stir. Repeat until the chocolate is totally melted and smooth. If you’d rather not use the microwave, you can melt the chocolate in a double boiler on the stovetop.
4. Grasp the strawberry by its stem and dip it into the melted chocolate, encasing it as much as you want in the sweet stuff. Let any extra chocolate fall off before you set the strawberry down on the prepared baking sheet.
5. If one is to use decorations, they should be sprinkled onto the strawberries that have been covered in chocolate, and the chocolate should still be wet when this occurs.
6. Let the chocolate cool in a 70°F (20°C) environment for 30 minutes, or use a 5°C (41°F) environment for 15 minutes to speed up the cooling process. This will allow the chocolate to reach its final state, after which it can be safely consumed.
4. Heart-Shaped Valentine’s Day Pizza

Valentine’s Day is a wonderful opportunity to make special and sweet treats. Heart-shaped pizza is a simple but still delightful dish.
In just a few steps and with just a handful of ingredients—canned pizza dough, sauce, fresh mozzarella cheese, and pepperoni—you can form the kind of cheesy, meaty masterpiece that would make any pizza lover swoon.

Ingredients
1 package pizza dough (store-bought or homemade)
1/2 cup pizza sauce
1 1/2 cups shredded mozzarella cheese
20-25 slices of pepperoni
1 tablespoon olive oil
1 teaspoon dried oregano
1 teaspoon garlic powder
Fresh basil leaves for garnish (optional)
Instructions
1. Begin by setting your oven to 450°F (232°C). Then, light a fire in your working area and have a floor in front of you that is nearly horizontal. Have a healthy supply of flour on hand.
2. Start with pizza dough rolled out into a circle. Then shape it into a heart by pinching the dough at the bottom so it comes to a point and rounding it (essentially, using the top of the heart as a section of a circle) into two peaks that serve as the top of the heart.
3. Move the dough shaped like a heart to a baking sheet lined with parchment. Paint the edges with olive oil.
4. Evenly distribute the pizza sauce over the dough, leaving a small border for the crust.
5. Distribute the sauce evenly across the surface. Then, sprinkle the shredded mozzarella cheese. Finally, top it off with slices of pepperoni positioned artistically so that when you make a cut into the pie, everyone gets a piece of the pepperoni action.
6. The pizza is then topped with oregano and garlic powder. It is baked for 12 to 15 minutes until the crust is golden and the cheese is bubbly. If you want to add some fresh herbs, the pizza is garnished with basil before cutting and serving.
5. Valentine’s Day Raspberry Cheesecake
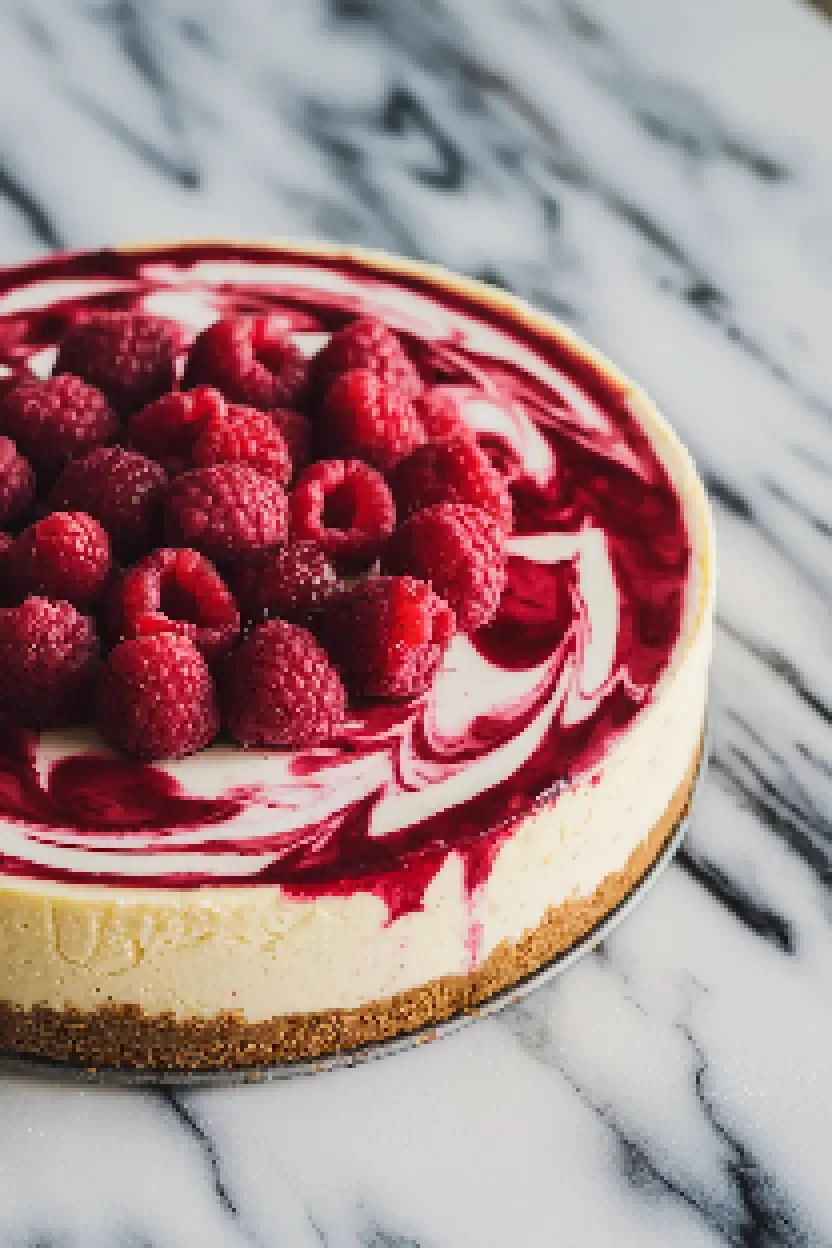
The refinement of a Valentine’s Day Raspberry Cheesecake captivates me. It begins with a crust of Graham crackers, upon which lies a luscious mixture of cream cheese and vanilla extract.
What makes it truly captivating is the presentation, with an abundance of fresh raspberries that almost adorn the cake, and a generous swirl of raspberry jam that creates a seductively sweet contrast to the cake’s not-too-sweet filling.

Ingredients
1 1/2 cups graham cracker crumbs
1/4 cup sugar
1/2 cup unsalted butter, melted
24 oz cream cheese, softened
1 cup granulated sugar
1 tsp vanilla extract
3 large eggs
1/2 cup sour cream
1 cup fresh raspberries
1/4 cup seedless raspberry jam
Instructions
1. Start by heating your oven to 325°F (163°C). Combine the crumbs from graham crackers, along with 1/4 cup of sugar and some melted butter, in a bowl. Press this mixture into the bottom of a 9-inch springform pan. This forms the crust for your cheesecake.
2. In a spacious mixing bowl, beat the cream cheese until creamy and smooth. Add 1 cup of granulated sugar and a dash of vanilla extract, and continue beating until the mixture is well blended and creamy.
3. Add the eggs, beating them in at low speed until just combined. Then, stir in the sour cream, achieving a smooth and creamy batter before moving on to the next step.
4. The cheesecake batter goes over the prepared crust. Using a knife, the batter gets swirled with raspberry jam. Fresh raspberries get scattered over the top.
5. The cheesecake should be baked for 60 to 70 minutes, until the center is firm and the border is just beginning to brown. Cool it in the pan for 10 minutes, then use a knife to loosen the edge.
6. For the best texture, make sure to chill the cheesecake in the refrigerator for a minimum of 4 hours or overnight prior to serving.
6. Valentine’s Day Chocolate Mousse
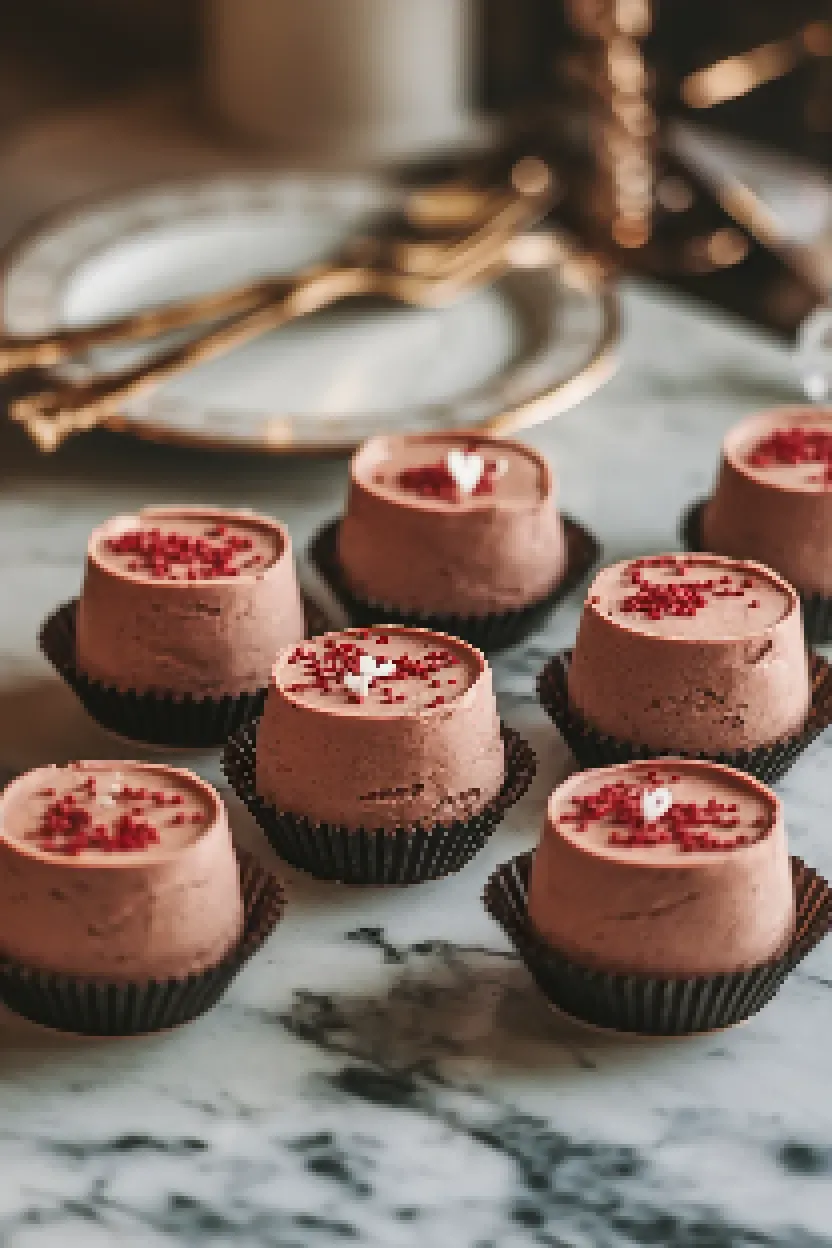
I love making a thick, luscious chocolate mousse, especially for Valentine’s Day. Comprised of just a few simple ingredients—rich bittersweet chocolate, a hit of vanilla extract, and a bit of salt—the dessert is both accessible and opulent.
You don’t need a ton of equipment (or a ton of time!) to whip it up. That said, a few key techniques are worth knowing to get the very best results.

Ingredients
6 ounces bittersweet chocolate, chopped
3 tablespoons unsalted butter
3 large eggs, separated
1/2 teaspoon cream of tartar
1/4 cup plus 2 tablespoons sugar
1/2 cup heavy cream
1/2 teaspoon vanilla extract
Pinch of salt
Instructions
1. In a heatproof bowl, over a pot of simmering water, melt together the bittersweet chocolate and unsalted butter. Stir until smooth, and allow the mixture to cool slightly.
2. In a mixing bowl, free of any grease, beat the egg whites with the appropriate amount of cream of tartar until soft peaks form. Gradually add the 1/4 cup of sugar, and beat until the mixture forms stiff peaks. Set aside.
3. In another bowl, combine the heavy cream and 2 tablespoons of sugar, then whip until the mixture forms soft peaks. Stir in the vanilla extract, then set the mixture aside.
4. Gently mix the egg yolks into the cooled chocolate mixture. Add a small amount of salt and mix in.
5. The whipped cream is folded into the chocolate blend. Then, in thirds, the egg white mixture is added. Not deflating the mixture is imperative—but don’t worry; with a bit of practice, you’ll get the hang of it.
6. For the optimum texture, serve the mousse once it has had a minimum of 2 hours to chill in the refrigerator. To plate the mousse, use a spoon to transfer it from the mixing bowl to the serving dish.
7. Valentine’s Day Sugar Cookies

It brings me joy to make these delightful sugar cookies for Valentine’s Day. My recipe requires only a few simple ingredients you probably already have in your kitchen: all-purpose flour, granulated sugar, vanilla extract, and a hint of either grated lemon zest or almond extract.
I’ve tried multiple variations of this sugar cookie recipe over the years, and I always come back to this one.

Ingredients
2 3/4 cups all-purpose flour
1 teaspoon baking soda
1/2 teaspoon baking powder
1 cup unsalted butter, softened
1 1/2 cups granulated sugar
1 egg
1 teaspoon vanilla extract
1/2 teaspoon almond extract
Red or pink gel food coloring (optional)#
Instructions
1. Set your oven to 350°F (175°C) to preheat while you take a baking sheet and line it with parchment paper.
2. In a bowl of medium size, combine the flour, the baking soda, and the baking powder; whisk together and set aside.
3. In a big bowl, beat the butter and sugar together until very light and fluffy. Combine the egg, the delightful essence of vanilla poured in, and the almost intoxicating fragility of almond extract into the mixture until it is uniform.
4. Slowly incorporate the dry constituents into the wet ones, mixing just until combined. Then, if appealing color is desired, add a few drops of gel food coloring—red or pink works well here—and mix thoroughly until the desired effect has been achieved.
5. Shape the dough into balls about 1 inch in diameter and set them on the lined baking sheet, leaving about 2 inches of space between each ball.
6. Cook for 8 to 10 minutes, or until the edges are lightly golden. Let the cookies rest on the baking sheet for a few minutes before moving them to a wire rack to cool completely.
8. Valentine’s Day Beef Wellington
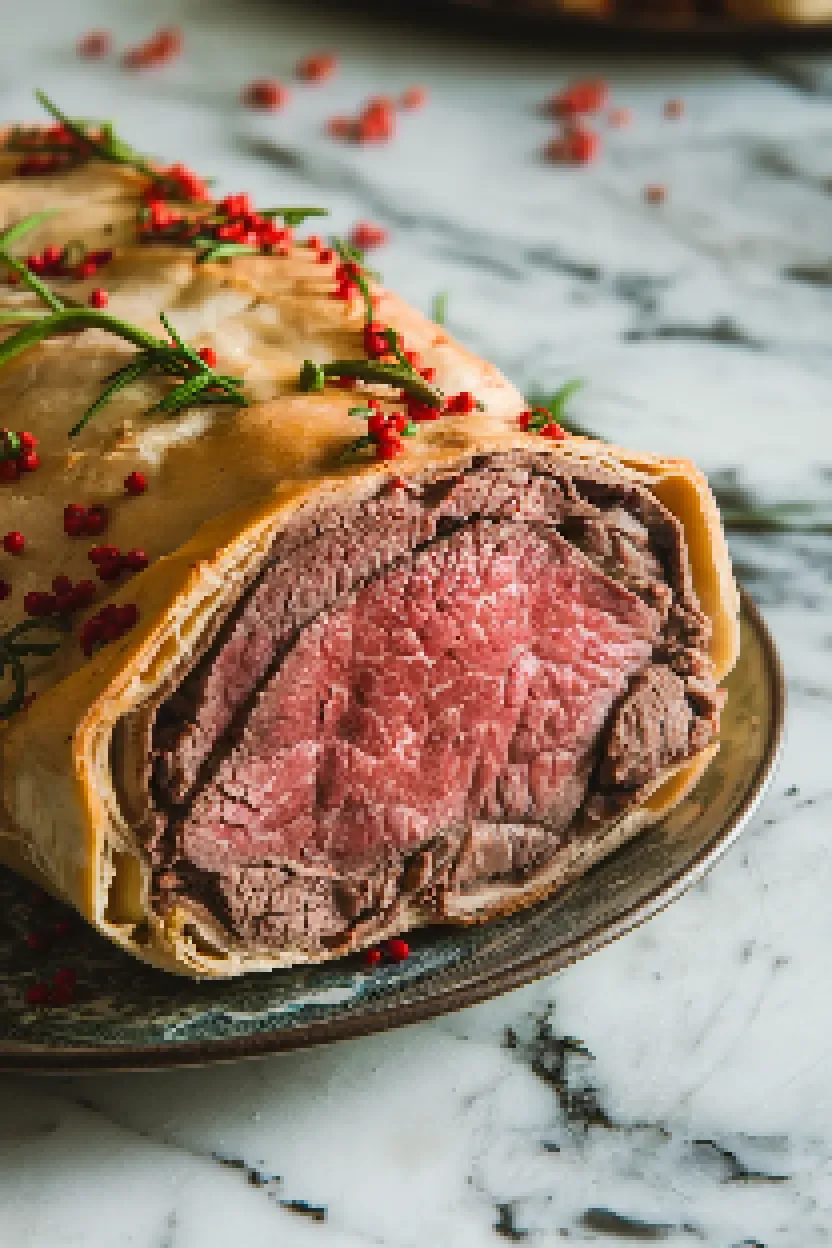
A traditional Valentine’s Day dinner that I prepare is Beef Wellington. It consists of a tender cut of beef, mustard, and finely processed mushrooms all sealed away in flaky golden pastry.
This dish has a certain elegance to it that is exceeded only by the romance one feels when eating it. Indeed, if there were a “romantic dinner” category in the National Food Hall of Fame, it would be a shoo-in.

Ingredients
1 beef tenderloin (approximately 1.5 pounds)
Salt and freshly ground black pepper, to taste
2 tablespoons olive oil
2 tablespoons Dijon mustard
1-pound package puff pastry, thawed
1 egg, beaten
8 ounces cremini or button mushrooms, finely chopped
1 small onion, finely chopped
2 cloves garlic, minced
2 tablespoons unsalted butter
4 ounces pâté or duxelles
6 slices prosciutto
All-purpose flour, for dusting
Instructions
1. Set your oven to 400 degrees Fahrenheit (200 degrees Celsius) to warm up. While the oven is heating, prepare the beef tenderloin by seasoning it with salt and pepper to taste. In a medium to large skillet that you have on the stovetop over a setting of medium-high heat, pour in around 3 tablespoons of extra virgin olive oil. Once the oil is shimmering but not smoking, place the tenderloin in the skillet and sear it on all sides. You want to get a nice crust on the meat, so let it sear a couple of minutes per side before turning the tenderloin to another side.
2. In the same frying pan, add butter, and sauté the chopped mushrooms, onion, and garlic until soft and nearly all the liquid has evaporated. Season to taste. Set aside to cool.
3. On a floured surface, unfold the puff pastry into a large rectangle. Relying on good practice for prosciutto, lay the slices over the pastry, making sure to cover all the highly likely exposed surfaces of the beef. The next layer is made up of our mushroom duxelles, and if you remember the last post, a duxelles is a mixture of finely chopped mushrooms, onions, and herbs sautéed in butter. It is a filling you want to eat by the spoonful. Spread this duxelles dream over the prosciutto in a relatively even layer.
4. Position the chilled beef tenderloin atop the mushroom-draped prosciutto. Encase the beef completely with the puff pastry, trimming any excess and sealing the edges securely. Baste the pastry with the egg wash.
5. Position the Beef Wellington so that the seam side is down on a baking sheet. If you wish, you can use pastry trimmings to create a decoration. Most importantly, use a sharp knife to cut several slits into the top of the Beef Wellington. If you don’t, it may burst open. Don’t be shy with the oven temperature, either; you want it to be nice and hot for a golden-brown, flaky crust. Bake for 25-30 minutes.
6. Allow the Beef Wellington to rest for roughly 10 minutes before cutting it into slices. For a Valentine’s Day dinner, serve it with the accompaniments that most romantically suit your culinary preference.
9. Valentine’s Day Lobster Bisque

For Valentine’s Day, I revel in preparing an enormously decadent lobster bisque. It has somewhere around six elements—lobster (of course), aromatics (which is a fancy way of saying really flavorful vegetables)—that means onion, carrot, and celery, cooked within a millimeter of their lives, to crunchable perfection, and pretty much the best soup-starter base you could ask for.
Then, it gets much better. I hit it with cognac (the most romantic of spirits), fish stock, and heavy cream.
And if you want to make your bisque truly elevate your seafood experience, finish it with a dusting of plain ol’ paprika.

Ingredients
2 live lobsters (about 1 1/2 pounds each)
4 tablespoons unsalted butter
1 medium onion, chopped
2 carrots, chopped
2 celery stalks, chopped
2 cloves garlic, minced
1/4 cup tomato paste
1/2 cup cognac or brandy
4 cups fish stock or seafood broth
1 cup heavy cream
1/2 teaspoon paprika
Salt and freshly ground black pepper to taste
2 tablespoons fresh parsley, chopped
1 bay leaf
Instructions
1. In a large pot of salted water, bring the water to a vigorous boil; then, a few at a time, add the lobsters, bringing the pot back to a boil in between additions so as not to overly lower the water temperature. After 8-10 minutes, pour out the water and, using tongs, transfer the lobsters to a large bowl. Save the shells and chop the lobster meat.
2. In a spacious saucepan, blend the butter and heat over a medium flame until melted. Add onion, carrot, celery, and garlic, and sauté until the veggies are tender.
3. Incorporate the tomato paste and sauté for 1 minute. Introduce the lobster shells and cognac, and cook for an additional 2 minutes. Add the fish stock, parsley, bay leaf, and seasonings. Let this simmer for 30 minutes.
4. Discard the solids and pour the mixture through a strainer. Return the smooth liquid to the pot and stir in heavy cream and paprika. Simmer and stir for about 10 minutes, and then serve the delicious soup to your guests.
5. Return the lobster meat to the bisque, modify the taste with salt and pepper, and serve hot with a sprinkle of chopped parsley for garnish.
10. Valentine’s Day Berry Parfait
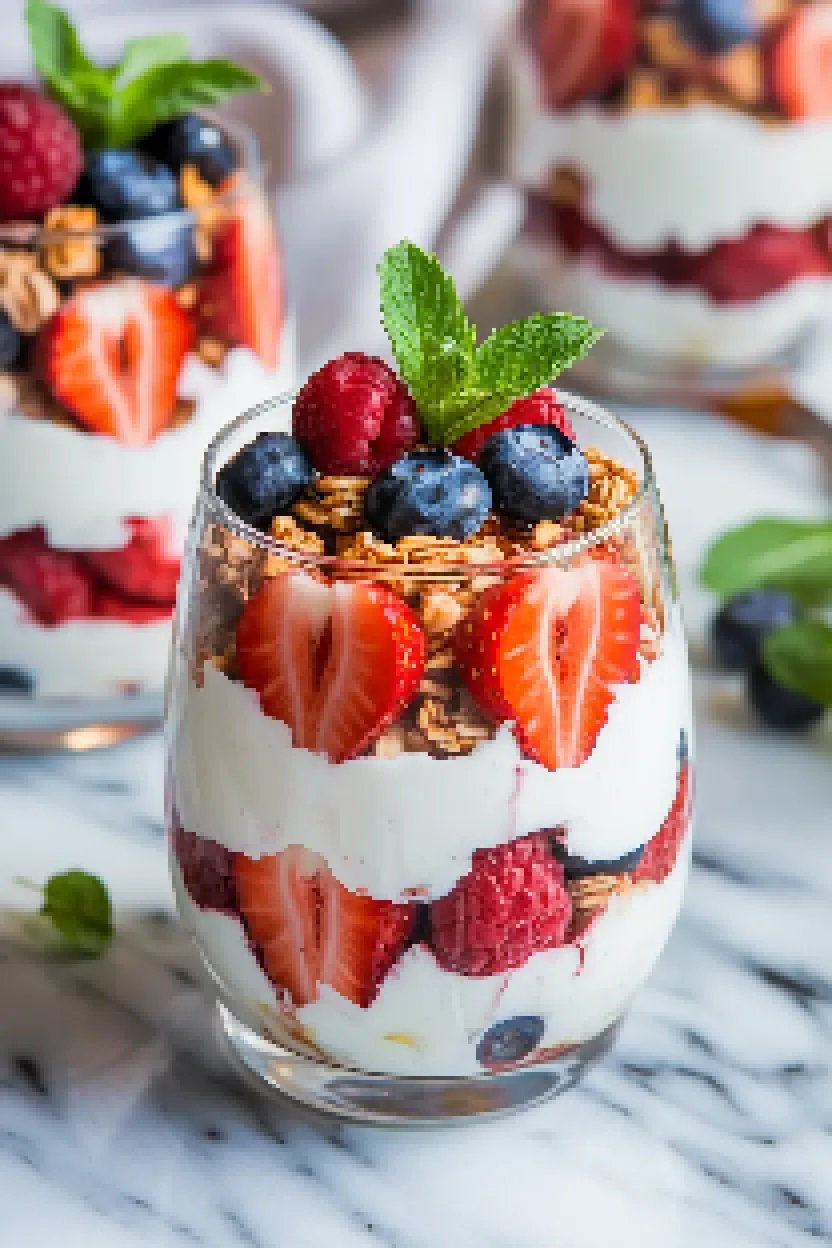
Valentine’s Day is an occasion I delight in, and I love preparing a berry parfait for that special day. Though I prepare for many occasions, Valentine’s Day deserves a special treat—I think the berry parfait is just that.
It captures the essence of the day in its vibrant colors and luscious flavors. To make it a bit more perfect, I garnish it with mint leaves.
And voilà!

Ingredients
Fresh strawberries, sliced
Fresh raspberries
Fresh blueberries
Granola
Vanilla Greek yogurt
Honey or maple syrup (optional)
Fresh mint leaves (for garnish)
Instructions
1. Wash the strawberries, raspberries, and blueberries in cold water and dry them with a paper towel. Then, slice the strawberries into thin pieces.
2. Begin with a layer of strawberries at the bottom in a glass or parfait cup.
3. Dollop some vanilla Greek yogurt on top of the strawberries, using the spoon to create a smooth top.
4. Place a layer of raspberries and blueberries atop the yogurt, then follow it with a sprinkling of granola.
5. Continue to layer the glass until you reach the very top, with yogurt being the last and top layer. Drizzle with honey or maple syrup if you want to add a little sweetness to the top layer.
6. Add a couple of mint leaves for the professional restaurant look. The taste you get is pure, unadulterated chocolate with a richness that’s just shy of decadent because the dessert is so very light. Top with your heart shape, and if you dare, make a little streak of raspberry sauce across the plate for effect.
11. Valentine’s Day Strawberry Shortcake
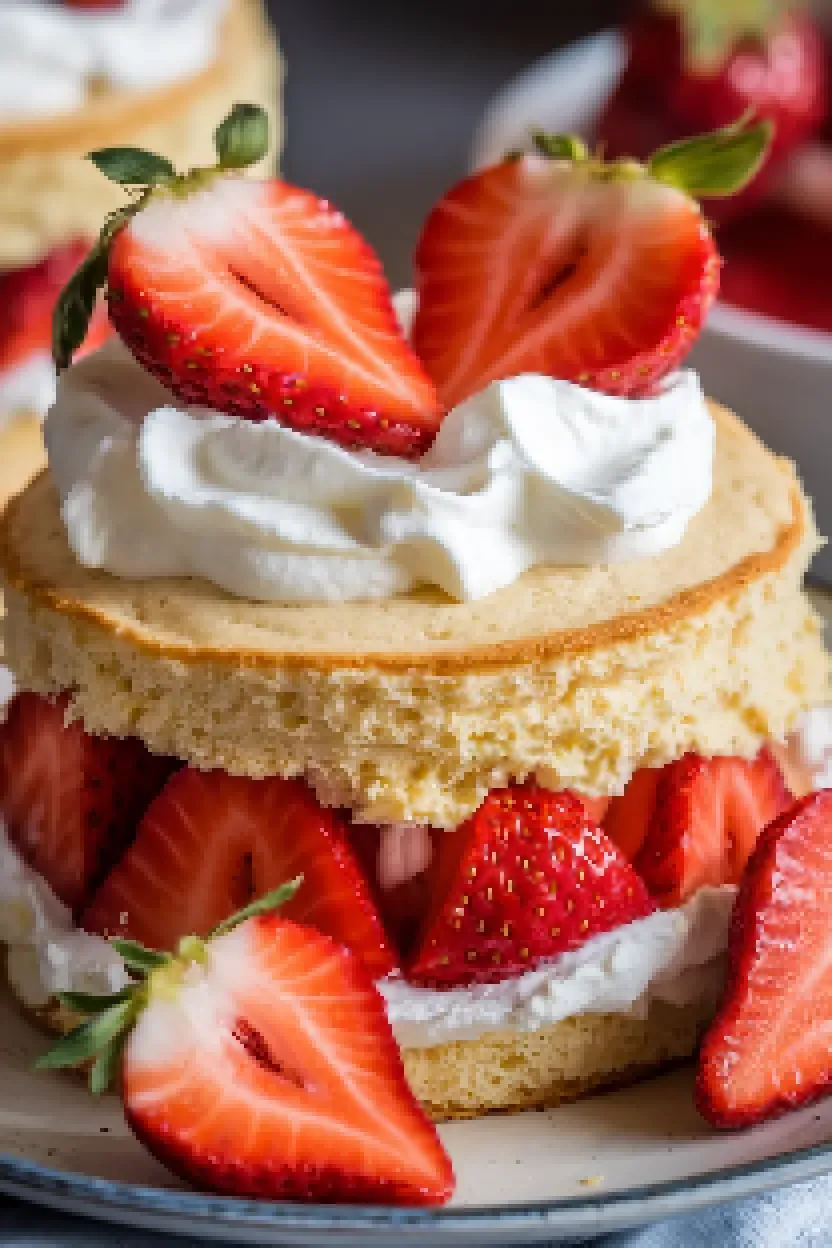
Valentine’s Day is the perfect opportunity to make and eat Strawberry Shortcake. This version features tender, buttery shortcakes that offer just the right amount of flavor and texture to highlight the perfect strawberry.
You might say that these biscuits are a Valentine to the shortcake. The whipped cream is a small Valentine to the sweet, lightweight element that makes the strawberries and biscuits work together.

Ingredients
2 cups all-purpose flour
1/4 cup granulated sugar
1 tablespoon baking powder
1/2 teaspoon salt
1/2 cup unsalted butter, cold and cubed
2/3 cup whole milk
1 teaspoon vanilla extract
1 pound fresh strawberries, hulled and sliced
2 tablespoons granulated sugar (for strawberries)
1 cup heavy cream
2 tablespoons powdered sugar
1/2 teaspoon vanilla extract (for whipped cream)
Instructions
1. Set your oven to 425 degrees Fahrenheit (220 degrees Celsius) and prepare a baking sheet by lining it with parchment paper.
2. In a big bowl, put together the flour, 1/4 cup of granulated sugar, baking powder, and salt. Then, cut in the cold butter until the mixture looks like it has coarse crumbs.
3. Combine the milk and 1 teaspoon of vanilla extract. Stir until just combined and don’t overmix. Use a spoon to drop portions of the mixture onto the baking sheet to form roughly 8-10 shortcakes.
4. For 12 to 15 minutes, bake the shortcakes until they take on a lovely golden brown color. Once they have reached that desired state, remove the shortcakes from the oven and place them on a wire rack to cool.
5. Take a bowl and combine the sliced strawberries with 2 tablespoons of sugar. Place to the side and allow the mixture to macerate for not less than 15 minutes.
6. In a separate bowl, whip the heavy cream together with the powdered sugar and half a teaspoon of vanilla extract until soft peaks form.
7. To put it all together, slice the shortcakes in half and stack them with strawberries and whipped cream. Serve without delay.
12. Valentine’s Day Tiramisu
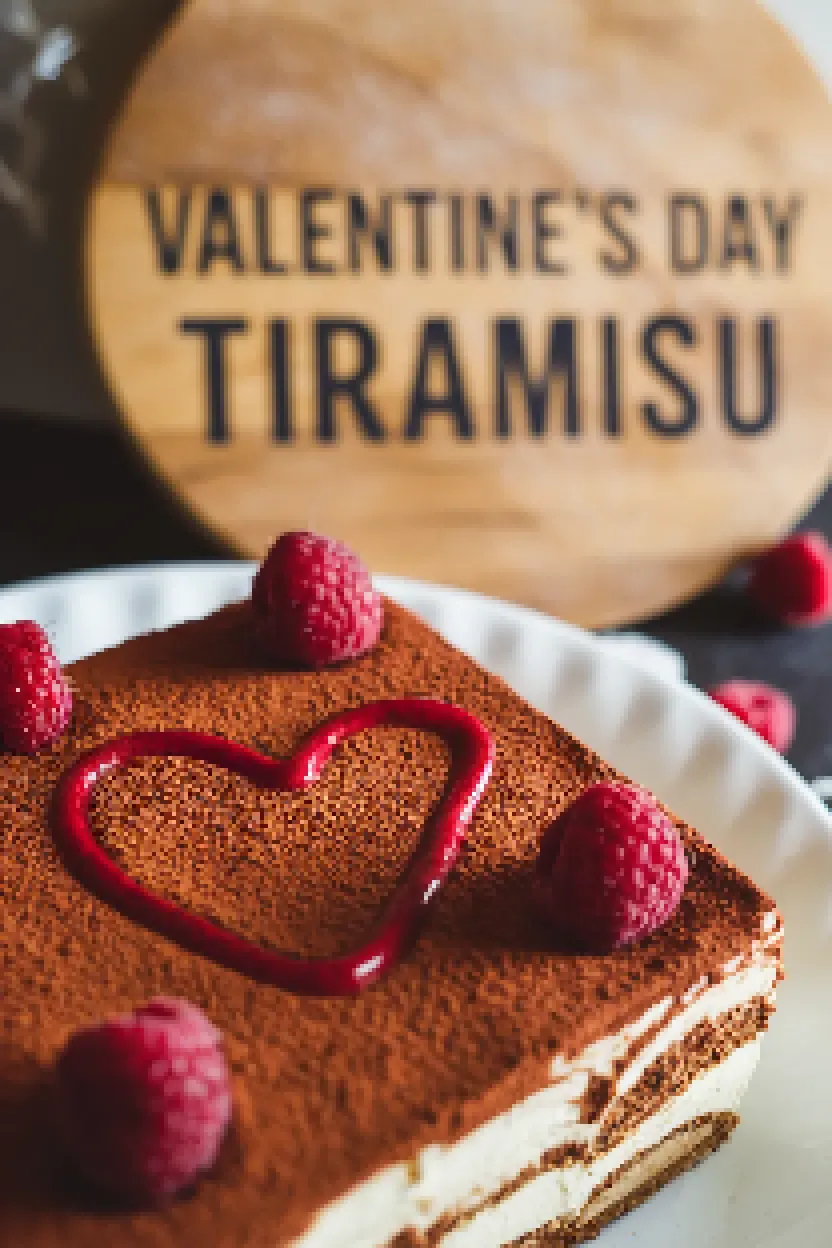
Creating an exquisite tiramisu is a labor of love that I especially indulge in on Valentine’s Day. To this unassailably delicious dessert, I add no fewer than four layers, each of which combines the basic building blocks: strong, rich coffee; luxurious mascarpone cheese; and toothsome ladyfingers.
As a finishing touch, I dust the whole with cocoa powder and serve it with berries. To say that Tiramisu is a perfect Valentine’s Day dessert is an understatement.

Ingredients
1 cup strong brewed coffee, cooled
3 tablespoons coffee liqueur (optional)
3 large eggs, separated
1 cup mascarpone cheese
1/2 cup granulated sugar
1 teaspoon vanilla extract
24 ladyfinger cookies
2 tablespoons unsweetened cocoa powder
Dark chocolate shavings or cocoa dust for garnish
Fresh raspberries or strawberries for garnish (optional)
Instructions
1. In a tiny dish, mix the chilled coffee with coffee liqueur (if you’re using any). Put it aside.
2. In a bowl of medium size, combine the egg yolks and sugar, then whisk until they are pale and creamy. Add in the mascarpone and the vanilla extract, and mix until smooth.
3. In a different bowl, whip the egg whites until stiff peaks form. Carefully combine the egg whites with the mascarpone mixture, taking great care not to deflate the egg whites in the process.
4. Rapidly dip each ladyfinger into the coffee mixture, guaranteeing their moisture without achieving sogginess. Layer the bottom of the dish you will use to serve with the dipped ladyfingers.
5. Place half of the mascarpone mixture over the ladyfingers and smooth it out. Then, make another layer with the ladyfingers and dip them into the mixture. Finally, spread the rest of the mascarpone mixture over the top and smooth it out.
6. Sheathe and chill for not less than 4 hours, or overnight. Prior to service, coat with cocoa powder and anoint with chocolate curls and fresh berries, if the spirit moves you.

