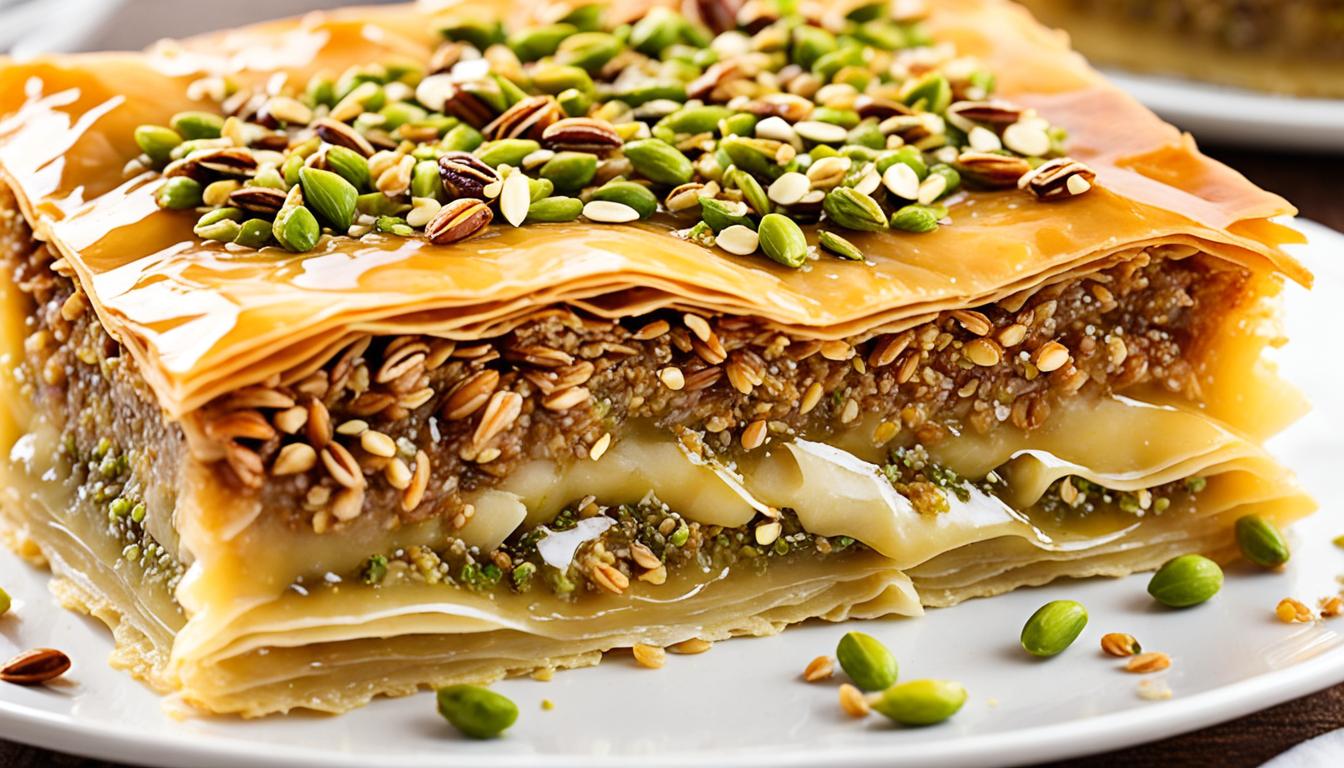
This Recipe is so easy to follow, and Baklava is divine!
So I want to share with you my foolproof homemade baklava recipe. If you ever wanted to make this lovely and indulgent dessert in the comfort of your own home— well then, you’ve come to the right place! With this easy guide, I’ll be with you every step of the way. Ensuring that you can make the best baklava right at home.
Baklava is a beloved treat famous for its layers of flaky pastry. These layers are filled with sweet nut filling and to top it off is a delicious syrup that will blast your taste buds with sweetness on every bite.
Why accept what’s already prepared from stores? You deserve much better than that! By following my simple instructions and using the best ingredients — there’s no doubt you’ll end up with a dessert that rivals traditional baklavas found in any high-end bakery shop.
I know it may be hard if you’re not an experienced baker or even if you’re just beginning to cook. However, don’t worry. This recipe was made for you! Built specifically for approachability so anyone can nail it and get impressive results. So please don’t feel intimidated by this scrumptious dish because i’ll be giving out super helpful tips along the way.
Let’s get started shall we? Gather all our ingredients and let’s begin making the best Baklava dessert!
Introduction to the Art of Crafting Baklava
Baklava is a nutty, layered dessert that’s made by sandwiching a crisp, flaky pastry between layers of honey or syrup-soaked nuts. It’s an artful and flavorful way to treat your taste-buds.
Originally coming from the Greece, Middle East and Central Asia, Baklava has religiously been fought over by various regions claiming its creation. They all hold a special place for this delicious dessert in their hearts though – whether it be the royal courts of the Ottoman Empire or the kitchen tables of families.
Each layer of this dessert must be brushed with butter before being baked so that they can come out crispy and golden brown. It’s all about that sweet and spicy balance in the filling as well – you also need to make sure you create those iconic diamond shapes on top too.
The fancy techniques don’t stop there either! Baklava gets served during festive occasions and celebrations quite often because it symbolizes good luck, abundance, and prosperity. The act of sharing baklava has become a cherished tradition for many families as well.
Now that we’ve learned everything there is to know about its artistry and cultural significance — let’s get down to learning about what ingredients are needed to make my easy baklava recipe.
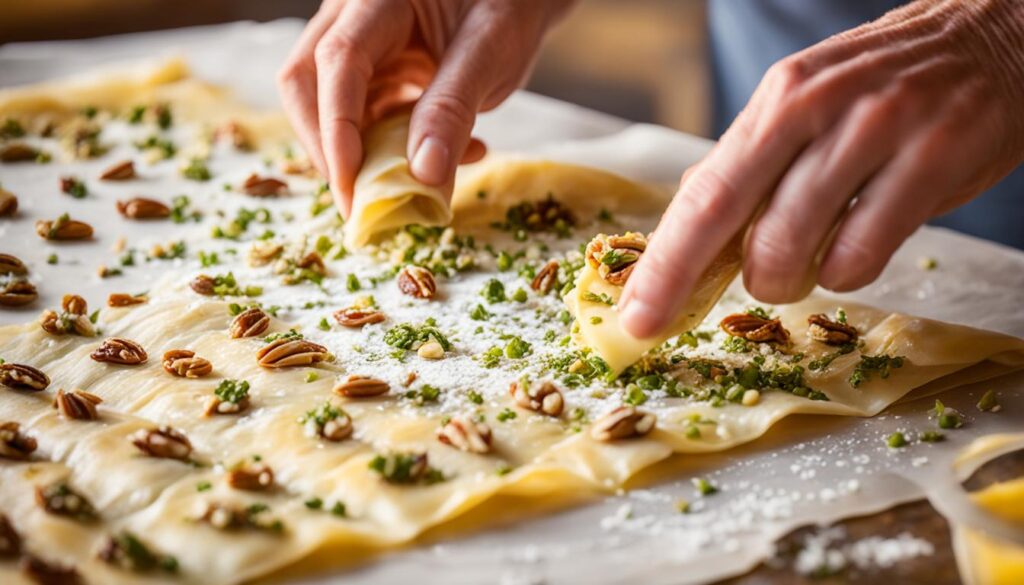
List of Baklava Ingredients for Authentic Flavor
If you want to make your baklava taste truly authentic, then you’ll need the right ingredients. Here’s a comprehensive rundown of everything you’ll need from my best baklava recipe:
- Phyllo Dough: The thin and delicate layers of phyllo dough are a must for good baklava. You can buy them at most grocery stores such as these from Walmart, or try making it yourself if you’re feeling ambitious.
- Nuts: A mix of finely chopped nuts will add richness and texture to your baklava. Walnuts, pistachios, and almonds are all popular choices. But feel free to get creative with your own nutty combination.
- Spices: Warm and aromatic spices give baklava its unique flavor. Cinnamon is the most commonly used spice in this dish, but adding cardamom, cloves, or nutmeg can take it up another notch.
- Syrup Components: The sweet syrup that gives baklava its mouthwatering moistness typically consists of honey, sugar, water, and lemon juice or rose water. It gives each layer of the dish a subtle sweetness and keeps it fresh for longer.
Full List of Ingredients for 36 (3 dozen Baklava):
- 1 (16 ounce) package phyllo dough
- 1 pound chopped nuts
- 1 teaspoon ground cinnamon
- 1 cup butter
- 1 cup white sugar
- 1 cup water
- 1 teaspoon vanilla extract
- ½ cup honey
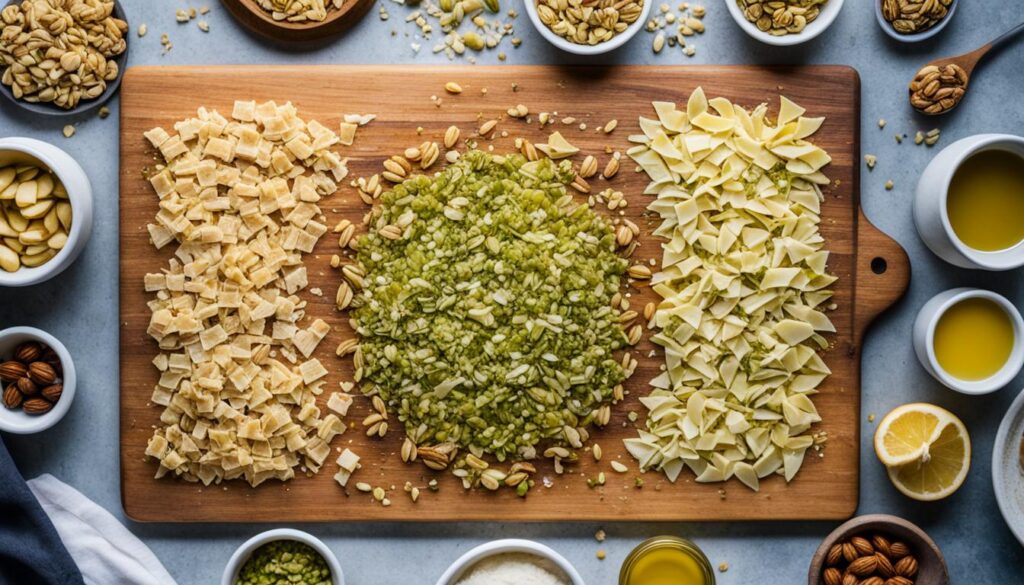
Step-by-Step Guide: Prepping for Your Baklava Recipe
Making baklava can feel like a process (a fun process I think!). But, if you want to achieve the best texture and flavor, following these steps:
- Thaw the Phyllo Dough: Start by thawing the phyllo dough according to its package instructions. Be gentle with it as you handle it so it doesn’t tear or dry out.
- Prepare the Nut Mixture: While your dough thaws, get a bowl and combine all of your chosen nuts. You can use walnuts, almonds, or pistachios. After you’ve got them in a bowl, chop them up using a knife or food processor for quicker results.
- Melt the Butter: In either a saucepan or microwave melt your butter without burning it. When butter melts it gets rich and flaky which is what will give your baklava that extra taste.
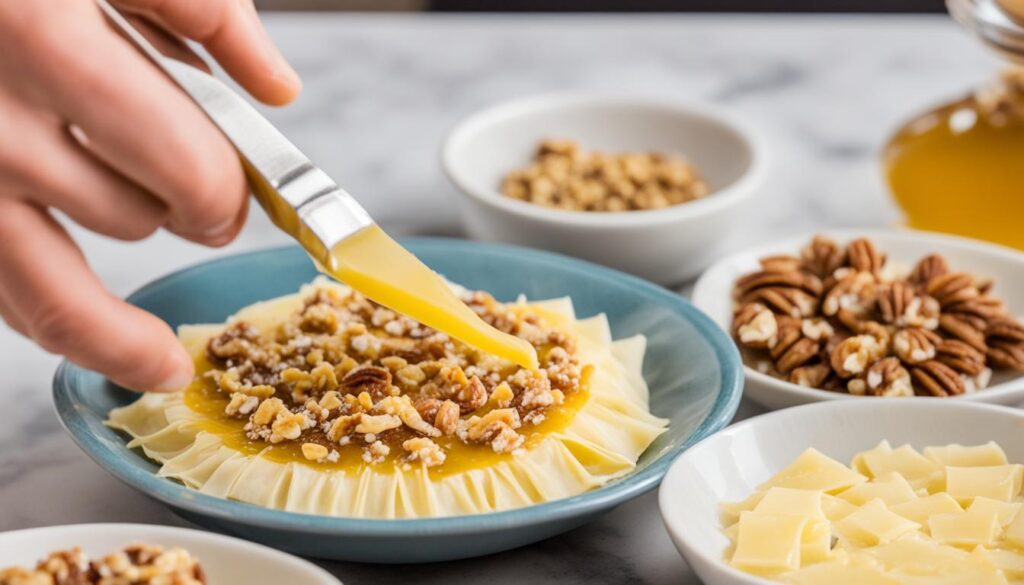
Congratulations! Now that you’ve completed the first tasks you can finally begin piecing together this delicious treat. Prepping for this recipe is necessary to make sure everything turns out right in the end. By following these steps closely you can confidently move on to our next set of instructions which will guide you through baking this treat easily and smoothly as possible.
Best Baklava Recipe: Assembling Your Masterpiece
Now that you have prepared all the necessary ingredients and prepped the phyllo dough and nut mixture, it’s time to assemble your baklava masterpiece. Follow these step-by-step instructions to create the distinct, flaky layers that make baklava so irresistible.
Step 1: Layer the phyllo dough
Start by brushing a baking dish with melted butter to prevent the Baklava from sticking. Place a sheet of phyllo dough into the dish, making sure it covers the bottom completely. Brush the sheet with melted butter.
Repeat this process, layering phyllo dough sheets and brushing each one with butter, until you have used about half of the phyllo dough sheets.
Step 2: Add the nut mixture
Next, evenly spread a generous amount of the nut mixture over the layered phyllo dough. Make sure the nuts are distributed evenly to ensure a delicious filling in every bite.
Step 3: Continue layering
Repeat the layering process with the remaining phyllo dough sheets, brushing each sheet with melted butter before adding the next one. After every few layers, add another layer of the nut mixture. (See more details on layering in later sections)
Step 4: Finish with a final layer of phyllo dough
Once you have used all the phyllo dough sheets, finish with a final layer of phyllo dough on top. Remember to brush each sheet with melted butter as you go.
Step 5: Cut and bake
Using a sharp knife, carefully cut the assembled baklava into diamond or square shapes. See more details below on cutting tips.
Now, it’s time to bake your baklava masterpiece. Preheat the oven to the appropriate temperature and place the dish in the center. Bake until the baklava turns golden brown and the layers are crisp and flaky.
Once baked to perfection, remove from oven and let cool before pouring on honey syrup. The final result will be a beautiful, layered dessert that is both visually stunning and incredibly delicious.
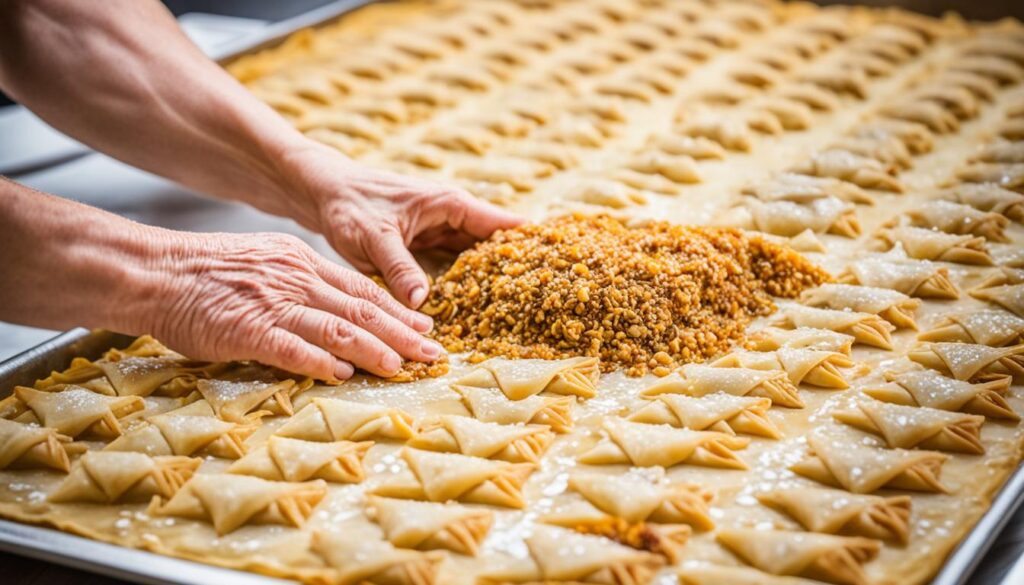
Now that you’ve assembled your baklava masterpiece, it’s time to move on to the next step: perfecting those flaky layers. In the following section, I will share some secrets and tips to achieve the ideal texture and appearance in your baklava.
Further Tips to Perfecting Baklava Layers
Do you need more help with the layering? Then read on! Making perfectly flaky baklava layers is an art that requires great skill and precision. To get the ideal texture as well as appearance, follow these tips:
Firstly, make sure to brush each layer of phyllo dough with melted butter. This step is crucial for achieving that crispy and flaky baklava. The butter helps to separate the layers and create that distinct flakiness.
When it comes to layering the phyllo dough, be gentle and avoid pressing down too hard. Each layer should be placed delicately on top of the previous one, allowing for air pockets to form and contribute to that desired flaky texture.
Another important technique is evenly distributing that nut filling between the layers. Spread them in a thin and even layer without overfilling. This will help maintain balance of flavors and ensure those layers bake evenly.
When cutting baklava into diamond shapes, use a sharp knife and a confident hand. Begin by making diagonal cuts in one direction, then make perpendicular cuts to create those diamond shapes. It will result in visually appealing presentation.
Throughout this process you might face some challenges but don’t give up! If dough tears patch it together with small piece of dough then continue layering as usual. However its also important to work quickly so it doesn’t dry out but if it does then use a damp cloth to keep them moist.
By following these simple tips and techniques you’ll achieve perfect baklava layers that is both flaky, delicious, visually stunning.
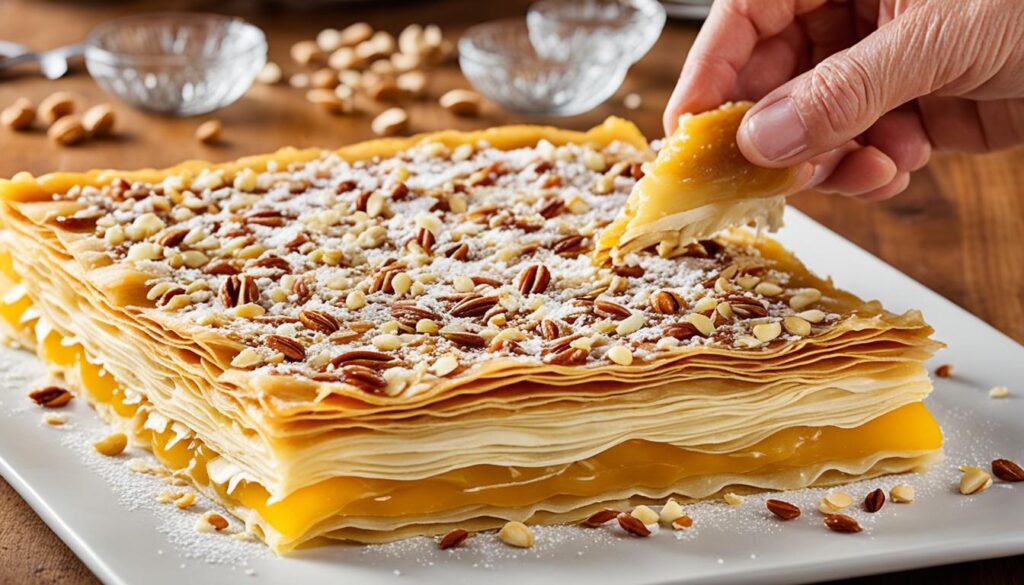
Baking Your Baklava to Golden Perfection
Now that you’ve put together your baklava, it’s time to bake it up to a delicious golden brown. It’s essential to pay close attention to oven temperatures and baking times if you want that beautiful color and the perfect crispy texture!
To begin, preheat your oven to 350°F (175°C). You’ll want an even bake throughout the process, so maintain this temperature throughout the cooking. Anything higher would probably burn your baklava, while anything lower could cause it to be undercooked.
How long you’ll actually cook it can vary pretty wildly depending on size and thickness of the layers. But as a general guideline, shoot for 40-45 minutes or until the top is golden-brown and crispy.
It’s important to note that every oven is different, and you should keep an eye on your dish even when following guidelines. So be sure not to wander off too far in case you need to make any adjustments! For example, if things start looking too dark too quickly, cover the top with foil halfway through.
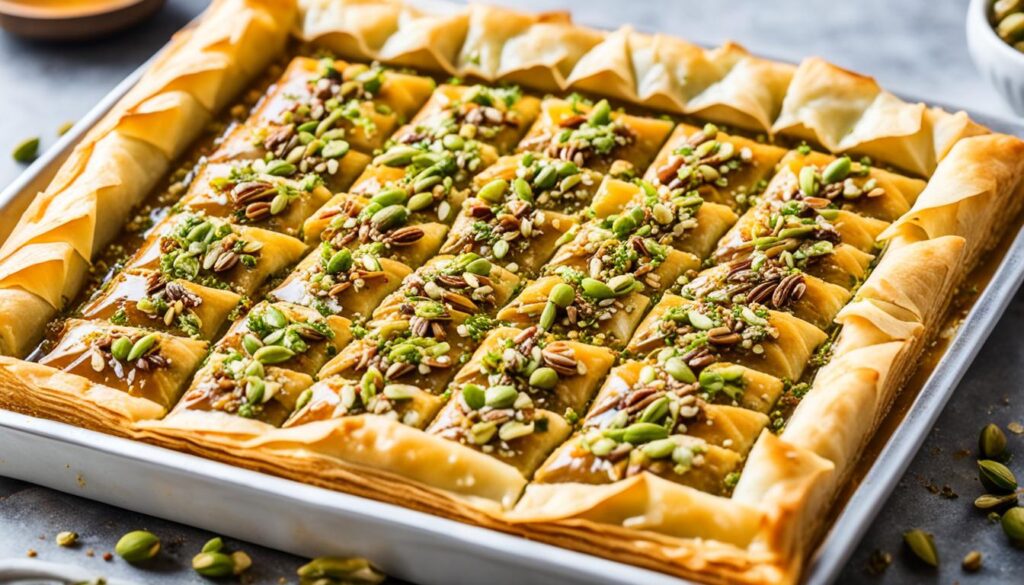
In order for each layer’s bottom half not to become overcooked, make sure the baklava sits on your middle rack. This will distribute heat more evenly while still allowing for browning at the top.
Once it’s reached perfection in terms of color (or has baked long enough), take it out and leave the dessert alone until it cools entirely. This will give all those layers time to set into place without becoming soggy.
Ultimately there’s no rush here – after all baking took some time itself! So let everything chill before moving onto honey syrup.
Baking your baklava just right is crucial in making sure that sweet treat turns out flaky and delicious. Adjustments might need to be made depending on what kind of oven you’re using though – so don’t be afraid to experiment a little before getting things just right!
The Perfect Honey Syrup: Balancing Sweetness and Spice
Crafting the perfect honey syrup is crucial for achieving just the right flavor in your baklava. The syrup adds delicate sweetness and aromatic essence, taking the flaky pastry and nut filling over the top. To make sure that you’re striking a good balance of flavors, follow this simple recipe and these expert tips:
In a saucepan, mix 1 cup each of honey and water.
Toss in a cinnamon stick or two, a few cloves, and a pinch of nutmeg to add some warmth to the flavor.
Simmer over low heat until it’s reached a syrup-like consistency, stirring every so often. This should take 10-15 minutes.
Once it’s there, remove from the heat and let cool slightly.
Next comes an important step: Pour the warm syrup evenly across the baked baklava. You want it to seep through each layer as much as possible.
The key to achieving perfection with your honey syrup is finding just the right amount of sweet and spice. If you have more of a sweet tooth, try adding more honey than what’s called for. If you’d like something spicier, throw in some extra cinnamon sticks or clove pieces—or get creative with other spices that you find pleasing! Don’t be afraid to experiment with different flavors when customizing your baklava; doing so will make your dessert all yours!
Pouring the syrup while it’s still warm is vital as well. It ensures that it sinks deep into every crevice between layers of pastry. Once your masterpiece is drenched in enough liquid gold, let it rest at room temperature before cutting into individual servings. This waiting period allows time for everything to set up right—plus, eating hot out of the oven can burn mouths off!
Now that you know how to strike an ideal flavor balance when making honey syrup from scratch (and have mastered its implementation), get ready for some amazing feedback on your baklava. It’ll have everyone at the gathering raving. You can also feel free to experiment with different flavor combos; you never know when you’ll stumble upon something that’s out of this world!
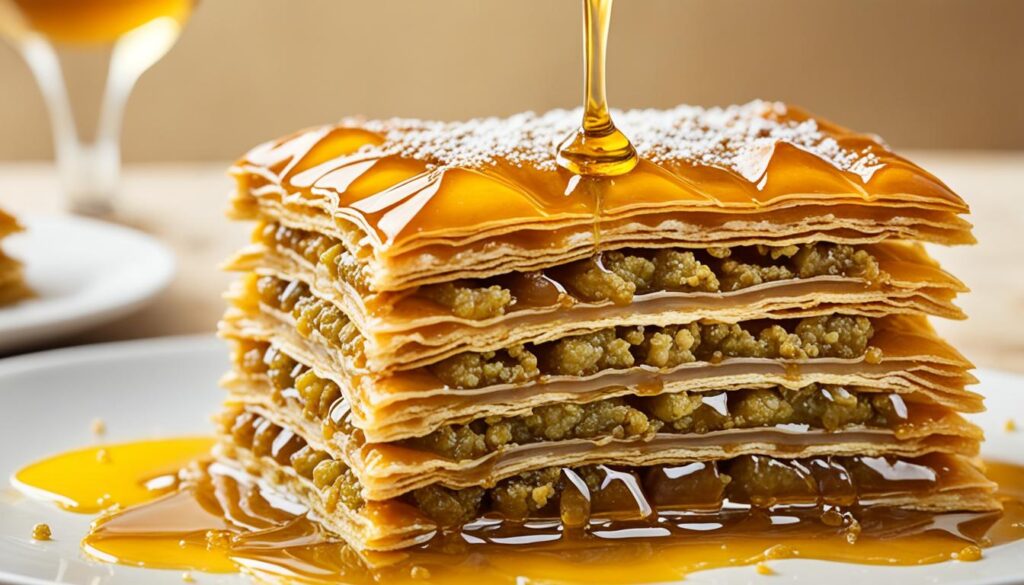
Cutting Techniques for that Signature Baklava Shape
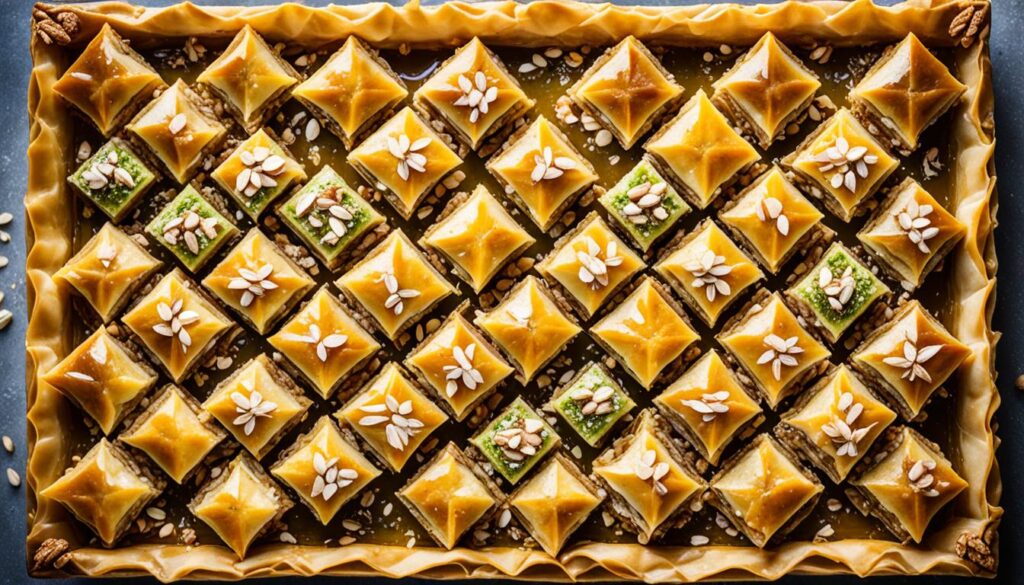
Crafting a neatly sliced, diamond-shaped baklava is crucial when it comes to perfecting that one-of-a-kind presentation. If you want to become skilled in this area, below are a few cutting techniques and tips that will guarantee clean, even slices through the layers.
First things first, use either a sharp knife or a serrated knife specifically designed for slicing through delicate pastries. The sharpness of the blade will prevent the layers from tearing or crumbling as you cut your way through them.
When it comes time to actually slice your baklava, it’s important to mark those diamond shapes before doing so. Begin by cutting diagonal lines across the surface of the pastry — roughly 1-1.5 inches apart. Then, make perpendicular cuts at an angle (the angle doesn’t have to be too steep) to form said diamond shapes. This technique will give your baklava those traditional aesthetics and visually pleasing designs that people love.
While you’re going about this process, keep in mind that applying gentle pressure is key; apply too much force and you’ll likely end up with crumbled layers. Take your time and let the knife do most of the work for each slice so that every single one is both tidy and precise.
If you want to switch things up a bit from your classic diamond shapes, feel free to experiment with diagonally sliced squares or rectangles instead. This will allow you to present your baklava in an interesting way without compromising its delicious taste or texture.
Lastly, remember that how you cut into your baklava plays a huge role in how it looks overall. Those signature diamond shapes say a lot about this dessert’s artistry and craftsmanship. And given enough practice and attention to detail on your part, there’s no doubt whatsoever that you can achieve various professional-looking finishes that’ll blow everyone away at your next dinner party!
Cooling and Storing Tips for Lasting Freshness
When you’re all done making your homemade baklava, it’s important to know how to cool and store it properly. This is so that it stays fresh for a long time. Cooling the baklava helps maintain its texture. To do this, let the pastry cool completely at room temperature before storing it. This will prevent condensation from forming inside the container or plastic wrap and making it soggy.
To store your baklava, use an airtight container or wrap it up tightly using plastic wrap or aluminum foil. Make sure there are no openings for air to enter through because this can dry out the pastry crust. Store your baklava in a cool and dry place, but not directly in sunlight or near heat sources.
Baklava has a shelf life of several days if stored properly. However, to make sure you still get that freshness even on day five; consume it within the first few days after making it. If you have leftover pastries, feel free to reheat them in the oven at low temp for a short period of time (between 5-10 minutes) to regain that wonderful crunch and aroma we all love about Baklava.
Serve your baklava at room temperature or slightly warmed up for an amazing taste experience.
If you decide to Freeze it wrap it in both plastic wrap, and then a layer of aluminum wrap. It will keep for upto 3 months.
FAQ
What is the best recipe for homemade baklava?
The best recipe for homemade Baklava is one where you layer flaky phyllo dough with spices like cinnamon and nutmeg surrounding finely chopped nuts such as walnuts or pistachios all bathed in sweet honey syrup.
How do I make homemade baklava?
To make Homemade Baklava start by preparing your nut filling and melting butter simultaneously. Then layer sheets of phyllo dough alternating with layers of nuts mix brushing every layer with butter until you run out of ingredients then bake until golden brown and crispy then pour the honey syrup over the top once done.
What are the traditional ingredients used in baklava?
Traditional Baklava typically includes phyllo dough, a mixture of finely chopped nuts such as walnuts or pistachios, spices like cinnamon and nutmeg, butter, and a sweet syrup made from honey, sugar, and water.How do I properly layer the phyllo dough and nut mixture for baklava?
How do I achieve flaky layers in baklava?
To get your layery flaky effect in baklava you need to brush each layer of phyllo dough with melted butter. This will help separate them giving you that rich buttery flavor we love about this dessert. Also make sure you keep the phyllo dough covered with a damp cloth while you’re working to prevent it from drying out.
How long should I bake my baklava?
Stick your baklava in a preheated oven with the specified temperature and leave it there for about 45-50 minutes. Once you’ve got a crispy golden brown top, bring it back out. The last thing you want is to burn it.
How do I make the perfect honey syrup for baklava?
Equal parts honey, sugar, and water are mixed into a saucepan. The next step is squeezing some lemon juice and sprinkling cinnamon or cardamom into the concoction. Cook that syrup until it’s slightly thickened, then pour it over baked baklava while it’s still hot.
How do I achieve the signature diamond shape when cutting baklava?
Make diagonal cuts all the way through your pan with a sharp knife to create diamonds on each slice. You can also experiment with other shapes by changing how straight or angled your cut is.
How do I store baklava to keep it fresh?
You’ll want to wait for your dish to cool down completely before storing it either in an air tight container or by wrapping plastic around it nice and tight. It should be able to sit at room temperature for up to seven days, but you should eat them within two in order to taste their full freshness and flavor. If they become stale after a few days, just pop them in the oven for two minutes.

