
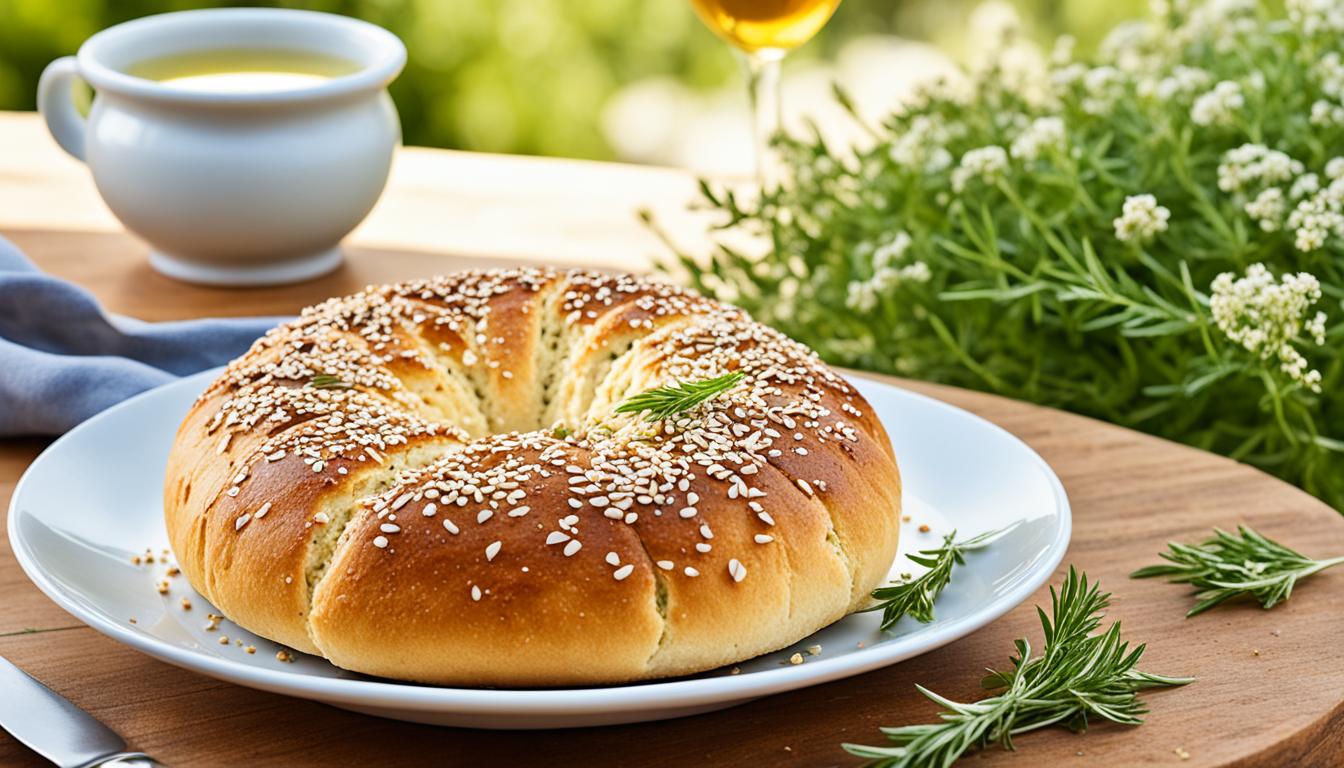
Ah, the sweet scent of koulouri hits your nose as you bite into it. The golden, sesame-crusted bread is the perfect combination of chewy and crunchy.
If you’ve been to Greece before, you might have already tried this traditional bread. But if not, now’s your chance to experience a taste of Greece in your own kitchen! In this recipe, we’ll teach you how to make koulouri from scratch — so that everyone can enjoy these tasty treats.
A Stroll Through the Streets of Greece: The Koulouri’s History
Koulouri first appeared in Byzantine Constantinople — modern-day Istanbul — where street vendors would sell them to hungry passersby. Those rings of bread were baked fresh each day and served warm with a sprinkle of sesame seeds on top.

Byzantine Origins of Koulouri
The Byzantine Empire, known for its rich culinary traditions, heavily influenced the development of koulouri. The bread rings were a popular choice among Constantinople’s residents, who enjoyed their simple yet satisfying flavors. The recipe for koulouri traditionally consists of flour, water, yeast, and sesame seeds, which are kneaded into a dough, shaped into rings, and then baked to achieve the signature golden-brown color and crispy texture.
Koulouri Thessalonikis: An Iconic Greek Snack
Over time, koulouri traveled across regions until it became a snack staple in Thessaloniki. That’s when it gained its well-known name: Koulouri Thessalonikis. And let us tell you… This town knows how to snack.
Cultural Significance and Street Vendors
Street vendors called “koulourades” are a big part of this tradition too; they sell these bread rings all over Greece today. You can usually spot them at fairs or parks or busy city corners surrounded by hungry patrons. The sight of a koulourades stand is hard to miss, as they’d be stacked high with freshly baked treats for everyone to enjoy.
The Art of Traditional Koulouri Making

What is it that makes Koulouri so good? Well, first things first, the dough. The dough is the foundation of any good koulouri recipe and needs to be made right. To get that fluffy and light texture you need to knead the gluten into it just right. If you add too much or not enough then it’s pretty much game over from there.
Once the dough is prepped then it’s time for shaping. This part is where a baker’s skill shines through. They’ll quickly roll out long ropes of dough and connect each end together to make a perfect circle. You’ll see that this takes some serious precision but after a while, they’ll be able to do it in their sleep (not literally though).
The next step is achieving the perfect crust. That crispy outside can only happen by keeping a close eye on temperature and timing during baking. It may take some practice at first but soon bakers will have a sixth sense for knowing when the koulouri has hit golden brown perfection.
Finally, making traditional koulouri requires an understanding of how technique and ingredients work together. It’s no easy task but once you’ve got all those down then you’re ready to start making your own! So put on your apron and let’s get started on mastering traditional koulouri making..
Ingredients for Your Koulouri Recipe
Quality ingredients are what make up a quality dish, period! And when every ingredient works together like a well-oiled machine, you know that dish will taste amazing too! Here I’ve gathered all of the best components necessary for creating one hell of a koulouri recipe!
Gathering Quality Ingredients
When we talk about “good” Koulouri we aren’t just talking about how fresh everything needs to be. We mean understanding exactly what role each ingredient plays in both flavor and texture:
- Flour: Use high-quality all-purpose or bread flour to ensure a chewy and well-structured dough. The flour should have a protein content of around 11-13% for the best results.
- Yeast: Yeast is what gives bread its light and fluffy texture. You can use either fresh yeast or active dry yeast, both will work just fine.
- Sesame Seeds: This is one ingredient you don’t want to cheap out on! Be sure to get some nice fresh seeds that haven’t been cooked yet. Trust us, it makes a huge difference.
- Olive Oil: No Greek dish would be complete without a healthy drizzle of olive oil. Choose an extra virgin oil to give your koulouri the most authentic taste possible.
Ingredients
Here are the essential ingredients you’ll need:
| Ingredient | Proportion |
|---|---|
| Flour | 2.5 cups |
| Water | 1 cup |
| Yeast | 1 tea spoon |
| Sesame Seeds | As needed for topping |
| Olive Oil | 1-2 tablespoons |
| Salt + Sugar | 1 teaspoon of each |
These proportions will help ensure that you’ve got just the right amount of flavor and texture. If you follow these measurements, your koulouri should come out looking and tasting like it was made by a Greek street vendor.

Preparing the Dough: A Step-by-Step Guide
If this is your first time making homemade Greek koulouri, don’t worry — it’s easier than it looks. Just carefully follow these steps, and soon enough you’ll be munching on your very own freshly baked koulouri.
First thing’s first: Get all your dough ingredients together. You’ll want to set aside:
- 2 ½ cups of all-purpose flour
- 1 teaspoon of instant yeast
- 1 teaspoon of sugar
- 1 teaspoon of salt
- 1 tablespoon of olive oil
- About 1 cup of warm water (adjust as needed)
- Put flour, instant yeast, sugar, and salt in a big bowl and give it a good mix. Make sure everything is evenly distributed.
- Add olive oil to the dry mixture. Slowly pour in warm water while stirring the mixture. Continue stirring until you have a sticky dough.
- Transfer the dough onto a floured surface and knead it for about 5-7 minutes. Push away from yourself with closed fists then fold towards yourself again using heels of hands. Repeat until dough is smooth and elastic.
- Once dough is nice and smooth, shape it into a ball then place it in an oiled bowl. Cover bowl with kitchen towel or plastic wrap then let sit in warm room or area for about 1-2 hours, or until it doubles in size.
- Once the dough has risen, gently punch the dough down to remove any air bubbles. Put dough back on floured surface and divide it into equal portions for your individual koulouri bread rings.
- Working one portion at a time, roll dough into a long rope measuring about 14-16 inches long. Connect ends of the rope and press them together firmly to make a circular shape.
- Place formed koulouri rings on baking sheet lined with parchment paper. Make sure they are spaced out so that they have enough room to expand when baking.
- Cover the baking sheet with kitchen towel or plastic wrap again then let them sit for another 30 minutes.
- Preheat your oven to 425°F (220°C) while the koulouri rings are rising.
- Before you put them in the oven, brush water onto each koulouri ring’s top. Then sprinkle sesame seeds generously over all of them.
- Now go ahead and bake ’em! You’ll want to keep them in there for about 15-20 minutes until they turn golden brown and develop a crispy crust.
- Once you take them out, let cool on wire rack before serving.
So there it is: a step-by-step guide for making your own batch of homemade Greek koulouri bread rings. The most important thing is allowing enough time for rising — this will help ensure that you get that fluffy texture we’re aiming for. Don’t forget to add lots of sesame seeds for an authentic touch!!
The Secret to the Perfect Crust: Cooking Techniques
When it comes to koulouri, the perfect crust is everything. And in order to achieve that crust, one must first understand the science behind cooking techniques. Balancing temperature and timing is key to creating a golden brown color with a crispy texture.
As you cook your koulouri rings keep in mind that your oven temperature is crucial. Make sure you preheat your oven to the recommended temperature specified in your recipe which should usually be around 425°F (220°C). This high heat will give your loaf of bread that crisp outer layer while keeping the inside fluffy and soft.
Timing is a tricky part of koulouri making. Overcooking can result in a dry and tough texture, while undercooking can leave the bread rings doughy and unappetizing. Follow recommended cooking time but also keep an eye out as it bakes because every oven works differently. You might have to adjust the time slightly for perfection..

| Signs of a Perfectly Cooked Koulouri Crust | Signs of an Undercooked or Overcooked Koulouri Crust |
|---|---|
| – Golden brown color – Crispy and slightly crunchy texture – Evenly toasted sesame seeds | – Pale or doughy appearance – Soft and chewy texture – Unevenly toasted sesame seeds |
By balancing temperature and timing, you’ll get a perfectly cooked koulouri every time with its appealing look and crunchy bite. The goal here is for them not to have too much moisture without being dry either.
Try different temperatures and cooking times until you find what fits best for you. Remember that practice makes perfect, so don’t get upset if they don’t come out great on your first try — we’ve all been there!.
Koulouri Recipe: Tips and Tricks for the Best Outcome
After spending years trying my best at making some delicious koulouris, a few tips and tricks have stuck with me throughout the years. These suggestions will help you make your best koulouri’s yet with enhanced taste and texture. They also make it easier to cook so that nothing goes wrong in the process:
- Adjust the recipe to your taste: Traditional recipes are popular for a reason, but don’t be afraid to add your own personal touch if you want. It’s as simple as adding more sesame seeds or adjusting the level of sweetness.
- Use fresh ingredients: Freshness is always key in making any type of dish or dessert. Use fresh yeast, high-quality flour, and aromatic sesame seeds for optimal taste. You’ll be able to tell a difference from this small change.
- Allow enough time for the dough to rise: Be patient with your dough! Letting it rise properly gives it that lightness we all love eating. Wait until it has doubled in size so it’s soft and delicious.
- Preheat the oven thoroughly: Another step that can often be overlooked is preheating your oven properly. For even cooks on each ring make sure you do this for a golden crust on each one too.
- Oil it up: You’ll want to make sure your koulouri is nicely oiled before we start throwing seeds on top. Give the bread rings a good brushing of olive oil, and you’ll get an extra layer of flavor in there that’ll make everything better. It’s also going to help the sesame seeds stick to the surface, so don’t be shy with it. Plus, the oil just makes things tastier overall, you know?

From Sweet to Savory: Serving Suggestions
Pairing with Greek Coffee or Frappe
For a true Greek breakfast experience, Eat it with a hot cup of Greek coffee and you’re in for an authentic breakfast experience. Otherwise, go for a frappe! Those strong, bold flavors mesh well with the soft sweetness and crunchiness of the koulouri. The taste will transport you to Greece if you just close your eyes.

Sweet and Savory Accompaniments
If you want something sweeter, top it off with Nutella or honeyed Greek yogurt. The smooth sweetness pairs nicely with the bread ring’s subtle flavor. It’s a treat that can be enjoyed any time of day.
Savory lovers should try tzatziki, hummus, or a cheese spread. These toppings will complement the crunchiness while adding more depth and complexity.
Go ahead and enjoy! Let me know how you got on with the recipe in the comments!
.